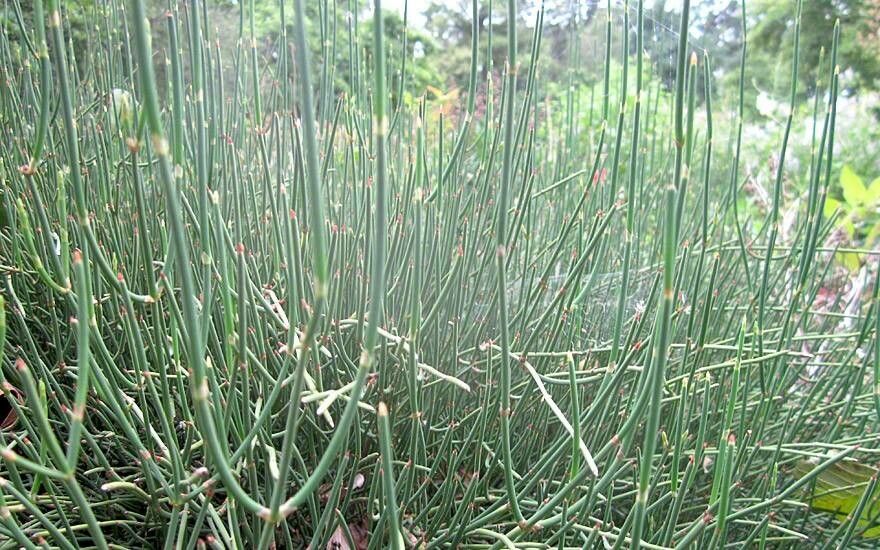
Hey there, fellow plant lovers! If you’ve ever admired the unique, architectural beauty of Ephedra intermedia, you’re not alone. This fascinating plant, with its wiry stems and almost alien look, brings a touch of the desert and arid landscapes right into our gardens. Propagating it might sound a bit daunting, but trust me, it’s a wonderfully rewarding journey into understanding this resilient species. And the good news? While it’s not as fuss-free as a spider plant, with a little care and attention, I promise you can coax new life from your existing favorites!
The Best Time to Start
For the highest success rate with Ephedra intermedia, late spring to early summer is your golden window. This is when the plant is actively growing and has plenty of energy to put into developing new roots. You’ll want to look for stems that are sturdy but not yet woody – think of them as semi-hardwood cuttings. They should have a bit of flexibility, snapping cleanly rather than bending.
Supplies You’ll Need
Before we get our hands dirty, let’s gather our tools:
- Sharp pruning shears or a clean, sharp knife: For making those crucial, clean cuts.
- A well-draining potting mix: This is key for Ephedra. I like to use a mix of equal parts perlite, coarse sand, and a good quality potting soil. You want air to circulate and water to drain away quickly.
- Rooting hormone (optional, but recommended): A powder or gel can give your cuttings a significant boost.
- Small pots or trays: Clean containers with drainage holes are essential.
- A clear plastic bag or humidity dome: To create a mini-greenhouse.
- A watering can or mister: For gentle hydration.
- Bottom heat source (optional, but very helpful): A seedling heat mat can speed things up considerably.
Propagation Methods
My go-to method for Ephedra intermedia is through stem cuttings. It’s reliable and you can get a good number of new plants from a single parent.
- Take Your Cuttings: Using your clean shears, select healthy stems that are about 4-6 inches long. Make a clean cut just below a leaf node (where a leaf emerges from the stem).
- Prepare the Cuttings: Gently strip off the lower leaves from the cutting, leaving just a few at the very top. This prevents them from rotting in the soil. If you’re using rooting hormone, dip the cut end into the powder or gel now.
- Pot Them Up: Fill your small pots with the well-draining potting mix. Make a hole in the center with your finger or a pencil, then insert the cut end of the Ephedra cutting. Gently firm the soil around the cutting to ensure good contact.
- Water Gently: Water the soil thoroughly but gently, making sure not to dislodge the cuttings.
- Create a Humid Environment: Place the potted cuttings into a tray and cover the whole thing with a clear plastic bag, or use a humidity dome. Make sure the leaves aren’t touching the plastic. If you have a heat mat, place the tray on top of it.
- Find a Bright Spot: Position the pots in a location that receives bright, indirect light. Avoid direct sun, which can scorch the delicate cuttings.
The “Secret Sauce” (Pro Tips)
Over the years, I’ve learned a few tricks that really make a difference:
- Don’t Overwater! This is probably the most crucial tip for Ephedra. They hate sitting in soggy soil. Let the top inch of the potting mix dry out slightly between waterings. It’s better to err on the side of too dry than too wet.
- Air Circulation is Your Friend: While you want humidity, it’s also a good idea to lift the plastic bag or humidity dome for an hour or so each day to allow for some air exchange. This helps prevent fungal diseases.
- Be Patient with Bottom Heat: If you’re using a heat mat, aim for a soil temperature of around 70-75°F (21-24°C). This warmth encourages root development from below, giving your cuttings just the encouragement they need.
Aftercare & Troubleshooting
Once you start seeing new growth emerging from the top of the cuttings, that’s a good sign that roots are forming! You can gently tug on a cutting; if it resists, it has rooted. At this point, you can gradually acclimate them to more normal humidity levels by slowly opening up the plastic bag over several days. Continue to keep them in bright, indirect light and water when the top inch of soil feels dry.
The most common issue you might encounter is rot. If a cutting turns black and mushy, it’s a sign of too much moisture or lack of air circulation. Unfortunately, there’s not much you can do once rot sets in, but don’t get discouraged! Just learn from it and try again. Look for wilting or yellowing lower leaves as potential warning signs.
A Encouraging Closing
Propagating Ephedra intermedia is a journey of patience and observation. Don’t be disheartened if your first few attempts aren’t perfect. Each seedling you nurture is a testament to your growing skill and connection with the natural world. Enjoy the process, celebrate the tiny successes, and soon you’ll have a whole new collection of these wonderful, quirky plants! Happy gardening!
Resource: