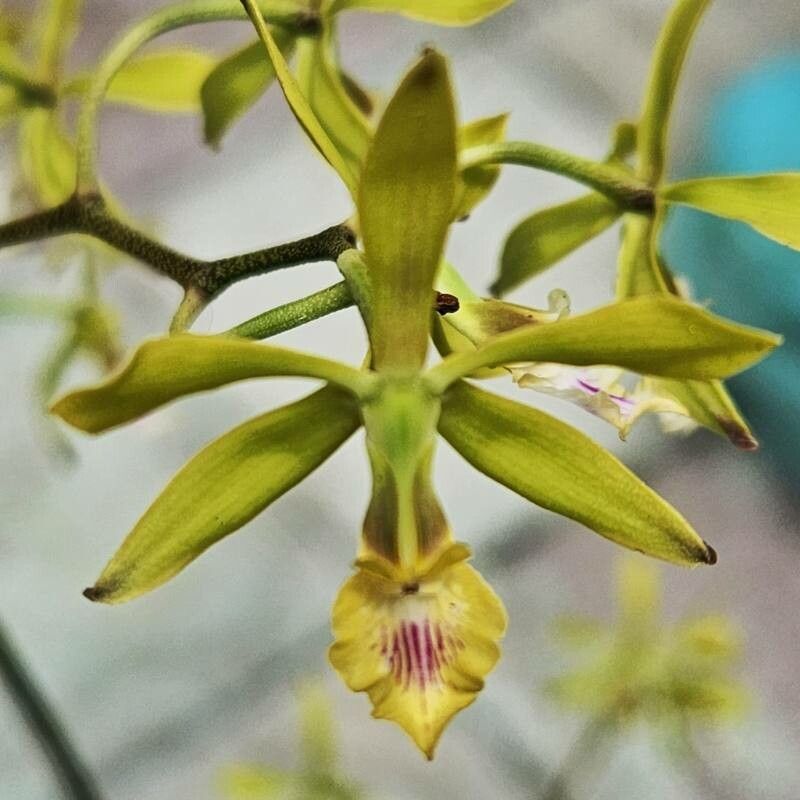
Hello, fellow plant lovers! Today, we’re diving into the delightful world of propagating Encyclia ceratistes. If you’re smitten with this orchid’s unique charm – those wonderfully fringed petals and its generally robust nature – then you’ve come to the right place. Getting more of these beauties to nurture is incredibly satisfying. Now, for beginners, I wouldn’t call Encyclia ceratistes the absolute easiest orchid to start with, but with a little guidance, you’ll be cheering on your new plantlets in no time! It’s a journey, and I’m happy to be your guide.
The Best Time to Start
Timing is everything in the garden, and for Encyclia ceratistes, the sweet spot for propagation is typically after the orchid has finished blooming and is entering its active growth phase. This usually means late spring or early summer. You’ll see new pseudobulbs or leafy growths emerging, which means the plant has plenty of energy to dedicate to developing new roots.
Supplies You’ll Need
Gathering your tools before you start makes the whole process smoother. Here’s what I usually have on hand:
- Sharp Pruning Shears or a Sterile Knife: For clean cuts that minimize damage.
- Orchid Potting Mix: A well-draining mix is crucial. I often use a blend of bark chips, perlite, and a bit of charcoal.
- New Pots or Growing Containers: Small ones are perfect for starting out.
- Rooting Hormone (Optional but helpful): For an extra boost.
- Clean Water: Distilled or rainwater is best.
- Sphagnum Moss (Optional): Great for encouraging humidity.
- Labels and a Marker: To keep track of your new treasures.
Propagation Methods
The most reliable way to multiply your Encyclia ceratistes is through division. While you can sometimes getlucky with keikis (baby plantlets that grow from the main stem), division is more predictable for this particular orchid.
Division Method:
- Prepare Your Orchid: Gently remove your Encyclia ceratistes from its current pot. You might need to loosen the root ball a bit. It’s best to do this when the potting medium is slightly dry.
- Examine the Rhizome: Look for the rhizome, which is the thick, woody stem that connects the pseudobulbs (those bulb-like structures). You’re looking for sections that have at least two or three healthy pseudobulbs and a strong root system.
- Make the Cut: Using your sterilized pruning shears or knife, carefully cut through the rhizome to separate a section. Try to make a clean cut. If the rhizome is particularly tough, a sharp knife is usually better.
- Separate Gently: Gently pull the divided sections apart. If roots are tangled, don’t force them too much; you can trim away any dead or mushy roots at this stage.
- Potting Up: Pot each division into its own new container using your fresh orchid mix. Bury the roots, but keep the pseudobulbs exposed to the air. Make sure the new growth is facing upwards.
- Watering (Initial): Water your newly potted divisions very lightly. You want the potting mix to be just moist, not soggy. Overwatering at this stage is the kiss of death.
The “Secret Sauce” (Pro Tips)
Alright, here are a couple of things I’ve learned over the years that can really make a difference:
- The cinnamon trick! After you divide, I like to dust the cut surfaces with a little bit of ground cinnamon. It’s a natural fungicide and helps to prevent rot where you’ve made the cuts. It’s a simple, old-school method that works wonders.
- Don’t be afraid of a little air circulation. While humidity is good, having the pseudobulbs sitting in stagnant, wet media is asking for trouble, especially right after division. Ensure your potting mix is airy, and don’t pack it down too tightly.
Aftercare & Troubleshooting
Once your new divisions are potted, the real care begins. Keep them in bright, indirect light and maintain consistent, but not excessive, moisture. Water when the potting mix is beginning to dry out. Avoid letting water sit in the crown of the pseudobulbs.
The most common sign of trouble is rot. If you see pseudobulbs shrinking, turning black, and becoming mushy, that’s rot setting in. This is usually due to overwatering or poor air circulation. If you catch it early, you might be able to remove the affected part with a sterile knife and try to let the rest dry out. If it’s in the mix, repot into drier material.
A Word of Encouragement
Propagating orchids takes patience, my friends. Your new Encyclia ceratistes divisions might not look like much at first, but trust the process. Give them time, provide consistent care, and soon you’ll be rewarded with vigorous new growth and, eventually, beautiful blooms. Enjoy every step of this rewarding gardening adventure!
Resource:
https://identify.plantnet.org/k-world-flora/species/Encyclia%20ceratistes%20(Lindl.)%20Schltr./data