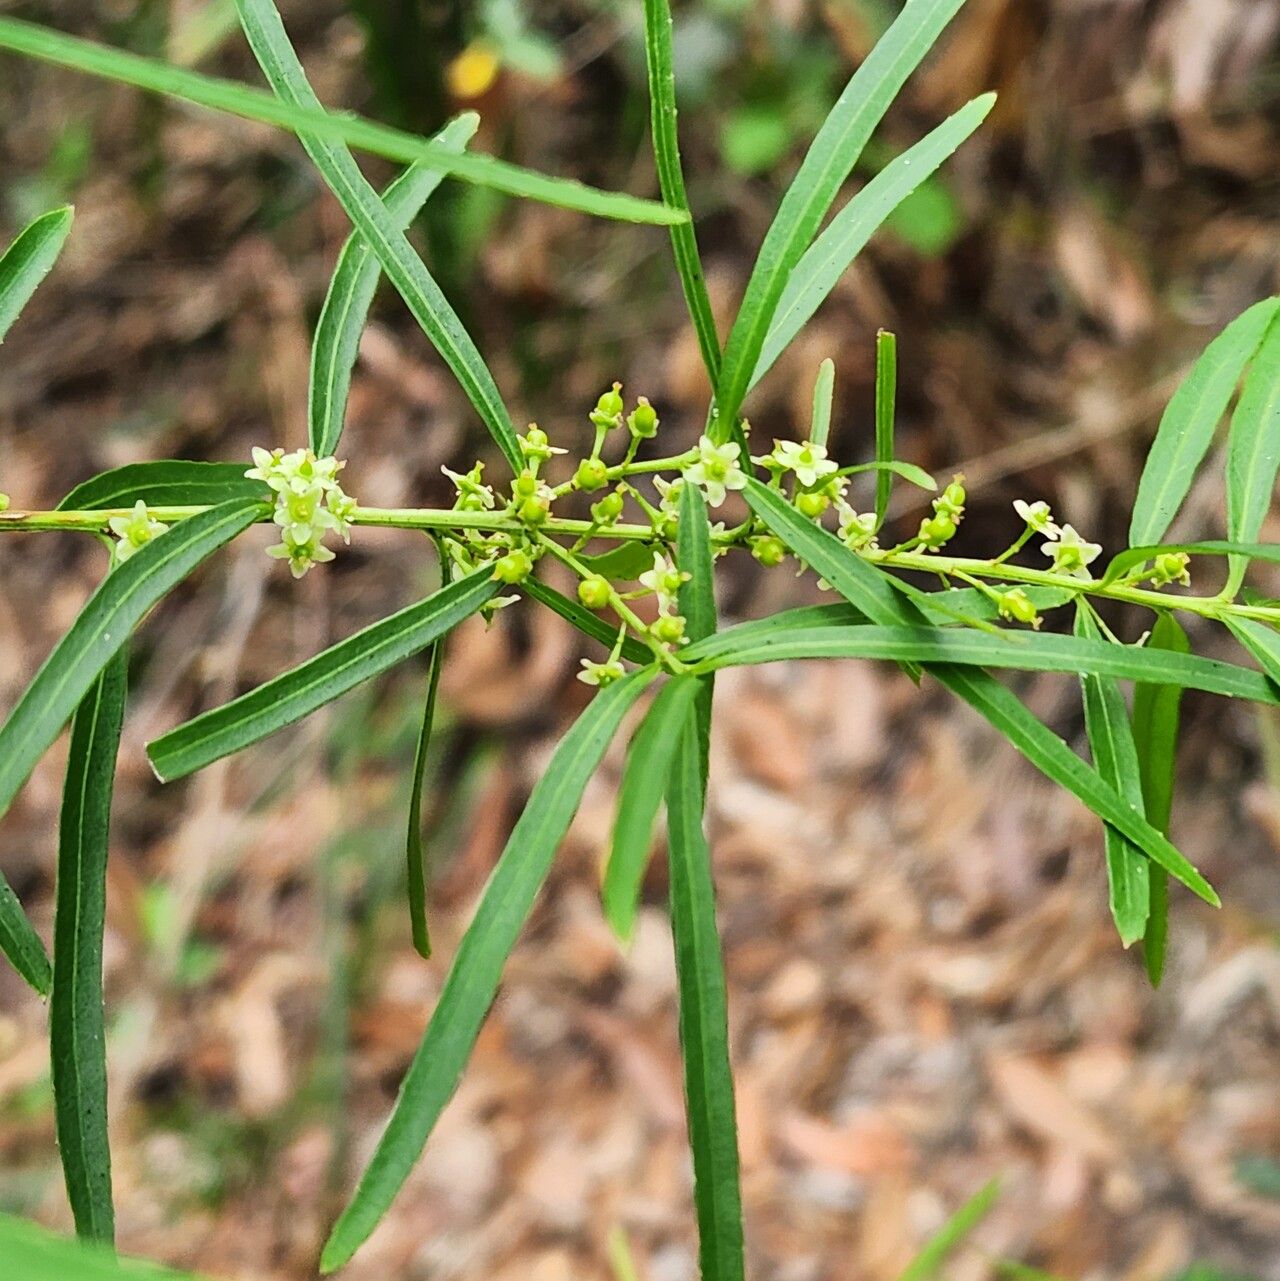
Hey there, fellow green thumbs! I’m so glad you’ve found your way to my little corner of the internet, where we talk all things plants. Today, we’re diving into the wonderful world of Denhamia silvestris. If you’re looking for a plant that brings a touch of elegant charm to your garden, you’re in for a treat. Denhamia silvestris, often called Sydney Holly or Christmas Bush, offers beautiful, leathery leaves and a delightful display of creamy white flowers. Propagating it yourself isn’t just a fantastic way to fill your garden with more of these beauties; it feels like a little bit of plant magic happening right before your eyes. For beginners, it can be a touch challenging, but with a little patience and the right approach, you’ll be rewarded with success.
The Best Time to Start
Timing is everything when it comes to coaxing new life from your plants. For Denhamia silvestris, the sweet spot is typically late spring to mid-summer. This is when the plant is actively growing, and its stems have what we call “semi-hardwood.” This means they’re not brand new and floppy, nor are they old and woody. They have just enough flexibility and stored energy to be coaxed into rooting. Waiting until after the main flush of spring growth has matured a bit is key.
Supplies You’ll Need
Before we get our hands dirty, let’s gather our toolkit. Having everything ready makes the process so much smoother.
- Sharp Pruning Shears or a Craft Knife: For clean cuts.
- Rooting Hormone: A powdery or gel form to encourage root development.
- Well-Draining Potting Mix: I like a blend of equal parts perlite, coarse sand, and peat moss or coco coir. This ensures good aeration and prevents waterlogging.
- Small Pots or Seed Trays: Clean containers are a must to prevent disease.
- Plastic Bags or a Propagator Lid: To create a humid environment.
- Horticultural Grit or Small Pebbles: For the bottom of pots if drainage is a concern.
- Watering Can with a Fine Rose: To water gently.
Propagation Methods
Denhamia silvestris can be propagated quite successfully through stem cuttings. It’s generally the most reliable method for me.
- Take Your Cuttings: On a warm, dry day, select healthy, non-flowering shoots from a mature Denhamia silvestris. You’re looking for stems that are about 4-6 inches long. Using your sharp pruning shears, make a clean cut just below a leaf node. A leaf node is where a leaf attaches to the stem.
- Prepare the Cuttings: Gently remove the leaves from the bottom half of each cutting. You want to expose the nodes, as this is where roots will form. You can leave the top two or three leaves intact, but it’s a good idea to trim any large leaves in half. This reduces water loss through transpiration.
- Apply Rooting Hormone: Dip the cut end of each prepared cutting into your rooting hormone, ensuring the lower nodes are covered. Tap off any excess.
- Potting Up: Fill your small pots or trays with your prepared, well-draining potting mix. Make a pilot hole with a pencil or your finger deep enough for the cutting.
- Insert the Cuttings: Carefully insert the prepared cuttings into the pilot holes, firming the soil gently around them to ensure good contact. You can place several cuttings in each pot, spaced a few inches apart.
- Water and Cover: Water the pots gently from the top until the soil is moist but not soggy. Then, cover the pots with a clear plastic bag or place them under a propagator lid. This creates a mini-greenhouse effect, maintaining high humidity which is crucial for cuttings.
The “Secret Sauce” (Pro Tips)
Here are a couple of things I’ve learned over the years that can really give your cuttings an edge:
- Bottom Heat is Your Friend: If you have the space and a bit of extra equipment, placing your pots on a heated propagator mat can significantly speed up root formation. It warms the soil, encouraging the plant to put its energy into root growth. Don’t make it too hot, just a gentle warmth is perfect.
- Don’t Disturb Too Soon: Resist the urge to constantly pull cuttings out to “check for roots.” It’s best to leave them undisturbed for at least 4-6 weeks. Growth on the top of the cutting, like new leaves or tiny shoots, is a good indicator that roots have formed below.
Aftercare & Troubleshooting
Once you see those tiny signs of life – a new leaf unfurling or growth appearing at the tip – it’s time to transition your new Denhamia to a slightly less humid environment. Gradually remove the plastic cover over a few days to avoid shocking them. Keep them in bright, indirect light and continue to water when the top inch of soil feels dry.
The most common issue you might encounter is rot. If your cuttings look black and mushy, or the leaves are falling off suddenly, it’s a sign of too much moisture and not enough air circulation. Discard any rotted cuttings and ensure your potting mix is draining freely for future attempts. If a cutting simply fails to root after a couple of months, don’t be disheartened; some just don’t take, and that’s part of the gardening journey.
A Encouraging Closing
Propagating Denhamia silvestris might take a little patience, and not every cutting will survive, but the satisfaction of nurturing a new plant from a small piece of an old one is truly immense. Keep experimenting, enjoy the process of watching life unfurl, and before you know it, you’ll have a whole collection of your own beautiful Denhamia silvestris beauties to share or simply enjoy in your own garden. Happy growing!
Resource: