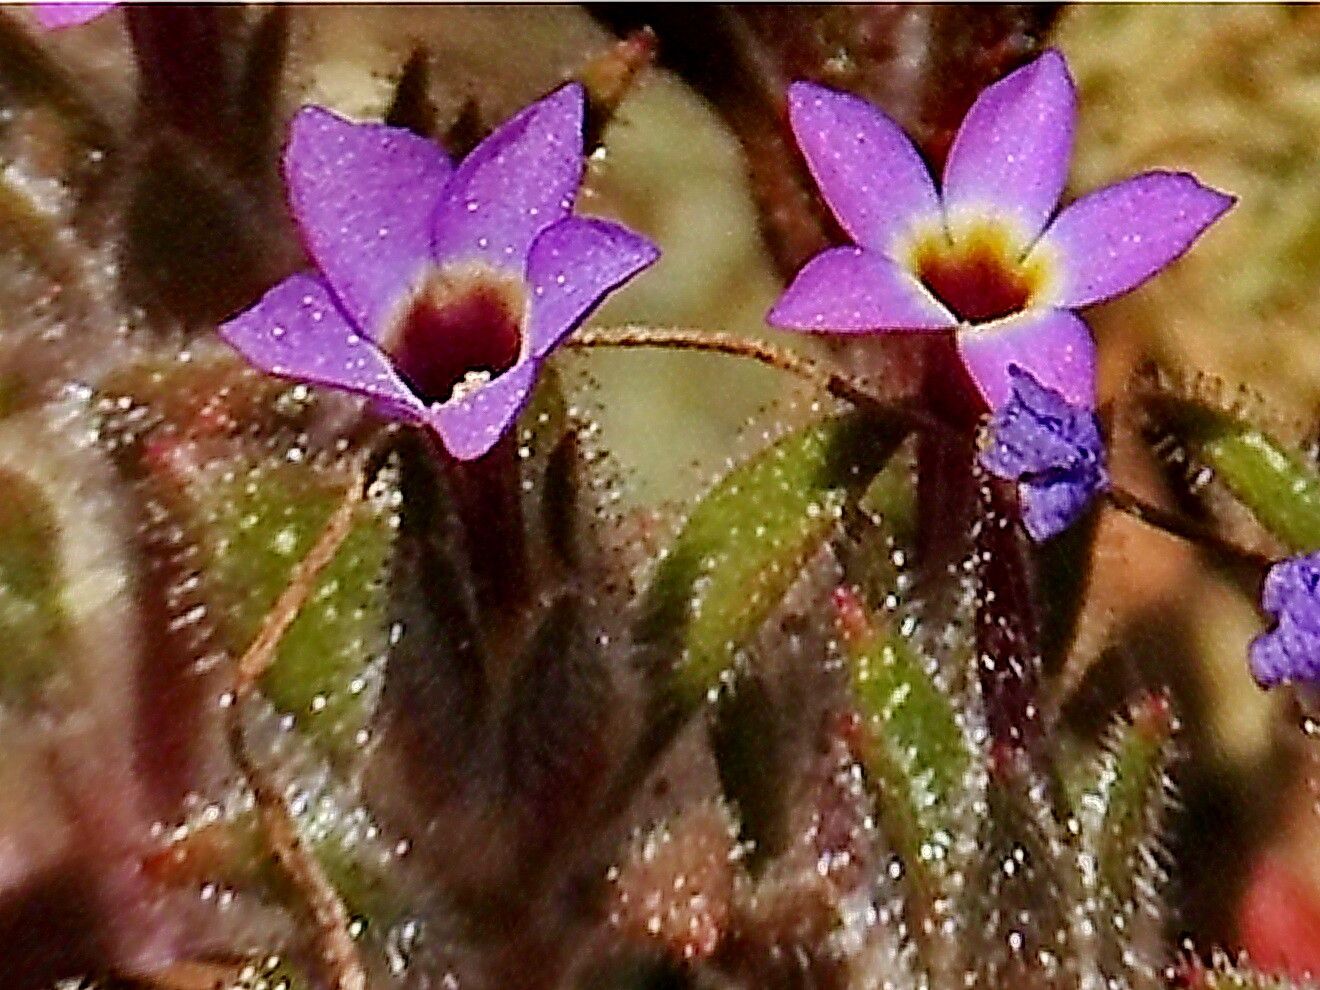
Hello, fellow garden enthusiasts! Today, I want to chat about a lovely little plant that has really captured my heart over the past few years: Collomia diversifolia. Its delicate, often airy foliage and charming little flowers bring such a wonderful, natural feel to any garden bed or container. And the best part? It’s genuinely quite rewarding to multiply these beauties yourself. Good news for beginners: this plant is generally a joy to propagate, making it a perfect project to get your hands dirty with.
The Best Time to Start
For Collomia diversifolia, your best bet is usually in late spring or early summer. This is when the plant is actively growing and has plenty of energy to spare for putting out new roots. You’re looking for stems that are not too young and floppy but not yet woody. Think of a stem that’s firm but still has a bit of give when you gently bend it.
Supplies You’ll Need
Before we get our hands in the soil, let’s gather our tools:
- Sharp pruning shears or a clean, sharp knife: For making clean cuts.
- Rooting hormone (optional but recommended): A little boost can make a big difference.
- Small pots or seedling trays: With good drainage holes, of course.
- Well-draining potting mix: I like to use a mix of equal parts peat moss or coco coir and perlite or coarse sand. This prevents waterlogging, which is crucial.
- Watering can or spray bottle: For gentle watering.
- Labels: So you don’t forget what you’ve so lovingly nurtured!
Propagation Methods
Let’s dive into how we can multiply Collomia diversifolia. Stem cuttings are my go-to for this plant.
Stem Cuttings:
- Take your cuttings: In the morning, after the dew has dried, select a healthy stem. Using your clean shears or knife, make a cut just below a leaf node (where a leaf attaches to the stem). You want cuttings that are about 4-6 inches long. Remove any lower leaves, leaving just two to three at the top of the stem.
- Apply rooting hormone: If you’re using it, dip the cut end of the stem into the rooting hormone powder. Tap off any excess.
- Plant your cuttings: Fill your small pots with your prepared potting mix. Make a small hole in the center with your finger or a pencil. Gently insert the cut end of the stem into the hole, ensuring the rooting hormone (if used) is in contact with the soil. Firm the soil gently around the base of the cutting.
- Water gently: Water the soil thoroughly but gently, so you don’t dislodge the cuttings. A good misting is often perfect.
The “Secret Sauce” (Pro Tips)
Here are a couple of little tricks I’ve learned that can really help your success:
- Humidity is key! New cuttings don’t have established roots to take up water. Creating a humid environment helps them stay hydrated. You can do this by placing a clear plastic bag or a dome over your pots. Just make sure the leaves don’t touch the plastic, as this can encourage rot. Pop the bag off for a few minutes each day to allow for air circulation.
- Bottom heat can be a game-changer. If you have a heat mat designed for seedlings, placing your pots on it can significantly speed up root development. It mimics the warmth of spring soil and encourages those roots to get going.
Aftercare & Troubleshooting
Once you’ve got your cuttings planted, give them a bright, indirect light spot. Avoid direct sunlight, which can scorch delicate new growth. Keep the soil consistently moist, but not waterlogged. You’ll know your cutting is taking root when you see new leaf growth or feel gentle resistance when you lightly tug on the stem. This usually takes a few weeks, sometimes longer.
The most common issue you might encounter is rot. If a cutting turns black and mushy, it’s usually a sign of too much moisture and not enough air circulation. Don’t be discouraged if a few don’t make it; it’s all part of the learning process! Just remove the failed cutting and check your watering and ventilation for the others.
A Final Thought
Mastering the art of propagation is such a rewarding part of gardening. It allows you to share your passion, fill your garden with more of what you love, and really connect with the life cycle of your plants. Be patient with your little Collomia diversifolia cuttings. Watch for those subtle signs of life, and celebrate every new root and leaf. Happy propagating!
Resource:
https://identify.plantnet.org/k-world-flora/species/Collomia%20diversifolia%20Greene/data