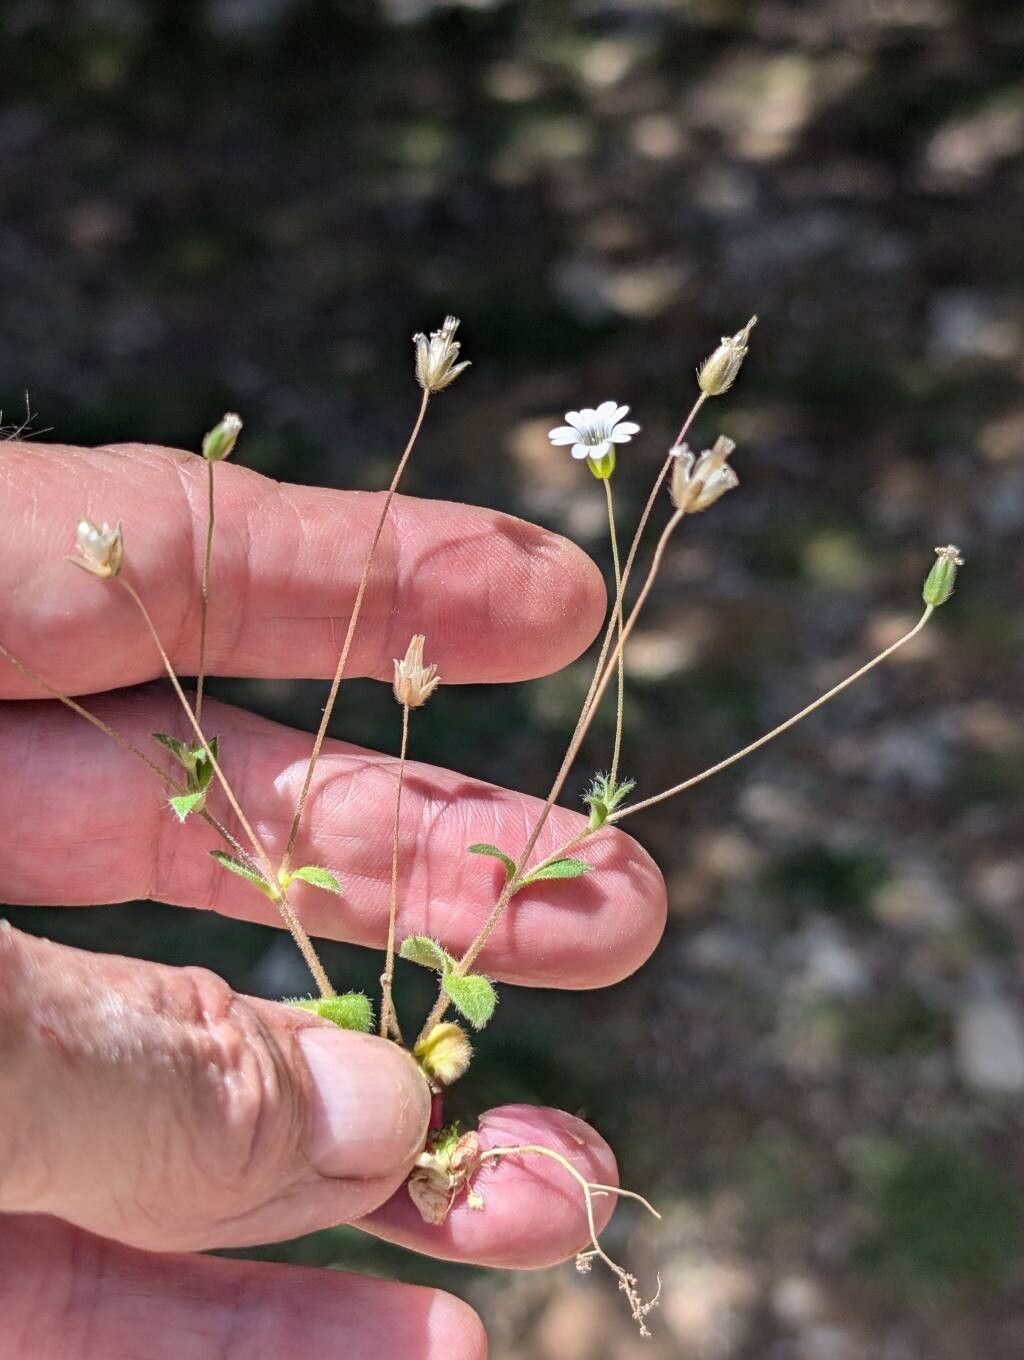
Hello, fellow garden enthusiasts! I’m so excited to chat with you today about a truly charming plant that often flies a little under the radar: Cerastium scaposum. You know, the one with those delicate, little white flowers that look like a carpet of tiny stars sprinkled across your garden beds. It adds such an ethereal glow, especially in the early summer months.
Propagating Cerastium scaposum is one of those little gardening victories that feels especially sweet. You get more of that lovely groundcover, and it’s a wonderfully satisfying way to expand your plant collection without spending a fortune. For those of you just dipping your toes into the world of propagation, I think you’ll find this little gem quite approachable. It’s not overly fussy, which makes it a great choice for beginners!
The Best Time to Start
When it comes to getting the best results with your Cerastium scaposum propagation, late spring to early summer is your golden window. This is when the plant is actively growing, meaning it’s full of vigor and ready to put out new shoots. Waiting until after it’s finished its main flush of blooms is also a good bet, as you’ll be working with healthy, mature stems.
Supplies You’ll Need
To give your little cuttings the best start, here’s what I always have on hand:
- Sharp pruning shears or a clean knife: For making precise cuts.
- Small pots or trays: With drainage holes, of course!
- Well-draining potting mix: A blend of equal parts peat moss or coco coir and perlite or coarse sand works wonderfully. I often add a bit of compost for extra goodness.
- Rooting hormone (optional but helpful): A powder or gel can encourage faster root development.
- Plastic bags or a propagation dome: To create a humid environment.
- Watering can or spray bottle: For gentle watering.
Propagation Methods
Let’s get our hands dirty! There are a couple of reliable ways to multiply your Cerastium scaposum.
Stem Cuttings
This is my go-to method because it’s so effective.
- First, select a healthy, non-flowering stem from your existing plant. Look for stems that are about 4-6 inches long.
- Using your clean shears or knife, make a cut just below a leaf node. A leaf node is where a leaf attaches to the stem; roots love to form there.
- Gently remove the lower leaves from the stem, leaving just a few at the top. This prevents them from rotting when buried.
- If you’re using rooting hormone, dip the cut end of the stem into it.
- Now, firmly press the cut end into your prepared potting mix in a small pot or tray. Make sure the top leaves aren’t touching the soil surface.
- Water gently to settle the soil around the cutting.
- Cover the pot with a plastic bag or place it under a propagation dome. This traps humidity, which is crucial for cuttings.
- Place the pot in a bright spot, but out of direct sunlight.
Division
If your Cerastium scaposum has gotten a bit large and you want to reshape it anyway, division is a fantastic and immediate way to multiply.
- Gently dig up the entire plant from its pot or garden bed.
- Carefully separate the root ball into smaller sections. You can do this by hand or by using a clean trowel to divide it. Aim for sections that have both roots and leafy shoots.
- Replant each section into its own pot filled with your well-draining potting mix, or back into the garden where you want them to grow.
- Water thoroughly after replanting to help the roots settle in.
The “Secret Sauce”
Want to give your cuttings an extra boost? Here are a couple of tricks I’ve learned over the years:
- Bottom Heat is Your Friend: While not strictly necessary for Cerastium scaposum, placing your pots on a gentle heat mat can significantly speed up root formation, especially if your home is a bit on the cooler side. Just warm, not hot!
- Air Circulation Matters: While you want humidity, don’t let moisture linger on the leaves for too long. If you see condensation building up heavily inside the plastic bag, lift the cover for an hour or two each day to allow some air to circulate. This helps prevent fungal issues.
Aftercare & Troubleshooting
Once your cuttings have started to root, it’s time to give them a little extra TLC. You’ll know they’ve rooted when you see new leaf growth or feel a gentle tug when you lightly pull on the stem.
- Gradually Acclimate: Once rooted, slowly remove the plastic bag or dome over a week or so to get them used to normal humidity levels.
- Consistent Moisture: Keep the soil consistently moist but not waterlogged. Overwatering is the most common culprit for failure.
- When to Pot Up: When the roots have filled their current small pots, you can transplant them into slightly larger pots or directly into the garden.
The biggest issue to watch out for is rot. If your cuttings turn mushy or black and simply won’t root, it’s usually a sign of too much moisture or not enough air circulation. Don’t get discouraged if a few don’t make it – that’s part of the learning process! Just try again.
A Gentle Farewell
Propagating plants is a journey, and it’s always more about the process than just the end result. Be patient with your new little plants, and celebrate each tiny bit of progress. You’ve got this, and soon you’ll have an abundance of starry blooms to enjoy! Happy gardening!
Resource:
https://identify.plantnet.org/k-world-flora/species/Cerastium%20scaposum%20Boiss.%20&%20Heldr./data