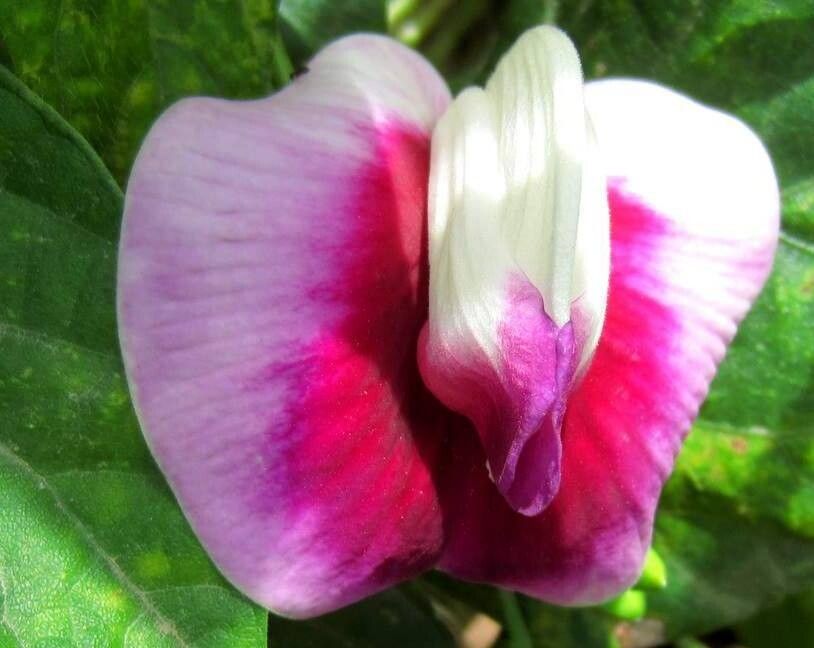
Hello fellow plant enthusiasts! It’s so wonderful to be sharing my garden wisdom with you today. We’re going to dive into the delightful world of propagating Centrosema plumieri. You know, this gorgeous vine, with its delicate butterfly-like blooms, is an absolute treasure. It brings such a sweet, tropical charm to any garden space or even a sun-drenched windowsill. And the best part? Being able to share that beauty by creating more plants yourself is incredibly rewarding. For those just starting out, I’d say Centrosema plumieri is a moderately friendly plant to propagate. It requires a little patience, but it’s definitely achievable and so worth the effort!
The Best Time to Start
When it comes to getting the best results, timing is everything. For Centrosema plumieri, I’ve found that the ideal time to propagate is during its active growing season, which usually falls in the late spring through early summer. This is when the plant has plenty of energy and warmth to dedicate to developing new roots. You’re looking for healthy, new growth – not the hard, woody stems of the old plant, but the softer, vibrant green shoots.
Supplies You’ll Need
Before we get our hands dirty, let’s gather our tools. Having everything at the ready makes the process so much smoother:
- Sharp Pruning Shears or a Knife: For clean cuts that heal well.
- Rooting Hormone Powder (Optional but Recommended): This can significantly boost success rates.
- Well-Draining Potting Mix: A good blend of potting soil, perlite, and a bit of coarse sand works wonders. You can even find specific cutting mixes.
- Small Pots or Seedling Trays: Clean ones are a must to prevent disease.
- Plastic Bags or a Clear propagator lid: To create a humid environment.
- Watering Can with a Fine Rose: For gentle watering.
- Labels/Markers: To keep track of your plants!
Propagation Methods
There are a few ways to bring new Centrosema plumieri plants into being, but stem cuttings are my go-to. It’s reliable and gives you a great start.
Stem Cuttings:
- Take Your Cuttings: In the active growing season, select a healthy stem that has at least two or three nodes (the little bumps where leaves emerge). Using your clean shears, cut the stem just below a node. Aim for cuttings that are about 4-6 inches long. Remove the lower leaves, leaving just a couple of sets at the top.
- Apply Rooting Hormone: Dip the cut end of the stem into the rooting hormone powder. Tap off any excess. This step really helps those roots form faster and stronger.
- Plant Your Cuttings: Fill your small pots with your well-draining potting mix. Make a small hole in the center of the soil with your finger or a pencil. Gently insert the prepared cutting, ensuring at least one node is buried in the soil. Firm the soil gently around the base of the cutting.
- Create Humidity: Water the soil thoroughly but gently. You want it moist, not waterlogged. Now, cover the pot with a plastic bag, securing it around the rim with a rubber band, or place it inside a propagator with the lid closed. This creates a mini-greenhouse effect, keeping the humidity high, which cuttings absolutely love.
- Find a Warm Spot: Place the pots in a bright location, but out of direct, scorching sunlight. A warm spot is crucial – think around 70-75°F (21-24°C).
The “Secret Sauce” (Pro Tips)
Here are a few little tricks I’ve learned over the years that make a big difference:
- Don’t Let Leaves Touch the Water (if water propagating): While I prefer soil for Centrosema, if you do try water propagation with cuttings, make sure the leaves are well above the water line. Leaves submerged in water tend to rot, which is the last thing you want.
- Bottom Heat is Your Friend: If you struggle with rooting, consider using a seedling heat mat. Placing your pots on a gentle heat source can dramatically speed up root formation. It mimics the warmth of spring soil and gives those nascent roots a real boost.
- Take Your Cuttings in the Morning: I find that cuttings taken early in the morning, after the dew has dried, have the most stored energy and tend to root more successfully than those taken later in the day.
Aftercare & Troubleshooting
Once your cuttings are happily ensconced in their pots, keep the soil consistently moist but not soggy. Check them every few days.
Signs of Roots: You’ll know your cuttings have rooted when you see new leaf growth emerging from the top. You can also give the cutting a very gentle tug; if there’s resistance, you’ve got roots! This usually takes anywhere from 3-6 weeks.
Troubleshooting: The most common issue you might encounter is rot. If your cutting looks dark, mushy, or smells off, it’s likely rotted. This is usually due to overwatering or not enough airflow. If you see this, unfortunately, it’s best to discard the cutting and start again, ensuring your soil drains well and you’re not overwatering. Another sign of trouble is wilting that doesn’t perk up after watering. This could mean it hasn’t rooted yet and is drying out too quickly. Increase the humidity or water gently.
A Fond Farewell
Propagating Centrosema plumieri is a beautiful journey, a testament to the resilience and wonder of nature. Be patient with your little cuttings; they are working hard to establish themselves. Enjoy the process, the anticipation, and the sheer joy of watching a new plant unfurl its very first leaves. Happy propagating, my friends!
Resource: