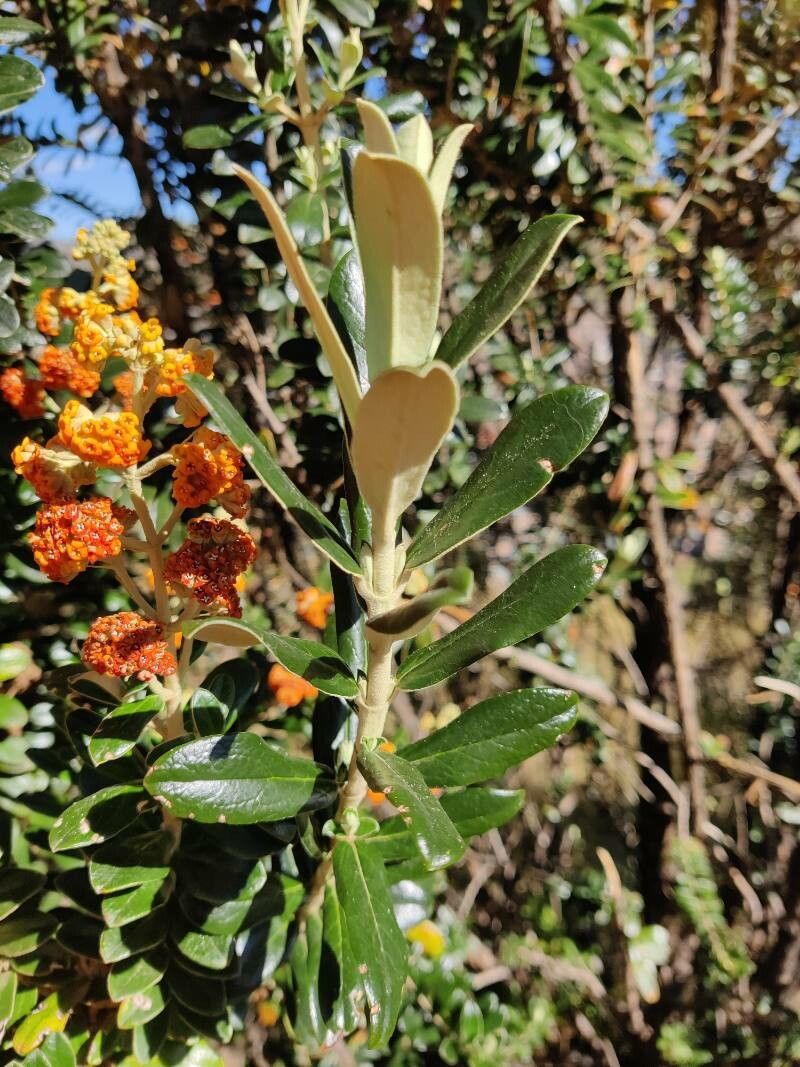
Oh, hello there! Come on in, I’ve got the kettle on. Today, we’re going to talk about a truly delightful shrub: Buddleja marrubiifolia, the Woolly Butterfly Bush. If you haven’t met this one, imagine soft, fuzzy, silvery-green leaves and delicate spikes of coral-pink flowers that absolutely sing to the pollinators. It’s a bit more laid-back than some of its bolder cousins, and I find its understated beauty incredibly rewarding.
And the best part? Propagating it is a breeze! Seriously, if you’re new to plant propagation, Buddleja marrubiifolia is a fantastic place to start. It’s quite forgiving, which is always a plus when you’re learning. Growing your own from cuttings feels like a little gardening magic, and it’s a wonderful way to share these beauties with friends.
The Best Time to Start
For Buddleja marrubiifolia, I find the late spring to early summer is absolutely prime time. Think of it as after the initial flush of spring growth, but before the intense heat of mid-summer. The stems are developing nicely, but they haven’t gotten too woody. This stage, often referred to as semi-hardwood cuttings, gives you the best chance for quick rooting. Waiting too long into the season, and the stems can become too firm.
Supplies You’ll Need
Gathering your supplies beforehand makes the whole process so much smoother. Here’s what I usually have on hand:
- Sharp pruning shears or a clean knife: For taking your cuttings. Sterilize them before you begin – it’s a simple step that prevents disease.
- Rooting hormone (optional, but helpful): A powder or gel. I like to use it on trickier plants, but for Buddlejas, it often roots without. Still, it boosts your success rate!
- A good potting mix: I prefer a well-draining blend. You can buy a commercial seed-starting or succulent mix, or make your own with equal parts peat moss, perlite, and a bit of compost.
- Small pots or trays: Clean containers with drainage holes are a must.
- A spray bottle: For misting.
- A plastic bag or propagator lid: To create a humid environment.
- Labels and a marker: So you don’t forget what you planted where!
Propagation Methods
We’re going to focus on the easiest and most reliable method for Buddleja marrubiifolia: stem cuttings.
- Take Your Cuttings: Head out on a mild day. Look for healthy, non-flowering shoots that are about 4-6 inches long. Use your sharp shears to make a clean cut just below a leaf node (where a leaf attaches to the stem).
- Prepare the Cuttings: Gently remove the lower leaves, leaving just the top set or two. This prevents them from rotting in the soil. If you’re using rooting hormone, dip the cut end into the powder or gel, tapping off any excess.
- Pot Them Up: Fill your pots with your prepared potting mix. Make a hole in the center with your finger or a pencil, deep enough to accommodate the leafless part of the cutting.
- Insert the Cuttings: Carefully place a cutting into each hole, gently firming the soil around the base to ensure good contact. Don’t overcrowd the pots.
- Water Gently: Give your newly potted cuttings a light watering, just enough to settle the soil around the stems.
- Create Humidity: Place the pots inside a plastic bag or cover them with a propagator lid. This traps moisture and mimics the humid conditions cuttings love. Ensure the bag or lid doesn’t touch the leaves.
The “Secret Sauce” (Pro Tips)
Now, for a couple of things I’ve learned over the years that really make a difference:
- Don’t let those leaves touch the water, ever! Even when you’re watering initially, be mindful. Any leaves submerged in water are a fast track to rot. It’s the biggest mistake beginners make.
- Bottom heat is your friend. If you have a heat mat designed for propagation, placing your pots on it can significantly speed up root formation. It doesn’t need to be scorching hot, just a gentle warmth, around 70-75°F (21-24°C). It really encourages those roots to get going.
- Mist, don’t soak. Once your cuttings are in their humid environment, resist the urge to drench the soil. A light misting with your spray bottle every couple of days is usually plenty to keep the soil surface lightly moist.
Aftercare & Troubleshooting
Once your cuttings have rooted – you’ll usually see new leaf growth within 3-6 weeks – it’s time for a little more attention.
- Acclimatize: Gradually get them used to normal garden conditions. Open the plastic bag a little each day for a week, or lift the propagator lid.
- Watering: Once they’re out of the humid environment, water them when the top inch of soil feels dry.
- Potting On: When they have a decent root system (you might see them emerging from the drainage holes), you can pot them up into slightly larger containers with your regular potting mix.
What if things go wrong? The most common culprit is rot. If your cuttings suddenly wilt and turn mushy at the base, or if the leaves go yellow and limp, that’s usually a sign of too much moisture and not enough air circulation. If you see this, gently pull the offending cutting out, check if the rot has spread, and discard it if necessary. Sometimes, a cutting just doesn’t get going – don’t be discouraged, just try again!
A Encouraging Closing
So there you have it! Propagating Buddleja marrubiifolia is a truly satisfying endeavor. Be patient with your new little plants; they’re doing their best to establish themselves. Enjoy the process of nurturing them, and before you know it, you’ll have a whole collection of these charming Woolly Butterfly Bushes to admire and share. Happy gardening!
Resource:
https://identify.plantnet.org/k-world-flora/species/Buddleja%20marrubiifolia%20Benth./data