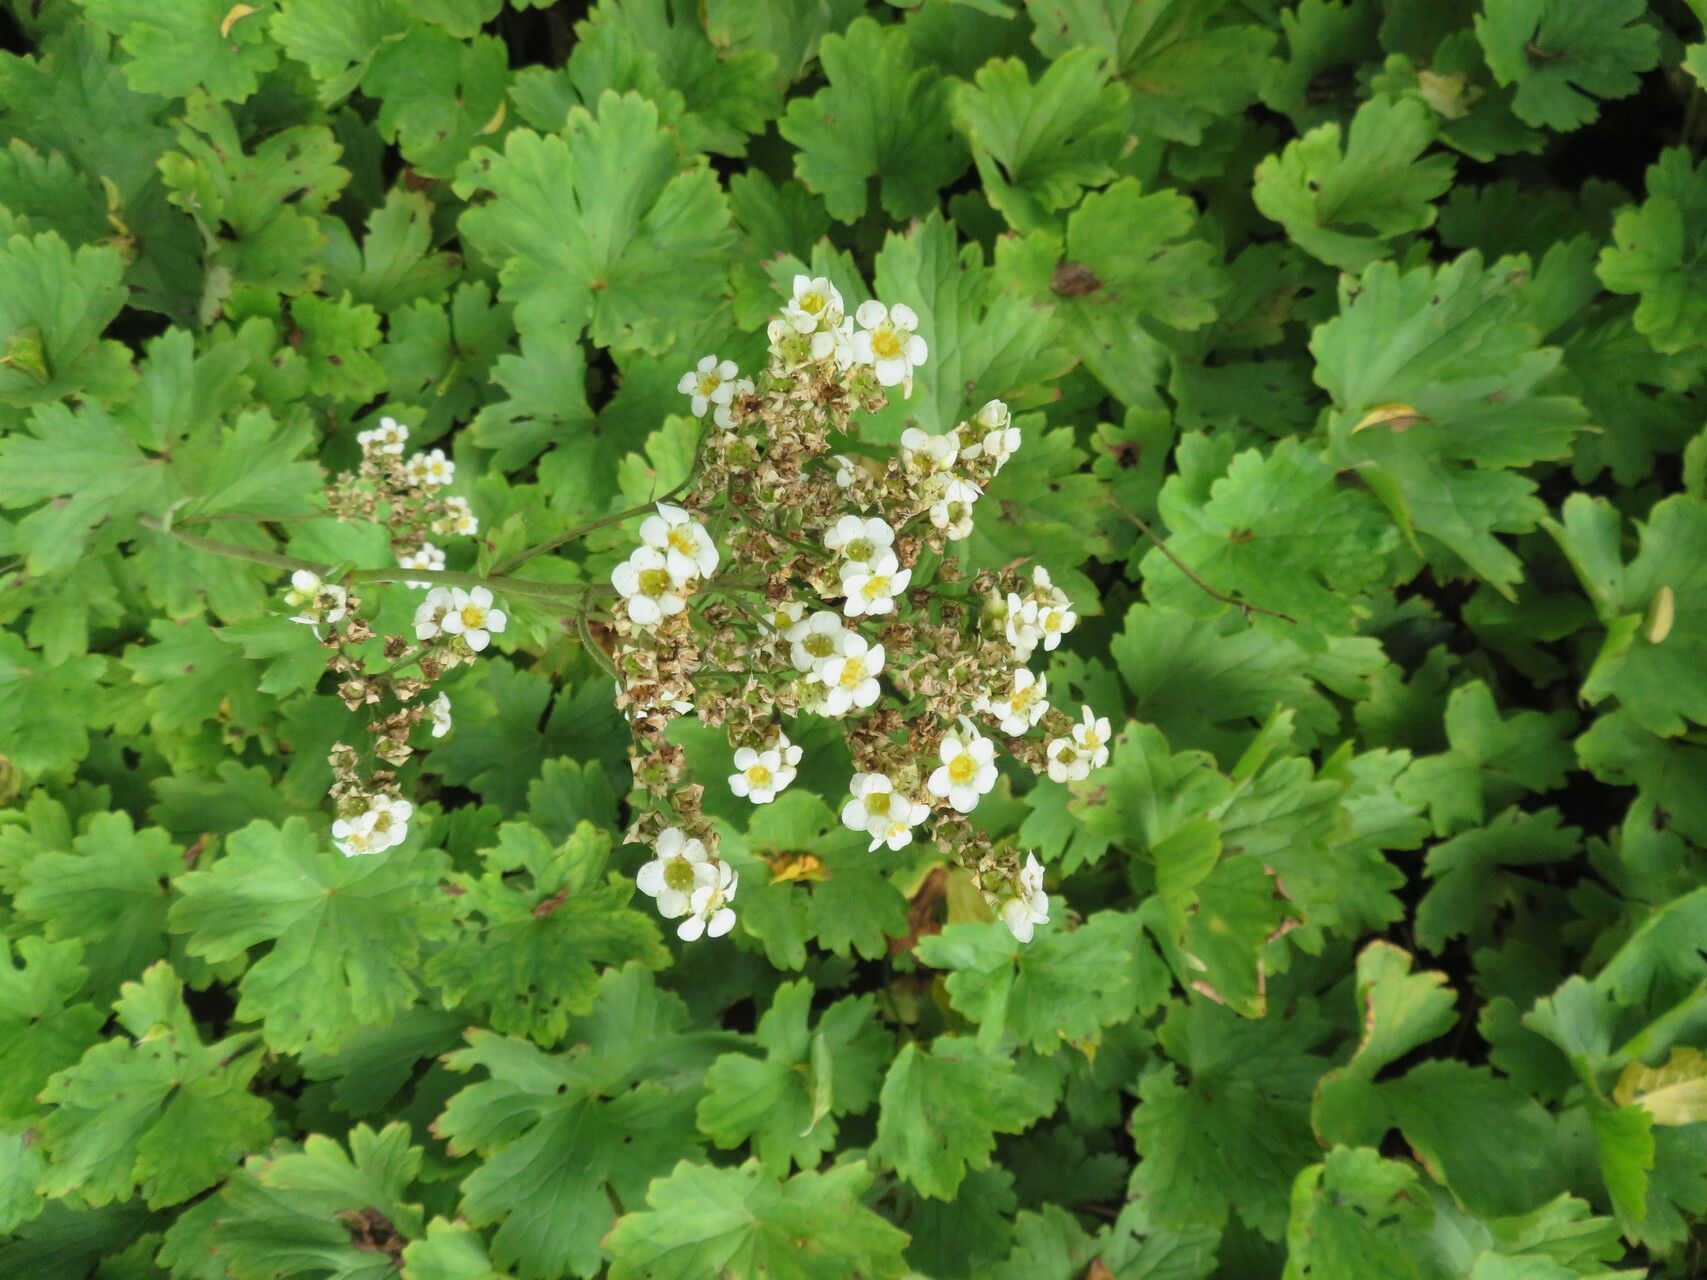
Hello there, fellow plant lovers! You know, sometimes the most unassuming plants steal our hearts, and Boykinia aconitifolia, or perhaps more familiarly, Alumroot, is one of them. I’ve been growing and nannying plants for about two decades now, and I’ve found such joy in coaxing new life from established favorites. This little woodland beauty, with its delicate, foamy white flower clusters and attractive foliage, is a perfect example. Propagating it is a wonderfully rewarding endeavor, and I think you’ll find it’s quite approachable, even if you’re just dipping your toes into the world of plant propagation.
The Best Time to Start
For Boykinia, my sweet spot for propagation is typically late spring to early summer. This is when the plant is actively growing and has plenty of energy to put into developing new roots. You can also have success with division in the fall, after the heat of summer has passed but before the hard frosts set in.
Supplies You’ll Need
Here’s what I usually gather before I get started:
- Sharp, clean pruning shears or a knife: Sterilized is key to preventing disease.
- A good quality potting mix or seed-starting mix: I often use a blend of peat moss, perlite, and a touch of compost. For divisions, a coarser mix with good drainage is excellent.
- Small pots or trays: Clean ones, of course!
- Rooting hormone (optional but helpful): A powdered or liquid form can give your cuttings a boost.
- A watering can or spray bottle: For gentle watering.
- Labels and a pen: To keep track of what you’ve planted.
- A clear plastic bag or humidity dome: To keep things moist.
Propagation Methods
Boykinia aconitifolia is quite amenable to a couple of methods. Let’s dive in!
1. Division: This is, in my opinion, the easiest way to get started with Boykinia.
- Identify a mature plant that has grown into a clump.
- Gently dig up the entire plant from its pot or the ground. Try to disturb the roots as little as possible.
- Loosen the soil from the root ball.
- Carefully tease apart the root system into smaller sections. You’re looking for sections that have both roots and at least a few leafy stems. You can use your hands for this, or if it’s a bit stubborn, a clean knife can help you make the separation.
- Replant each division into its own pot filled with your prepared potting mix. Make sure the crown (where the leaves emerge from the roots) is at soil level.
- Water thoroughly and keep the soil consistently moist, but not waterlogged.
2. Stem Cuttings: This method takes a little more patience, but it’s incredibly satisfying.
- Select healthy, non-flowering stems from your mature plant. Look for stems that are relatively firm but not woody.
- Using your clean shears or knife, take cuttings about 4-6 inches long. Make your cut just below a leaf node (the point where a leaf attaches to the stem).
- Remove the lower leaves, leaving only a couple of leaves at the very top. This reduces water loss.
- If you’re using rooting hormone, dip the cut end of each cutting into the powder or liquid, tapping off any excess.
- Insert the cuttings into pots filled with your well-draining potting mix. You can make a small hole with a pencil or your finger to avoid rubbing off the rooting hormone.
- Gently water the soil and then cover the pots with a clear plastic bag or a humidity dome. This creates a mini-greenhouse.
- Place the pots in bright, indirect light.
The “Secret Sauce” (Pro Tips)
Here are a couple of little tricks I’ve learned over the years that often make a big difference:
- For stem cuttings, use bottom heat! I find that placing the pots on a gentle seedling heat mat significantly speeds up root development. The warmth encourages the plant to put its energy into growing roots.
- Don’t be afraid to mist. Especially with stem cuttings under a dome, a light misting of the leaves every day or two can help keep them turgid and happy while they’re trying to root.
- When dividing, inspect the roots. Sometimes, especially if a division is older, you might find some rhizomatous growth. You can often cut these rhizomes into sections, ensuring each section has a bud or growth point, and they’ll sprout new shoots.
Aftercare & Troubleshooting
Once you see signs of new growth – tiny leaves emerging or you feel resistance when gently tugging a cutting – that’s a good indication that roots have formed!
- Wipe away the plastic cover gradually. First, poke a few holes in it, then remove it entirely over a few days. This helps the new plant acclimate to drier air.
- Continue to keep the soil consistently moist. Water when the top inch of soil feels dry.
- Let the new plants grow for a few weeks or months until they are a good size before considering transplanting them into larger pots or their permanent garden spot.
What to watch out for? The biggest culprit for failure, especially with cuttings, is rot. This usually happens when the soil is too wet and there isn’t enough air circulation. If you see stems turning mushy or black at the soil line, unfortunately, that cutting is likely lost. Ensure good drainage and don’t overwater.
A Little Patience Goes a Long Way
Propagating plants is a bit like tending a garden – it requires a good dose of patience and a willingness to learn. Don’t be discouraged if your first attempt isn’t a roaring success. Celebrate the small victories, observe your plants, and enjoy the process of coaxing more of these lovely Boykinia beauties into existence. Happy propagating!
Resource:
https://identify.plantnet.org/k-world-flora/species/Boykinia%20aconitifolia%20Nutt./data