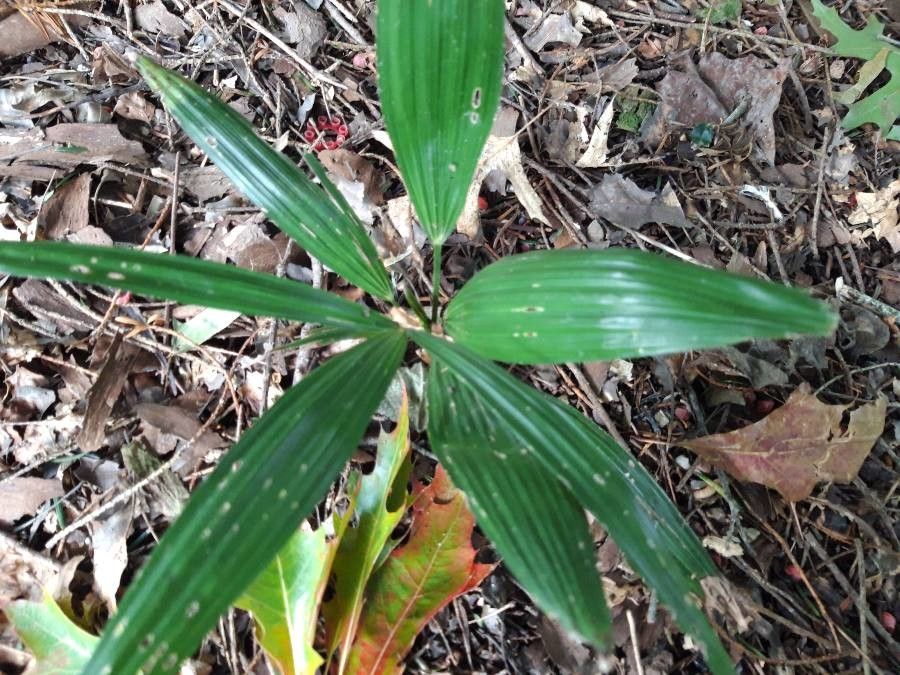
Oh, hello there! So glad you’ve stopped by. Today, we’re going to chat about a plant that’s really captured my heart over the years: Asplundia utilis. You might know it by its common name, Weaver’s Bamboo, or sometimes just Asplundia. It’s got this wonderful, architectural elegance with its long, slender stems and cascading foliage. It brings such a tropical vibe to even the most subdued gardens, and honestly, watching it unfurl is pure joy.
Now, about propagating it. Is it a walk in the park for absolute beginners? Honestly, I’d say it’s more of a gentle stroll. It’s not as tricky as some of the fussier orchids, but it does require a little attention to detail. But the reward of seeing a new little Asplundia start its journey? Absolutely worth it.
The Best Time to Start
Think vibrant growth. For Asplundia utilis, the spring and summer months are your absolute best friends. This is when the plant is actively putting on new growth and has the energy to push out roots. You’re looking for healthy, mature stems that are actively growing, not those that are old or have slowed down significantly.
Supplies You’ll Need
Here’s a little checklist to get you prepped. It’s always good to have everything ready before you start.
- Sharp Pruning Shears or a Clean Knife: You want a clean cut to avoid damaging the plant.
- Rooting Hormone (Optional but Recommended): This little helper can significantly speed up root development. I like to use a powder form.
- Well-Draining Potting Mix: A peat-based mix with added perlite or coco coir works beautifully. We want to avoid waterlogged soil at all costs.
- Small Pots or Trays: For your new cuttings.
- Plastic Bags or a Propagator: To create a humid environment.
- Water: For watering and potentially water propagation.
- A Spray Bottle: For misting.
Propagation Methods
We’ll focus on two of the most successful ways to get more Asplundia from your existing beauty.
Stem Cuttings
This is my go-to method for Asplundia.
- Select Your Stem: Find a healthy, vigorous stem that’s at least a year old, if possible. Look for one with several nodes – those little bumps where leaves emerge.
- Take the Cutting: Using your sharp shears, make a clean cut about an inch below a node. You’ll want cuttings that are roughly 6-8 inches long. Remove most of the lower leaves, leaving just a few at the top. This reduces water loss.
- Apply Rooting Hormone: Dip the cut end of the stem into your rooting hormone, ensuring it’s well-coated. Tap off any excess.
- Plant the Cutting: Fill your small pots with your well-draining potting mix. Make a small hole with your finger or a pencil and gently insert the cutting, ensuring the nodes are submerged in the soil. Firm the soil around the base.
- Water and Cover: Water the soil gently but thoroughly. Then, cover the pot with a clear plastic bag or place it in a propagator. This is crucial for maintaining high humidity, which your cutting desperately needs as it hasn’t developed roots yet. Secure the bag with a rubber band.
Water Propagation
This method has a certain charm, and it’s very satisfying to watch the roots grow.
- Take the Cutting: Similar to stem cuttings, select a healthy stem and make a clean cut below a node. Again, remove most of the lower leaves.
- Place in Water: Find a clean jar or vase and fill it with room-temperature water. Submerge the lower portion of the cutting, making sure at least one node is underwater. Many gardeners find that avoiding letting the leaves touch the water helps prevent rot.
- Find a Bright Spot: Place the jar in a location that receives bright, indirect light.
- Change the Water Regularly: Every few days, change out the water to keep it fresh and oxygenated.
The “Secret Sauce” (Pro Tips)
Now for a couple of things I’ve learned over the years that really make a difference.
- Bottom Heat is Your Friend: If you’re using stem cuttings, especially during cooler months or if your home has a tendency to be a bit chilly, consider using a seedling heat mat. Placing your pots on a gentle heat source from below can dramatically speed up root formation. It mimics the warmth of spring soil.
- Don’t Over-Water: I know I said to water thoroughly initially, but after that, it’s about moderation. Allow the top inch of soil to dry out slightly between waterings. Overwatering is the express train to root rot, and nobody wants that! For water propagation, changing the water is key, not just topping it up.
Aftercare & Troubleshooting
Once you see those lovely little white roots emerging (and you will!), it’s time for a bit of TLC.
For stem cuttings, once the roots are a good half-inch to an inch long, you can slowly acclimate them to lower humidity. Gradually lift the plastic bag for a few hours each day, or vent your propagator. Once they feel sturdy and are showing new leaf growth, they are ready to be transplanted into their own small pots. Continue to keep them in bright, indirect light and water when the topsoil is dry.
For water-propagated cuttings, wait until the roots are a few inches long and robust before carefully planting them into your well-draining potting mix. Treat them like a freshly potted cutting initially, keeping the soil consistently moist but not soggy.
What about problems? The main villain here is root rot. This shows up as mushy, black stems at the soil line, or cuttings that wilt dramatically and don’t perk up. If you see this, sadly, it’s usually too late to save that particular cutting. Prevention is key: good drainage and mindful watering are your best defense. Yellowing leaves can sometimes mean too much direct sun, or inconsistent watering.
A Encouraging Closing
There you have it! Propagating Asplundia utilis is a journey, and like all good garden adventures, it’s about observation, patience, and a little bit of love. Don’t be discouraged if your first attempt isn’t perfect. Each cutting, each new plant, is a learning experience. Enjoy the process, celebrate every tiny root, and soon you’ll be sharing your beautiful new Asplundia with everyone! Happy propagating!
Resource:
https://identify.plantnet.org/k-world-flora/species/Asplundia%20utilis%20(Oerst.)%20Harling/data