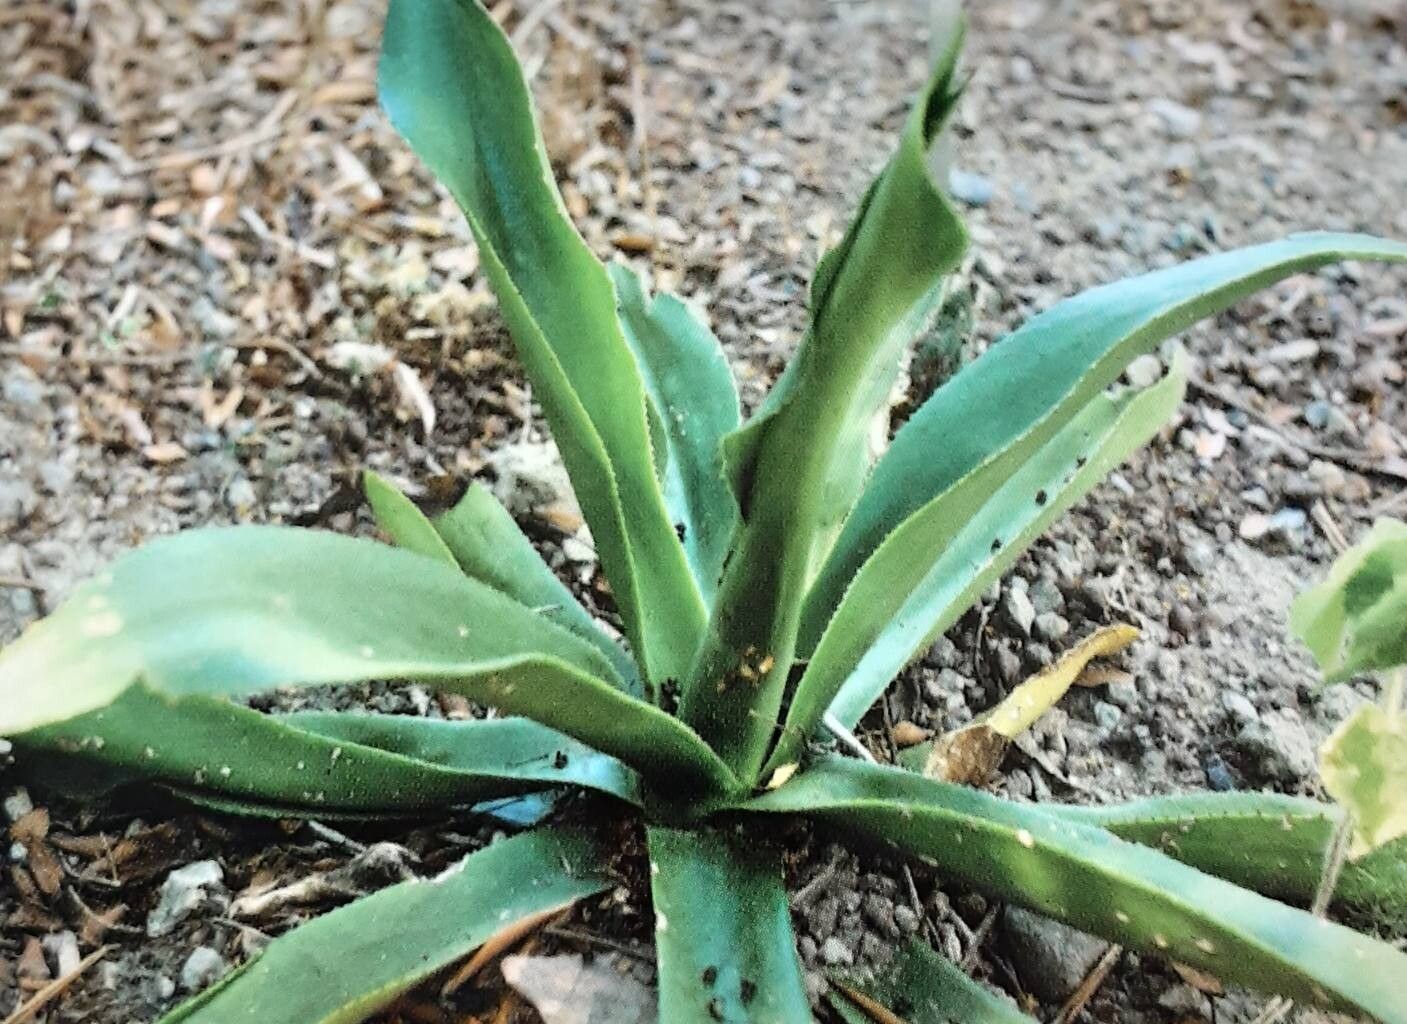
Oh, hello there! Come on in, pull up a chair. Let me pour you a cup of coffee. Today, we’re going to talk about something truly special: Agave antillarum. I’ve got a particular soft spot for these tough beauties. There’s something so rewarding about watching a new plant emerge from a small piece of its parent, isn’t there? And Agave antillarum, with its architectural form and resilience, makes for an especially satisfying project. If you’re new to plant propagation, I’d say this is a fantastic place to start. They’re surprisingly forgiving!
The Best Time to Start
When it comes to getting new Agave antillarum babies, timing really is key. The absolute best time to embark on this journey is during their most active growing season. For most of us, that means late spring through summer. You’re looking for plants that are actively producing pups, those little offspring that sprout from the base. Waiting until they’ve reached a decent size – say, at least a third of the mother plant’s size – will give them a much better chance at success.
Supplies You’ll Need
Getting your workspace ready is half the battle, I always say! Here’s what I like to have on hand:
- Sharp, clean pruning shears or a serrated knife: A clean cut is crucial to prevent disease.
- A well-draining potting mix: I usually use a cactus and succulent mix, or I make my own with equal parts potting soil, perlite, and coarse sand.
- Rooting hormone (optional but recommended): This can give your cuttings a nice boost.
- Terra cotta pots: They breathe well, which is great for succulents. Make sure they have drainage holes!
- Gloves: Agave can be spiky, so protect your hands!
- A small trowel or dibber: For making holes in the soil.
- Watering can with a fine rose: For gentle watering.
Propagation Methods
Agave antillarum is most commonly propagated through division of pups. It’s pretty straightforward!
- Identify and Prepare: Gently clear away some of the soil around the base of the mother plant to expose the pups. You’re looking for those little rosettes that have started to form their own root structure along the base of the parent.
- The Separation: Using your sharp pruning shears or knife, carefully cut the pup away from the mother plant. Try to get a clean break, and if possible, snag a few of its own roots along with it. This makes the transition much smoother.
- Let Them Callous: This is a super important step! After you’ve separated the pup, place it in a dry, well-ventilated spot away from direct sunlight for 2-3 days, or even up to a week. This allows the cut end to dry out and form a callous. This prevents rot when you plant it.
- Planting Time: Once the cut end has calloused over, it’s ready to plant. Fill your terra cotta pot with your well-draining soil mix. Make a hole in the center with your finger or a trowel, large enough to accommodate the pup’s base. If you’re using rooting hormone, dip the calloused end into the powder, tapping off any excess.
- Nestle It In: Gently place the pup into the hole and backfill with soil, firming it gently around the base to provide support. The pup should stand upright. Don’t plant it too deeply; you want the base to be right at soil level.
The “Secret Sauce” (Pro Tips)
Alright, lean in closer, because here are a couple of little tricks I’ve picked up over the years that really make a difference:
- Don’t Water Immediately: Resist the urge to water right after planting. Wait for about a week. This gives any tiny, unseen nicks from the separation time to heal, further reducing the risk of rot. Let the soil be dry when you introduce the new pup.
- Bottom Heat is Your Friend: If you can, place your newly potted pups on a heating mat designed for seedlings. This gentle warmth encourages root development from below, mimicking the ideal conditions for growth. It’s not essential, but it can significantly speed things up!
Aftercare & Troubleshooting
Once your pup is planted, be patient! For the first few weeks, water very sparingly, only when the soil is completely dry. You’ll know it’s happy when you see new growth emerging from the center of the rosette.
The biggest challenge you might face is rot. If the pup starts to look mushy at the base, or the leaves turn yellow and mushy, that’s a sure sign of too much moisture or not enough drainage. If you catch it early, you might be able to save it by gently unpotting, trimming away any rotted parts with a clean knife, and letting it callous again before replanting in fresh, dry soil. Sometimes, if it’s too far gone, it’s just the way of things in the garden. Don’t be discouraged!
A Encouraging Closing
So there you have it! Propagating Agave antillarum is a quiet, rewarding process. It takes a little patience, a little attention to detail, but the reward of a new, healthy plant is absolutely worth it. Enjoy the journey, and don’t be afraid to get your hands a little dirty! Happy gardening!
Resource:
https://identify.plantnet.org/k-world-flora/species/Agave%20antillarum%20Descourt./data