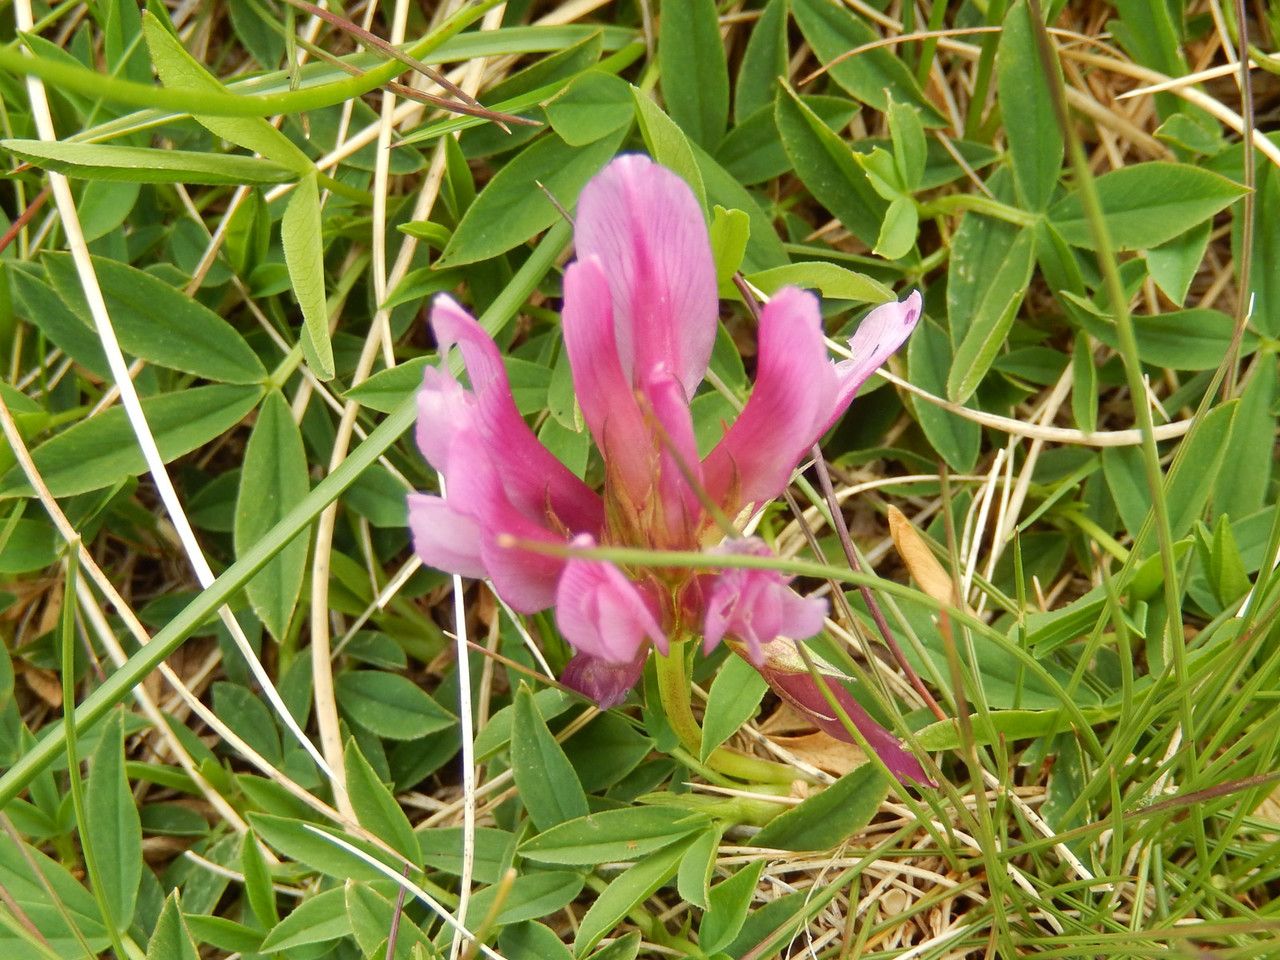
Hello, fellow garden enthusiasts! I’m so happy you’ve stopped by. Today, we’re going to talk about a plant that’s captured my heart over the years: Trifolium alpinum, or Alpine Clover, as it’s more commonly known. If you’ve ever seen this charming little gem gracing a rock garden or even a sunny patch of border, you know its appeal. The delicate, clover-like foliage and those lovely, often pinkish-purple flower heads are just delightful.
Propagating Trifolium alpinum is a truly rewarding experience. It’s a way to multiply that beauty and share it with friends, or simply to fill out your own garden spaces. Is it a good plant for absolute beginners? Well, it’s not quite as straightforward as, say, striking a common houseplant, but with a little patience and attention, I’m confident you can achieve success!
The Best Time to Start
For Trifolium alpinum, spring is your best bet. As the plant emerges from its winter dormancy and starts actively growing, it’s full of vigor. This is when it has the most energy to put into developing new roots. Aim to take cuttings or divide established plants once you see new shoots emerging, usually a few weeks after the last frost.
Supplies You’ll Need
Here’s what I recommend having on hand:
- Sharp pruning shears or a clean, sharp knife
- Rooting hormone (optional, but can be helpful)
- A well-draining potting mix. I like a blend of perlite, coarse sand, and a good quality potting soil. For alpine plants, excellent drainage is key!
- Small pots or seedling trays with drainage holes
- A watering can with a fine rose or a spray bottle
- Labels to keep track of your specimens!
Propagation Methods
There are a couple of main ways we can coax new Trifolium alpinum plants into existence.
1. Stem Cuttings: This is my go-to method for many perennials, and it works well for Alpine Clover.
- Select Healthy Stems: Look for nice, non-flowering stems that are about 3-4 inches long. They should be firm and green, not woody.
- Make the Cut: Using your clean shears or knife, make a clean cut just below a leaf node (where a leaf attaches to the stem).
- Prepare the Cutting: Gently remove the lower leaves. You want to expose some of the stem where roots will form.
- Apply Rooting Hormone (Optional): Dip the cut end of the stem into rooting hormone. Tap off any excess.
- Plant the Cutting: Insert the prepared cutting into your well-draining potting mix. Make a small hole with a pencil or your finger first to avoid rubbing off the rooting hormone. Firm the soil gently around the stem.
- Water and Cover: Water the potting mix thoroughly but gently. You can then cover the pot with a clear plastic bag or a dome to create a humid environment. Just make sure the leaves don’t touch the plastic!
2. Division: If you have an established clump of Trifolium alpinum, you can divide it to create more plants.
- Gently Excavate: Carefully dig up the entire plant. Try to keep as much of the root ball intact as possible.
- Locate Divisions: Gently shake off excess soil to expose the root system and crowns. You’ll usually see where individual shoots are emerging from the main root structure.
- Separate the Divisions: Using your hands or a trowel, gently pull the plant apart into smaller sections. Each section should have some roots and at least one or two healthy shoots. For tougher divisions, you might need to use your pruners or knife to cut through thicker roots.
- Replant Immediately: Pot up the divisions into your well-draining mix, burying the roots and covering the crown with soil. Water them well.
The “Secret Sauce” (Pro Tips)
Here are a few things I’ve learned over the years that can really make a difference:
- Airflow is Crucial After Rooting: Once your cuttings have started to show signs of rooting (you can gently tug and feel resistance), gradually remove the plastic cover. Too much humidity for too long can lead to fungal issues. Allow them to acclimatize to normal room humidity.
- Bottom Heat Can Speed Things Up: For cuttings, sitting the pots on a heat mat designed for propagation can significantly speed up root development. This mimics the warmth of spring soil and encourages those roots to explore. Just be careful not to overheat them; a gentle warmth is all that’s needed.
- Don’t Overwater Early On: This is a common mistake! While cuttings need moisture to root, soggy soil is the enemy. Let the surface of the soil dry out slightly between waterings. You want the soil to be consistently moist, not waterlogged.
Aftercare & Troubleshooting
Once your Trifolium alpinum has developed a good root system – you can check by gently tugging and feeling resistance, or by seeing roots peeking out of the drainage holes – it’s time for a little more room.
- Transplanting: Carefully transplant your new plants into slightly larger pots or their permanent garden spots. Ensure the new location offers full sun and excellent drainage.
- Watering: Water them in well after transplanting. Continue to water regularly, especially during dry spells, but always allow the soil to dry out a bit between waterings.
- Signs of Trouble: The most common issue you’ll encounter is rot, which is usually caused by overwatering or poor drainage. If a cutting wilts and turns mushy or discolored, it’s likely a rot issue. Remove it immediately and check your watering and soil. You might also see pests, so keep an eye out for aphids or spider mites, especially in dry conditions.
A Encouraging Closing
Growing new plants is a journey, not a race. Be patient with your Trifolium alpinum, and don’t get discouraged if not every attempt is a wild success. The joy is in the process, in learning what works for your plants and your conditions. So, gather your supplies, get your hands dirty, and enjoy the magic of coaxing new life from your beloved Alpine Clover. Happy gardening!
Resource:
https://identify.plantnet.org/k-world-flora/species/Trifolium%20alpinum%20L./data