Oh, hello there, fellow plant lovers! It’s so lovely to have you join me today. I’ve been dabbling in the dirt for two decades now, and I confess, my heart still flutters for a new plant baby. Today, we’re talking about Souroubea loczyi, a truly gem of a plant.
Embracing the Beauty of Souroubea loczyi
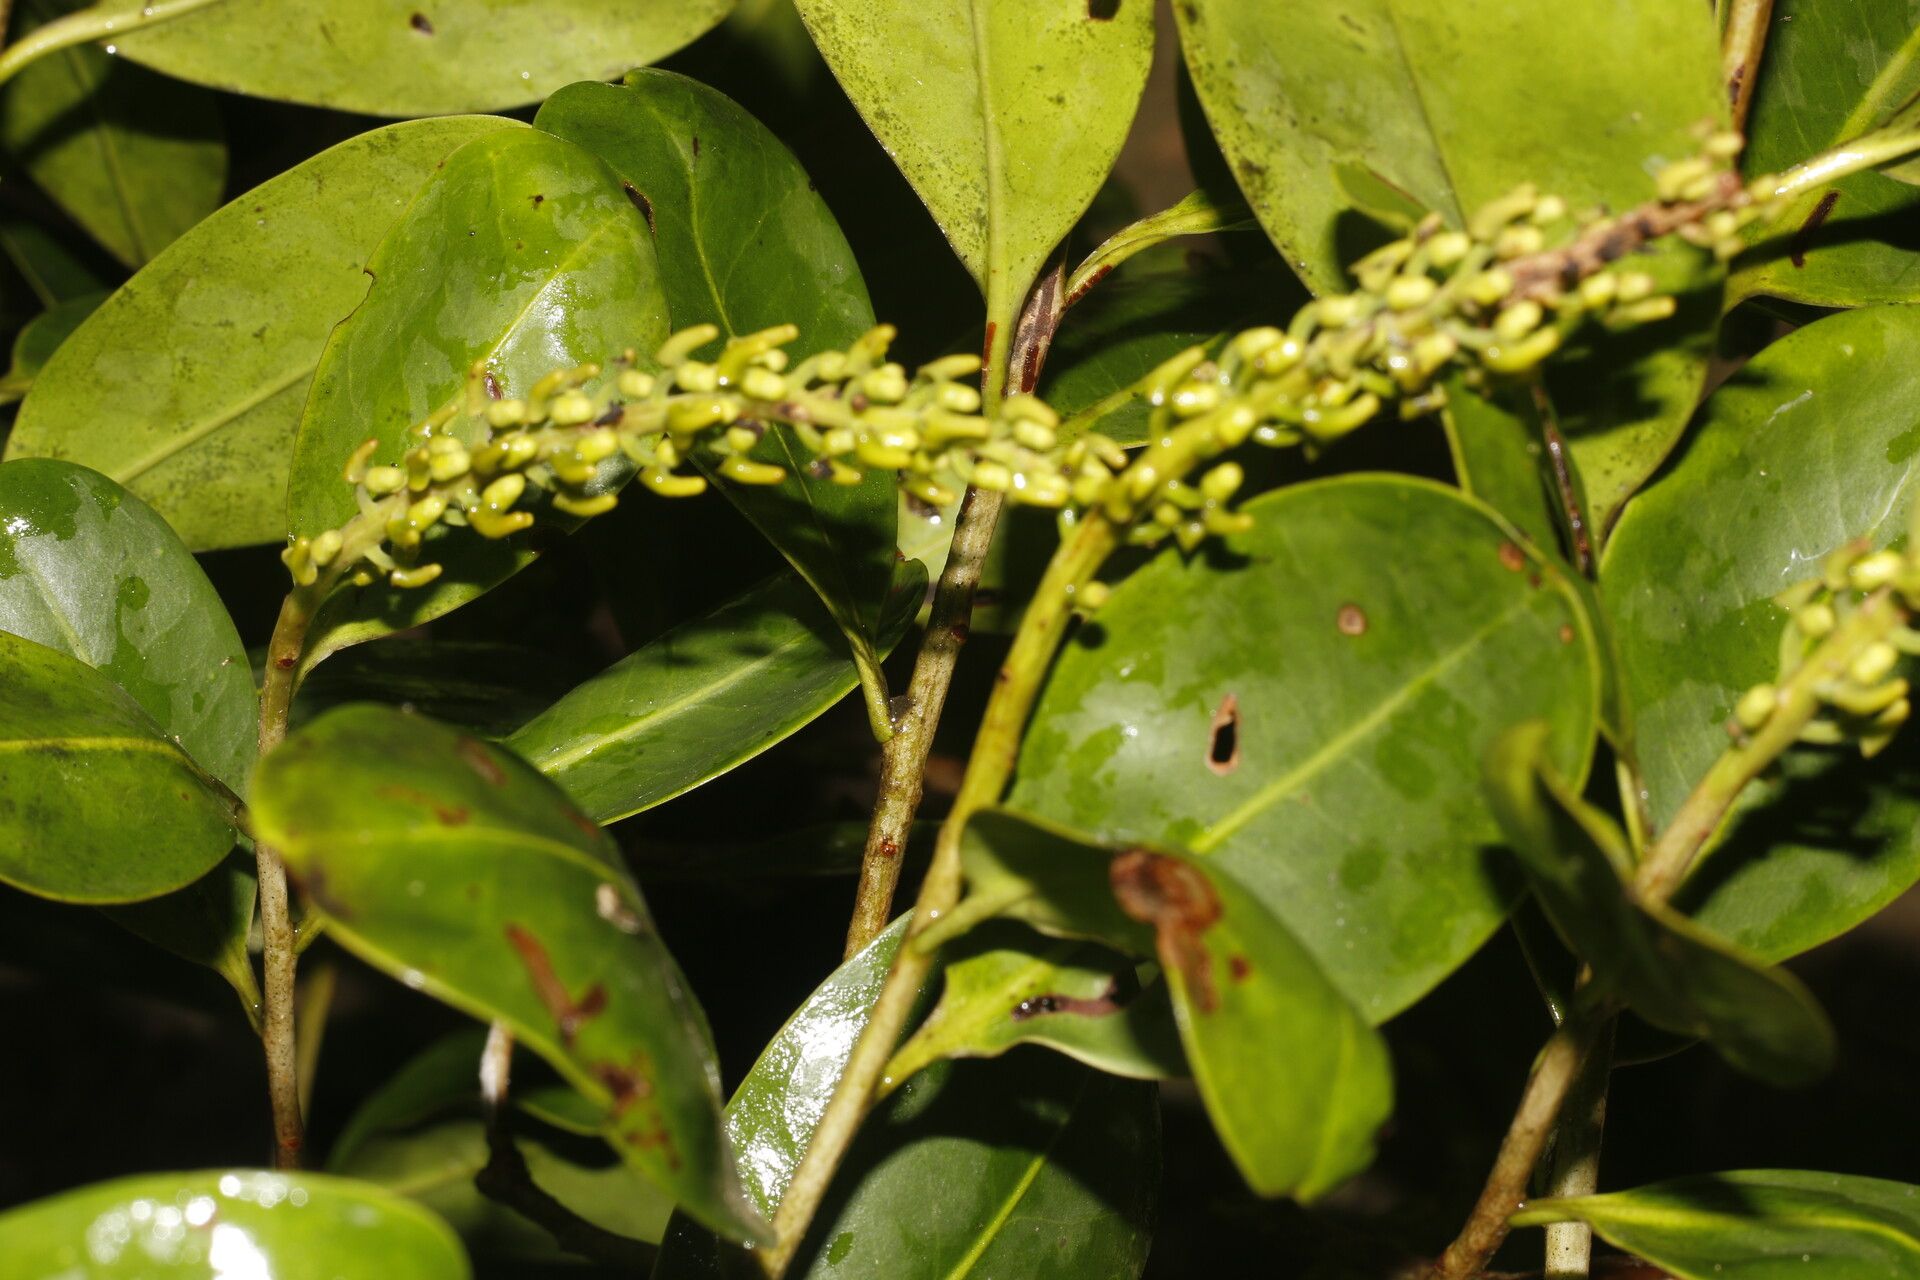
If you’re looking for a plant that brings a touch of the exotic with its striking foliage and, if you’re lucky, delightful blooms, then Souroubea loczyi might be your next obsession. It has this way of just adding lushness to any corner, whether it’s indoors or out in a sheltered spot. Propagating them is incredibly satisfying. Watching a tiny cutting transform into a thriving specimen is pure gardening magic! Now, is it a breeze for total beginners? I’d say it leans a little towards the intermediate side, but with a little care and attention, you absolutely can succeed.
When Nature Says “Go!”
The absolute sweet spot for propagating Souroubea loczyi is late spring through summer. This is when the plant is in its most vigorous growth phase. Think of it as nature’s peak energy boost – your cuttings will have the best chance of rooting and thriving then. You’re looking for stems that are actively growing, not old and woody, but also not brand new, super-soft growth. A nice semi-hardwood cutting is usually ideal.
Your Essential Propagation Toolkit
Gathering your supplies before you start is half the battle, and it makes the whole process much smoother. Here’s what I typically have on hand:
- Sharp, clean pruning shears or a craft knife: Cleanliness is key to preventing disease.
- Potting mix: A fast-draining blend is crucial. I like to mix 50% peat or coco coir with 50% perlite or coarse sand.
- Small pots or propagation trays: Whatever you have that can hold your cuttings and allow for good drainage.
- Rooting hormone powder or gel: This is a fantastic boost, especially for trickier plants.
- Plastic bags or a clear dome: To create a humid environment for your cuttings.
- A watering can with a fine rose: For gentle watering.
- Labels and a marker: To keep track of what you’ve propagated and when!
Bringing New Life: Propagation in Action
Let’s get our hands dirty! Here are my go-to methods for Souroubea loczyi:
Stem Cuttings: The Classic Choice
This is usually my most successful method.
- Take Your Cuttings: On a healthy, actively growing stem, make a clean cut just below a leaf node (where a leaf attaches to the stem). You’re aiming for cuttings that are about 4-6 inches long. Remove the lower leaves, leaving just two or three at the top.
- Apply Rooting Hormone: Dip the cut end of the stem into your rooting hormone, tapping off any excess. This gives it a little heads-up.
- Plant Your Cuttings: Fill your pots or trays with your prepared potting mix. Make a small hole with your finger or a pencil and gently insert the cutting, ensuring the leaf nodes are below the soil surface. Firm the soil gently around it.
- Water Gently: Water the soil thoroughly but gently, so you don’t dislodge your cuttings.
Water Propagation: A Peek at the Roots
This is a fun one because you can watch the roots develop!
- Prepare the Cuttings: Similar to stem cuttings, take healthy pieces about 4-6 inches long, removing the lower leaves.
- Place in Water: Pop your cuttings into a clean jar or glass filled with room-temperature water. Make sure the leaf nodes where you removed the leaves are submerged, but crucially, keep the remaining leaves out of the water. Any submerged leaves will just rot and can harm the cutting.
- Change Water Regularly: Change the water every few days to keep it fresh and oxygenated.
My “Secret Sauce” for Success
Over the years, I’ve picked up a few little tricks that seem to make all the difference.
- The Humidity Tent is Your Friend: Once your cuttings are planted (or in water), cover them with a clear plastic bag or a propagation dome. This creates a humid microclimate, which is essential for preventing the leaves from drying out before roots can form. Make sure the plastic doesn’t touch the leaves too much; you can use stakes if needed.
- A Gentle Warmth: If you have the option, placing your potted cuttings on a heat mat set to a low temperature (around 70-75°F or 21-24°C) can significantly speed up root development. It mimics the warmth of summer soil.
Nurturing Your New Sprouts & What to Watch For
Once you see tiny roots peeking from the drainage holes (for cuttings) or a good root system developing in water, it’s time for a little extra care.
- For Water Cuttings: Gently pot them into your well-draining potting mix. Keep the soil consistently moist but not waterlogged.
- For Soil Cuttings: Continue to keep the soil evenly moist. You can gradually increase the watering as the plant establishes.
- Acclimatize: If you’ve been using a humidity tent, start to gradually acclimatize your new plants to the ambient humidity by opening the bag or dome for a few hours each day before removing it completely.
Troubleshooting: The most common sign of failure is rot. If your cutting turns black and mushy, it’s likely succumbed to rot. This usually happens due to too much moisture and poor air circulation. If you see a bit of leaf yellowing and dropping, it might be natural as the plant puts energy into rooting. Don’t panic unless the whole stem starts to look unhealthy.
Patience is a Gardener’s Virtue
Propagating plants is a journey, not a race. Some will take off right away, while others will need a little more coaxing. Don’t be discouraged if your first few attempts aren’t perfect. Each cutting is a learning experience, and with a bit of patience and these tips, you’ll be surrounded by your own beautiful Souroubea loczyi in no time. Happy gardening!
Resource: