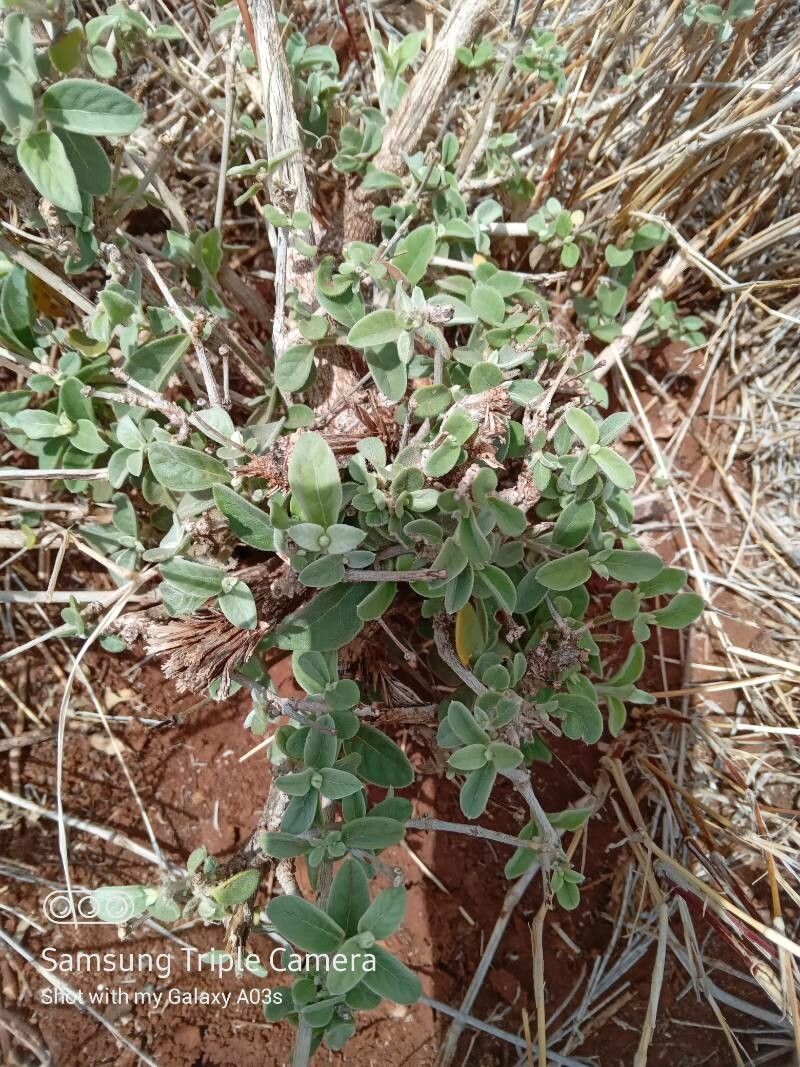
Hey there, fellow plant lovers! I’m so excited to chat with you today about a truly special plant: Sericocomopsis hildebrandtii. You know, the one with the velvety, silver-grey leaves that just glow? It’s a real stunner, adding such a touch of elegance to any space. And the best part? You can bring more of that magic into your home by propagating it!
Now, if you’re new to the plant propagation scene, I’ll be honest, Sericocomopsis hildebrandtii might present a slight learning curve. It’s not the absolute easiest, but with a little patience and the right approach, you’ll be rewarded with beautiful new plants. Think of it as a rewarding challenge that really builds your gardening confidence.
The Best Time to Start
My experience tells me that the late spring or early summer is absolutely prime time to take cuttings. This is when the plant is actively growing and has the most energy to put into developing new roots. You’re looking for stems that are firm and have developed, but not yet woody. Think of it as capturing the plant at its most vigorous point.
Supplies You’ll Need
Gathering your tools beforehand makes the whole process so much smoother. Here’s what I keep on hand:
- Sharp, Clean Pruning Shears or a Knife: Essential for making clean cuts.
- Rooting Hormone Powder (Optional but Recommended): This really gives your cuttings a boost.
- Well-Draining Potting Mix: I like a blend of perlite, peat moss, and a good quality potting soil. For this particular plant, a bit more aeration is key.
- Small Pots or Seed Trays: For your new little plants to get started. Make sure they have drainage holes!
- Clear Plastic Bag or Humidity Dome: To create a humid environment for your cuttings.
- Dibber or Pencil: For making holes in the soil.
- Watering Can or Spray Bottle: For gentle watering.
Propagation Methods
For Sericocomopsis hildebrandtii, I’ve found the most success with stem cuttings. It’s pretty straightforward once you know the drill.
- Select Your Cuttings: Look for healthy, non-flowering shoots. Aim for cuttings about 4-6 inches long. Make your cut just below a leaf node, which is where new roots are most likely to form.
- Prepare the Cuttings: Gently remove the lower leaves. You want to expose the nodes where you’ll be making contact with the soil or water. This also helps prevent leaves from rotting if they touch the soil.
- Apply Rooting Hormone (Optional): If you’re using rooting hormone, dip the cut end of your stem into the powder. Tap off any excess.
- Planting: Use your dibber or pencil to make a hole in your potting mix. Carefully insert the cutting, ensuring the nodes are below the soil surface. Gently firm the soil around it. If you’re water propagating, you’ll skip the soil and place the cutting in a jar of water, ensuring leaf nodes are submerged but leaves are not.
- Create Humidity: This is crucial! Cover the pot with a clear plastic bag or a humidity dome. You can secure it with a rubber band or tape. Make sure the bag isn’t touching the leaves too much – you want to create a steamy environment.
The “Secret Sauce” (Pro Tips)
Okay, now for a few things I’ve learned through trial and error that really make a difference.
- Don’t Drown Your Cuttings: Whether in soil or water, ensure the leaves never sit in standing water. This is a fast track to rot. For water propagation, change the water every few days to keep it fresh.
- Bottom Heat is Your Friend: Sericocomopsis hildebrandtii just loves a little warmth from below. Placing your pots on a seedling heat mat can significantly speed up root development. It mimics the warmth of the soil in the growing season.
- Patience is a Virtue (Especially with This One): Sometimes, it can take several weeks, even a couple of months, for new roots to form. Resist the urge to constantly tug at your cuttings to check for roots. You’ll know it’s time when you see signs of new growth and resistance when gently pulled.
Aftercare & Troubleshooting
Once you see those glorious new roots – you’ll know when they’re established because the plant will feel more secure and show new leaf growth! – it’s time to ease them into their new routine.
- Gradual Acclimation: Slowly start to remove the humidity dome over a few days. Let the new plant adjust to the ambient humidity.
- Watering: Water when the top inch of soil feels dry. Don’t overwater! Good drainage is key.
- Light: Keep them in a bright, indirect light spot. Direct sun can scorch tender new growth.
Now, let’s talk about what might go wrong. Rot is the most common culprit, usually due to too much moisture or poor air circulation. If you see your cutting turning dark and mushy, it’s likely rot. Remove it immediately to prevent it from spreading. Yellowing leaves can sometimes be a sign of stress, but if the stem is firm and you see new growth, it might just be the plant shedding older leaves to focus energy on new roots.
A Encouraging Closing
Propagating Sericocomopsis hildebrandtii is a journey, and like all good gardening adventures, it’s about learning and enjoying the process. Be patient with yourself and your new little plants. Watch for those subtle signs of life, and celebrate every tiny bit of progress. Soon, you’ll have a whole collection of these beauties to admire and share! Happy growing!
Resource:
https://identify.plantnet.org/k-world-flora/species/Sericocomopsis%20hildebrandtii%20Schinz/data