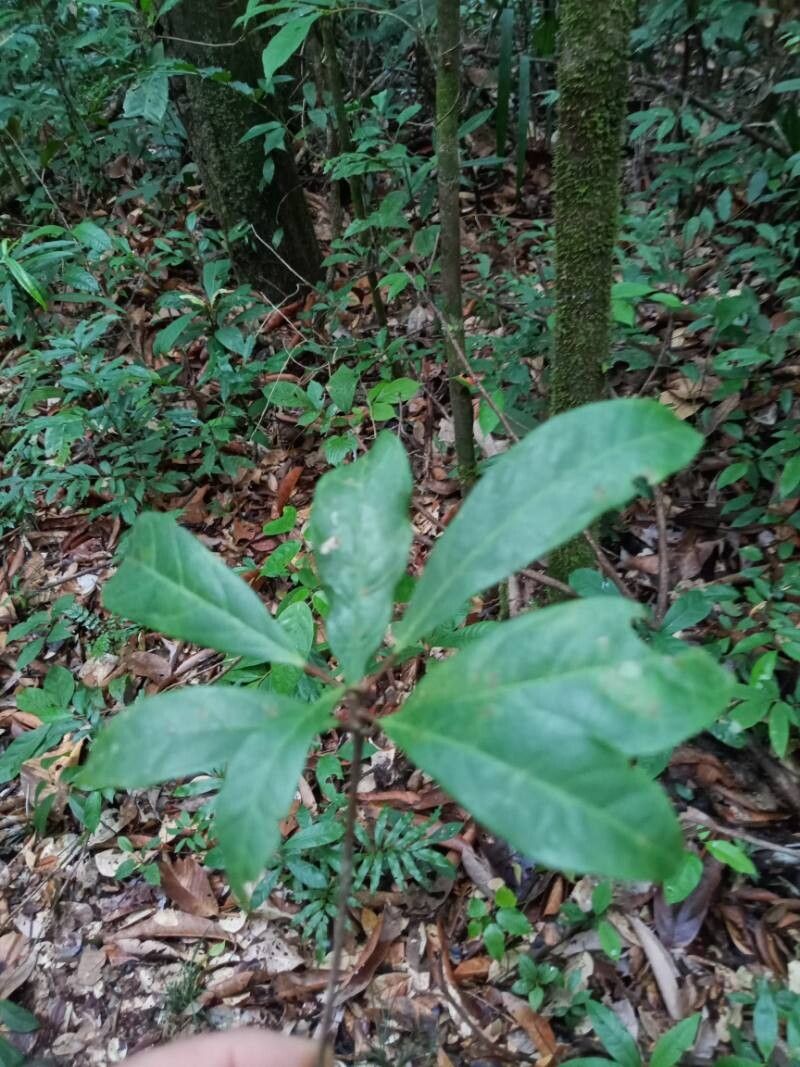
Oh, hello there! Come on in, grab a mug. We’ve got a fascinating little project on our hands today: propagating Sandwithia guyanensis. You know, that gorgeous plant with the elegant, almost architectural leaves that brings such a lush, tropical vibe to any space? I’ve been growing these beauties for years, and there’s something incredibly satisfying about coaxing a new life from a snippet of an existing one. Think of it as a little bit of gardening magic. Now, is it for absolute beginners? Honestly, Sandwithia guyanensis can be a tad fussy, but with a little patience and these tips, I think you’ll do wonderfully. It’s more about understanding its quiet needs than wrestling with it.
The Best Time to Start
For Sandwithia guyanensis, the sweet spot for propagation is generally late spring through early summer. This is when the plant is in full swing of its growing season. You’ll see fresh, vigorous new growth, and that’s precisely what we want to work with. Trying to propagate when the plant is resting in cooler months can be a much slower, often less successful endeavor. Look for stems that are firm and developing new leaves – those are your prime candidates.
Supplies You’ll Need
To get your propagation station set up, here’s what you’ll want to have on hand:
- Sharp, clean pruning shears or a sterile knife: Essential for clean cuts that heal well.
- Well-draining potting mix: I like a blend of perlite, peat moss, and coco coir. You can also buy commercial cactus and succulent mixes, as they often have the right aeration.
- Small pots or propagation trays: Nothing too big; we want the soil to dry out appropriately.
- Rooting hormone (optional but recommended): This can give your cuttings a helpful boost. Look for one that contains IBA (Indole-3-butyric acid).
- Plastic bag or propagation dome: To create a humid environment for your cuttings.
- Watering can with a fine rose or spray bottle: For gentle watering.
- Small pebbles or perlite (optional): To add extra drainage to the base of your pots.
Propagation Methods
The most reliable way I’ve found to propagate Sandwithia guyanensis is through stem cuttings.
- Select Your Cutting: Choose a healthy, non-flowering stem that’s about 4-6 inches long. Look for a section with at least two or three healthy leaves.
- Make the Cut: Using your clean shears, make a swift, clean cut just below a leaf node (where a leaf attaches to the stem). This is where roots are most likely to emerge.
- Prepare the Cutting: Gently remove the lower leaves from the cutting, leaving just the top two or three leaves intact. This reduces water loss and prevents leaves from rotting in the soil. If you have larger leaves, you can even cut them in half horizontally to further reduce water loss.
- Apply Rooting Hormone (Optional): If you’re using rooting hormone, dip the cut end of the stem into the powder or gel. Tap off any excess.
- Potting Up: Fill your small pot with your well-draining potting mix. Make a small hole in the center with your finger or a pencil, and insert the cut end of the stem. Firm the soil gently around the base of the cutting. You can add a few small pebbles or a layer of perlite at the bottom of the pot for even more drainage.
- Water Gently: Water the soil thoroughly but gently until water drains from the bottom of the pot.
- Create Humidity: Cover the pot with a plastic bag or place it under a propagation dome. Ensure the leaves aren’t touching the sides of the plastic, as this can encourage rot. You can use stakes to hold the bag up if needed. Place the pot in a warm spot with bright, indirect light.
The “Secret Sauce”
Here are a couple of things I’ve learned that really make a difference:
- Don’t Rush the Rooting Hormone: If you’re using rooting hormone, let the cutting dry for a few hours (or even overnight) after dipping it before planting. This allows the wound to callus over, which can help prevent rot and encourage better root development.
- Bottom Heat is Your Friend: Sandwithia guyanensis absolutely adores a little warmth from below. If you can, use a seedling heat mat under your propagation tray or pots. This consistently warm soil temperature encourages roots to form much faster and more reliably.
Aftercare & Troubleshooting
Once your cutting has been potted, keep the soil consistently moist but not waterlogged. Think of it as a wrung-out sponge. This is where that humidity dome or plastic bag is crucial in the initial stages. You should start to see signs of new growth after 4-8 weeks, though it can sometimes take longer. This is your sign that roots have formed!
The biggest challenge you’ll likely face is rot. If you notice the stem turning mushy and black at the soil line, it’s usually a sign of overwatering or poor drainage. Sadly, these cuttings are often beyond saving. To prevent this, always err on the side of caution with watering, and ensure your soil mix is super airy. If you see wilting that isn’t due to dryness, or leaves yellowing and falling off without any clear cause, it might be too much direct sun or inconsistent watering.
A Little Patience Goes a Long Way
Propagating plants, especially those with a bit of personality like Sandwithia guyanensis, is a journey. Some cuttings will take off like rockets, while others might be a bit more leisurely. Be patient with yourself and your little propagations. Enjoy the process of nurturing something new. Before you know it, you’ll have a whole new family of these stunning plants. Happy growing!
Resource:
https://identify.plantnet.org/k-world-flora/species/Sandwithia%20guyanensis%20Lanj./data