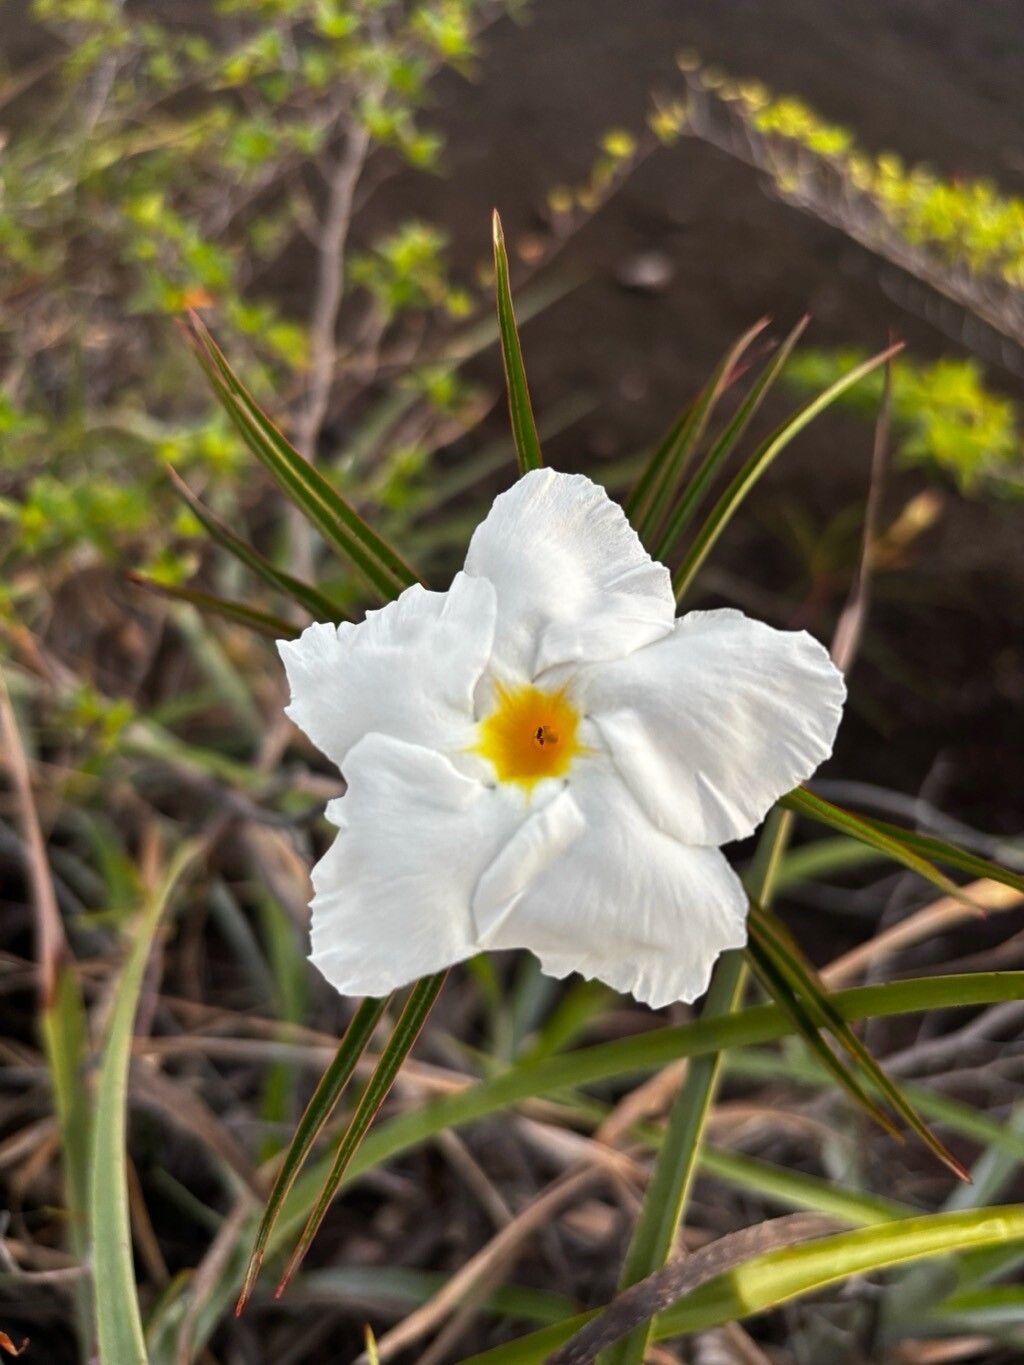
Hello, fellow plant lovers! It’s so lovely to have you here. Today, we’re diving into the wonderfully rewarding world of propagating Mandevilla lancifolia. If you’re like me, you’ve probably fallen head over heels for this tropical beauty. Those lush, glossy leaves and those vibrant, trumpet-shaped blooms – they just sing of sunshine and lazy summer days, don’t they?
The best part? You don’t have to buy a new one every year. With a little patience and a few simple steps, you can create your very own fleet of Mandevillas from cuttings. It’s a wonderfully satisfying feeling to watch a tiny twig transform into a thriving plant. For beginners? I’d say Mandevilla propagation falls into the “moderately easy” category. There are a few quirks, but once you get the hang of it, you’ll be a pro!
The Best Time to Start
The sweet spot for propagating Mandevilla lancifolia is undoubtedly late spring or early summer. This is when the plant is in its most vigorous growth phase, meaning it has plenty of energy to put into developing new roots. You’re looking for stems that are firm but not woody – think of them as “semi-hardwood” cuttings. Avoid taking cuttings from flowering stalks; we want all that energy focused on root development, not blooms.
Supplies You’ll Need
Before we get our hands dirty, let’s gather our tools. Having everything ready makes the whole process so much smoother.
- Sharp, clean pruning shears or a sharp knife: Essential for making clean cuts that heal well.
- Rooting hormone (optional but recommended): This powder or gel can significantly boost your success rate by encouraging faster root formation.
- Potting mix: A well-draining mix is crucial. I like to use a blend of equal parts perlite and peat moss or coco coir. You can also buy pre-made seedling or propagation mixes.
- Small pots or propagation trays: Clean pots with drainage holes are a must.
- Plastic bags or a propagation dome: To create a humid environment.
- Water: For moistening soil and for water propagation.
- Labels and a marker: So you don’t forget what you’ve planted where!
Propagation Methods
Let’s explore the most reliable ways to get new Mandevillas growing.
Stem Cuttings
This is my go-to method for Mandevilla.
- Select your stem: Find a healthy, non-flowering stem from your parent plant. Look for a section that’s about 4-6 inches long.
- Make the cut: Using your clean shears or knife, make a clean cut just below a leaf node. A leaf node is that little bump where a leaf attaches to the stem; roots often emerge from here.
- Prepare the cutting: Gently remove the leaves from the bottom half of the cutting. If the remaining leaves are very large, you can cut them in half horizontally to reduce water loss through transpiration.
- Apply rooting hormone (optional): Dip the cut end of the stem into your rooting hormone, tapping off any excess.
- Plant the cutting: Fill your small pot with your prepared potting mix and moisten it thoroughly. Make a small hole in the center of the soil with your finger or a pencil. Insert the cutting into the hole, ensuring the lowest leaf node is below the soil surface. Gently firm the soil around the stem.
- Create humidity: Water the soil again gently. Then, cover the pot with a plastic bag, propping it up with stakes so it doesn’t touch the leaves, or place it under a propagation dome. This creates a mini-greenhouse effect.
- Place in bright, indirect light: Find a warm spot that receives bright, indirect light. Avoid direct sun, which can scorch the delicate cuttings.
Water Propagation
This is a simpler method that lets you watch the magic happen.
- Select and prepare your cutting: Follow steps 1-3 from the stem cutting method. You don’t need to worry about rooting hormone with water propagation.
- Place in water: Fill a clean jar or glass with room-temperature water. Place the prepared cutting in the water, ensuring that no leaves are submerged. Submerged leaves will rot.
- Change the water regularly: Change the water every few days, or whenever it looks cloudy, to prevent bacterial growth.
- Place in bright, indirect light: Keep the jar in a warm location with bright, indirect light.
- Monitor for roots: You should start to see tiny white root nubs appearing from the leaf nodes within a few weeks.
The “Secret Sauce” (Pro Tips)
Alright, lean in, because here are a few things I’ve learned over the years that can really make a difference.
- Bottom Heat is a Game Changer: Mandevillas, being tropical plants, absolutely love a bit of warmth from below to encourage root growth. Using a seedling heat mat under your pots or propagation trays can dramatically speed up rooting. Just place it on a thermostat if you have one!
- Don’t Let Those Leaves Drip! This is a big one, especially for stem cuttings. If the leaves inside your humidity dome or plastic bag are constantly touching the condensation, they’re prone to fungal diseases and rot. Ensure there’s good airflow and that the foliage isn’t wilting or touching the sides. A little fan on a low setting nearby can do wonders.
- Be Patient with the “Wiggle Test”: When you think your cuttings might have rooted, don’t just yank them out. Gently tug on the cutting. If you feel definite resistance, that’s a good sign roots have formed. It can take anywhere from 4-8 weeks, so don’t get discouraged if it takes time!
Aftercare & Troubleshooting
Once you see those lovely roots poking out of the bottom of your pot, or have a good inch or two of growth in water, it’s time for the next stage.
- Transplanting: If you propagated in water, allow the roots to grow to about an inch long before carefully transplanting them into a pot with your well-draining potting mix. For cuttings rooted in soil, you can transplant them into slightly larger pots when they show signs of new leaf growth.
- Gradual Acclimation: Don’t shock your new babies! If you used a humidity dome or plastic bag, gradually introduce them to the ambient air by removing the cover for longer and longer periods each day over a week.
- Watering: Water consistently, allowing the top inch of soil to dry out between waterings.
- Troubleshooting: The most common issue is rot. This usually happens due to overwatering or poor drainage. If you see your cutting turning black and mushy, it’s likely too late. Prevent rot by ensuring excellent drainage and not keeping the soil constantly soggy. If you see wilting that doesn’t improve after watering, it might be a sign of insufficient root development or a poorly prepared cutting.
And there you have it! Propagating Mandevilla lancifolia is a journey, and like all good gardening adventures, it’s best enjoyed with a spirit of curiosity and a healthy dose of patience. Don’t be discouraged if your first attempt isn’t a hundred percent successful. Every cutting is a learning opportunity. Keep experimenting, keep growing, and soon you’ll have an abundance of these gorgeous blooms to enjoy. Happy propagating!
Resource:
https://identify.plantnet.org/k-world-flora/species/Mandevilla%20lancifolia%20Woodson/data