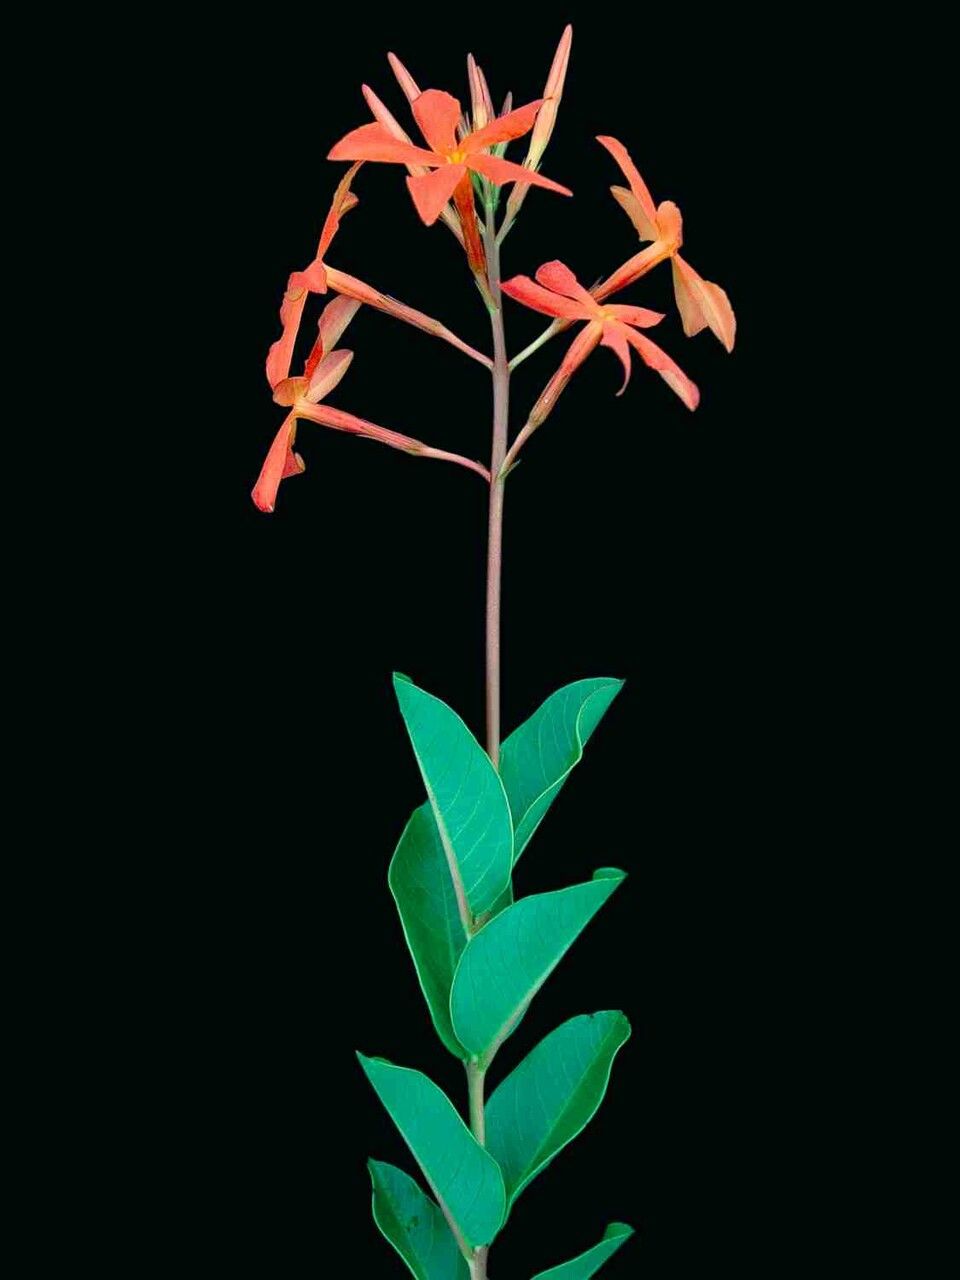
Oh, Mandevilla coccinea! What a stunner. Those vibrant crimson trumpets just scream summer joy, don’t they? I’ve spent countless hours admiring them climbing trellises and spilling from hanging baskets in my garden. The best part? You don’t need a huge budget to fill your space with these beauties. Propagating them from cuttings is incredibly rewarding, and honestly, it’s not as daunting as you might think. While some plants can be a bit fussy, Mandevilla is surprisingly forgiving, making it a great choice for those dipping their toes into propagation for the first time.
The Best Time to Start
When is the magic window for snipping? Spring and early summer are your absolute best friends here. This is when your Mandevilla is actively growing, pushing out those lush new shoots. Starting then gives your cuttings plenty of time to develop strong roots before cooler weather arrives. You’re looking for stems that are a bit firm but still somewhat flexible – think of them as being in their early twenties, not hardened old-timers or brand-new babies.
Supplies You’ll Need
Gathering your tools before you begin makes the whole process smoother. Here’s what I always have on hand:
- Sharp Pruning Shears or a Craft Knife: Clean cuts are crucial for healthy root development.
- Rooting Hormone: This is a lifesaver! It encourages faster and stronger root formation. I prefer a powder or gel.
- Well-Draining Potting Mix: A mix of perlite, peat moss, and a bit of compost works wonders. You can also buy a good quality seed-starting or propagation mix.
- Small Pots or Seedling Trays: Clean pots are a must to prevent disease.
- Plastic Bags or Propagator Lids: To create a humid environment.
- Watering Can or Spray Bottle: For gentle watering.
Propagation Methods
Let’s get our hands dirty! Stem cuttings are my go-to for Mandevilla.
Stem Cuttings:
- Take Your Cuttings: After you’ve chosen your ideal stems, use your sharp shears to take cuttings that are about 4-6 inches long. Make the cut just below a leaf node (where a leaf attaches to the stem). This is where those magical root-forming cells hang out.
- Prepare the Cuttings: Gently remove the lower leaves from your cuttings, leaving just a couple at the very top. This prevents them from rotting in the soil and allows the plant to focus its energy on rooting.
- Apply Rooting Hormone: Dip the cut end of each cutting into your rooting hormone, ensuring it’s coated. Tap off any excess.
- Plant Your Cuttings: Fill your small pots with your moistened, well-draining potting mix. Make a small hole with your finger or a pencil and gently insert the cutting, ensuring at least one leaf node is buried in the soil. Firm the soil gently around the stem.
- Create Humidity: Water gently to settle the soil. Then, cover the pot with a clear plastic bag (supported by stakes so it doesn’t touch the leaves) or a propagator lid. This traps moisture and creates a mini-greenhouse.
The “Secret Sauce” (Pro Tips)
There are a few little tricks I’ve learned over the years that really give your Mandevilla cuttings a boost.
- Bottom Heat is Your Friend: If you have a seedling heat mat, placing your pots on it can work wonders. Warmth from below encourages those roots to start exploring much faster. It mimics the conditions many tropical plants love.
- Don’t Let Leaves Touch Water: If you decide to try propagating in water (which can work for Mandevilla too, though I find cuttings more reliable), make sure absolutely no leaves are submerged. Roots will form, but leaves will rot, and that’s a fast track to disappointment. Keep only the bare stem in the water.
- Air Circulation Matters: While humidity is key, you don’t want stagnant air. I like to “vent” my covered cuttings for about 15-20 minutes each day. Just lift the bag or lid. This allows for some fresh air exchange and helps prevent fungal issues.
Aftercare & Troubleshooting
Once your cuttings are nestled in their pots, patience is your most valuable tool. Keep the soil consistently moist but not waterlogged. You should see signs of new growth – tiny leaves unfurling or a gentle tug resistance – within 4-8 weeks.
The most common issue you might encounter is rot. If your cutting turns mushy, black, or smells funky, it’s likely rotted. This usually happens from too much moisture and poor air circulation. Don’t be discouraged! Just toss the rotten cutting and try again with a fresh one, making sure to adjust your watering and ventilation. Sometimes, cuttings simply fail to root. It’s part of the process, and every gardener experiences it.
A Encouraging Closing
So there you have it! Propagating Mandevilla coccinea is a beautiful way to multiply your joy and share these stunning blooms. Be patient with your new plant babies. Watch them, care for them, and celebrate every tiny new leaf or root. Happy propagating, and may your gardens be filled with crimson!
Resource: