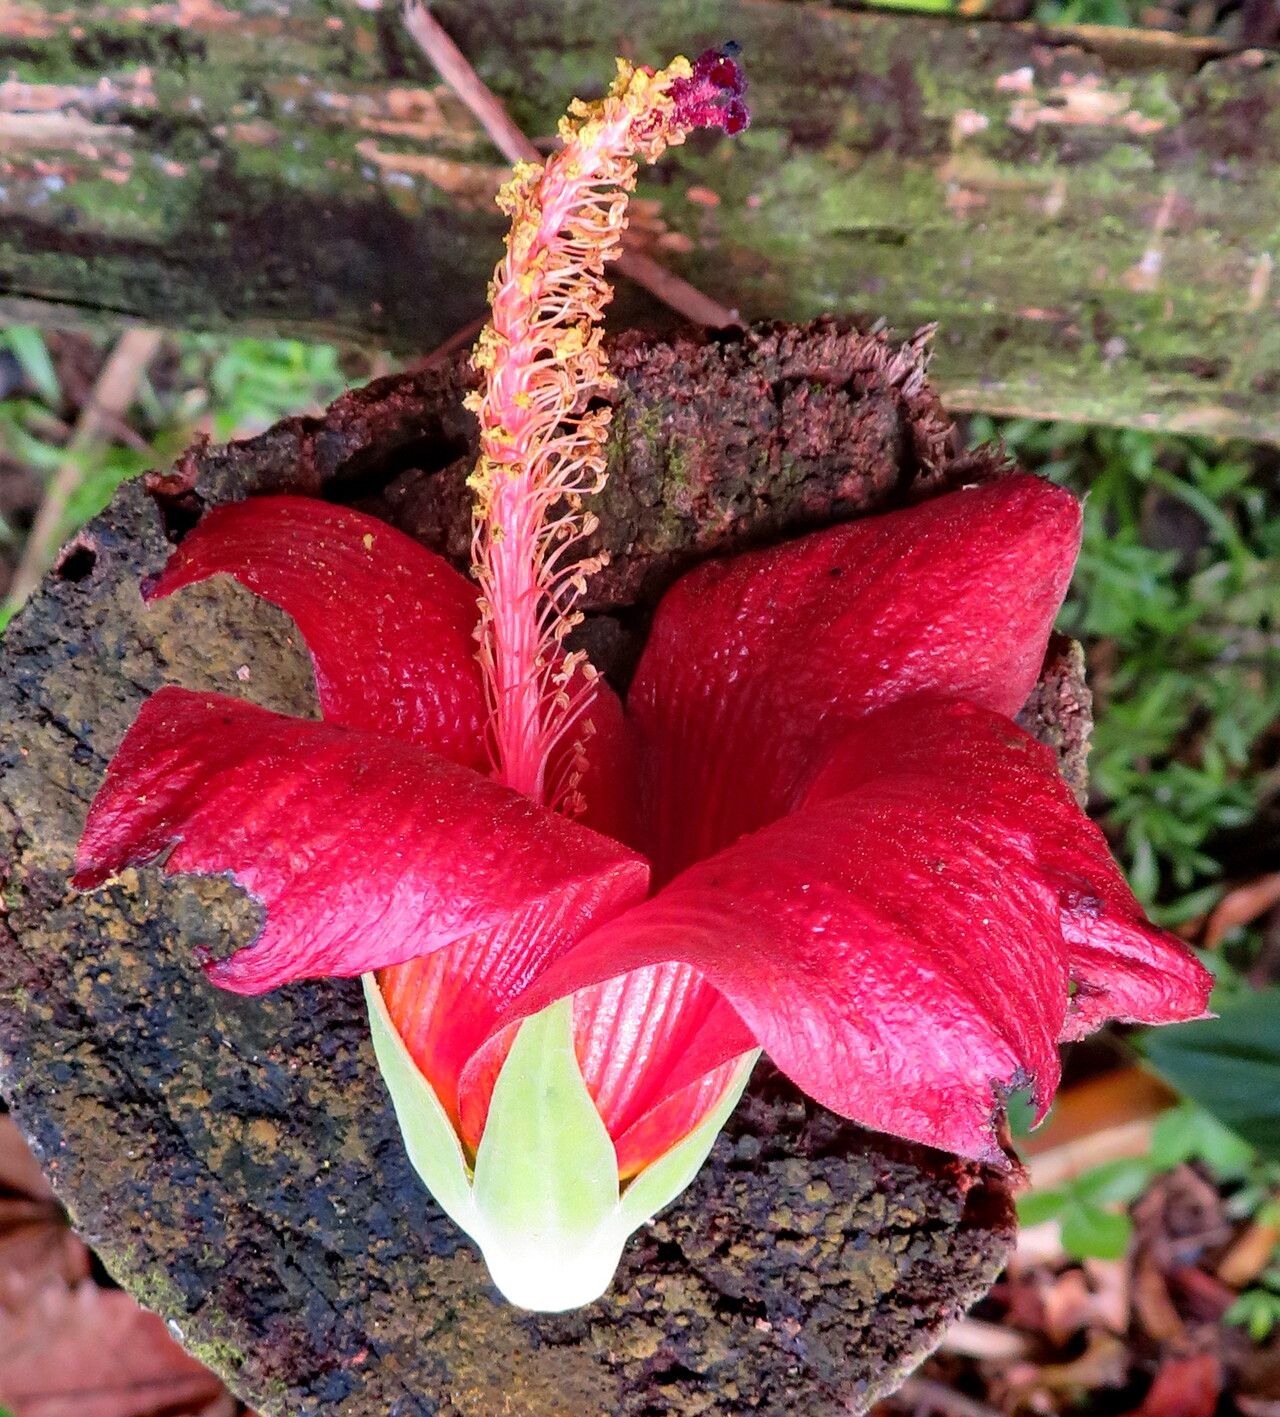
Hello, green-thumbed friends! If you’ve ever been captivated by the vibrant blooms and lush foliage of Hibiscus elatus, you’re not alone. This tropical beauty is a showstopper, and the joy of coaxing a new plant into existence from a small cutting is incredibly rewarding. Now, I know some plants can be a bit finicky, but I’m happy to tell you that propagating Hibiscus elatus is remarkably achievable, even for those just starting their propagation journey. With a little guidance, you’ll be creating your own hibiscus havens in no time.
The Best Time to Start
When it comes to happy hibiscus babies, timing is everything. You’ll have the highest success rate by propagating during the plant’s active growing season. For most of us, this means late spring through summer. Look for stems that are semi-hardwood – not brand new and floppy, but not woody and stiff either. These stems have the perfect balance of flexibility and stored energy to root.
Supplies You’ll Need
Gathering your tools beforehand makes the whole process smoother. Here’s what I usually have on hand:
- Sharp Pruning Shears or a Clean Knife: Essential for making clean cuts.
- Rooting Hormone: A little boost can make a big difference in encouraging roots to form. I recommend a powder or gel.
- Potting Mix: A well-draining mix is crucial. I often use a blend of equal parts perlite and coco coir, or a good quality seed-starting mix.
- Small Pots or Trays: Clean pots with drainage holes are a must.
- Plastic Bag or Propagator Lid: To create a humid environment.
- Water: For misting and watering.
Propagation Methods: Stem Cuttings
This is my go-to method for Hibiscus elatus because it’s so effective.
- Take Your Cuttings: Select a healthy, non-flowering stem. Aim for cuttings that are about 4-6 inches long. Make a clean cut just below a leaf node (where a leaf attaches to the stem). Remove the lower leaves, leaving just a few at the top.
- Dip in Rooting Hormone: Lightly moisten the cut end of the stem and then dip it into your rooting hormone, tapping off any excess.
- Plant the Cuttings: Fill your pots or trays with your prepared potting mix. I like to make a small hole with a pencil or my finger, then gently insert the cutting. Firm the mix around the stem to ensure good contact.
- Water Thoroughly: Gently water the soil until it’s evenly moist, but not waterlogged.
- Create Humidity: Cover the pots with a clear plastic bag or a propagator lid. This traps moisture and keeps the humidity high, which is vital for cuttings. Make sure the leaves don’t touch the plastic if possible.
The “Secret Sauce” (Pro Tips)
Over the years, I’ve picked up a few tricks that really make a difference.
- Bottom Heat is Your Friend: If you have a seedling heat mat, placing your pots on it can significantly speed up root development. It mimics the warmth of the tropics and encourages those roots to get going.
- Mist, Don’t Drench: While humidity is key, overwatering the leaves can lead to fungal issues. I lightly mist the leaves every day or two, especially if I don’t have a sealed propagator.
- Be Patient with the Leaf Drop: Don’t panic if some leaves yellow and drop. This is normal as the cutting focuses its energy on rooting. As long as the stem itself remains firm and green, there’s hope!
Aftercare & Troubleshooting
Once you start to see signs of rooting – like tiny white bumps peeking out at the drainage holes or new leaf growth – you can gradually begin to acclimate your new plant to normal conditions.
- Gradual Acclimation: Slowly remove the plastic bag or propagator lid over a week or two.
- Watering: Keep the soil consistently moist but not saturated. Let the top inch of soil dry out slightly between waterings.
- Light: Place your young plants in a bright spot with indirect sunlight. Direct sun can scorch their delicate new leaves.
The most common issue you might encounter is rot. This usually happens due to overwatering or poor drainage. If a cutting turns mushy and black, it’s unfortunately a sign it hasn’t made it. Don’t be discouraged; start again with fresh cuttings and ensure your soil is well-draining.
A Little Patience Goes a Long Way
Propagating a plant is a beautiful process of nurturing and waiting. There will be times of excitement and perhaps a little worry, but the reward of nurturing a new Hibiscus elatus from a humble cutting is immense. Trust the process, enjoy the journey, and soon you’ll have a beautiful new bloom to admire. Happy gardening!
Resource:
https://identify.plantnet.org/k-world-flora/species/Hibiscus%20elatus%20Sw./data