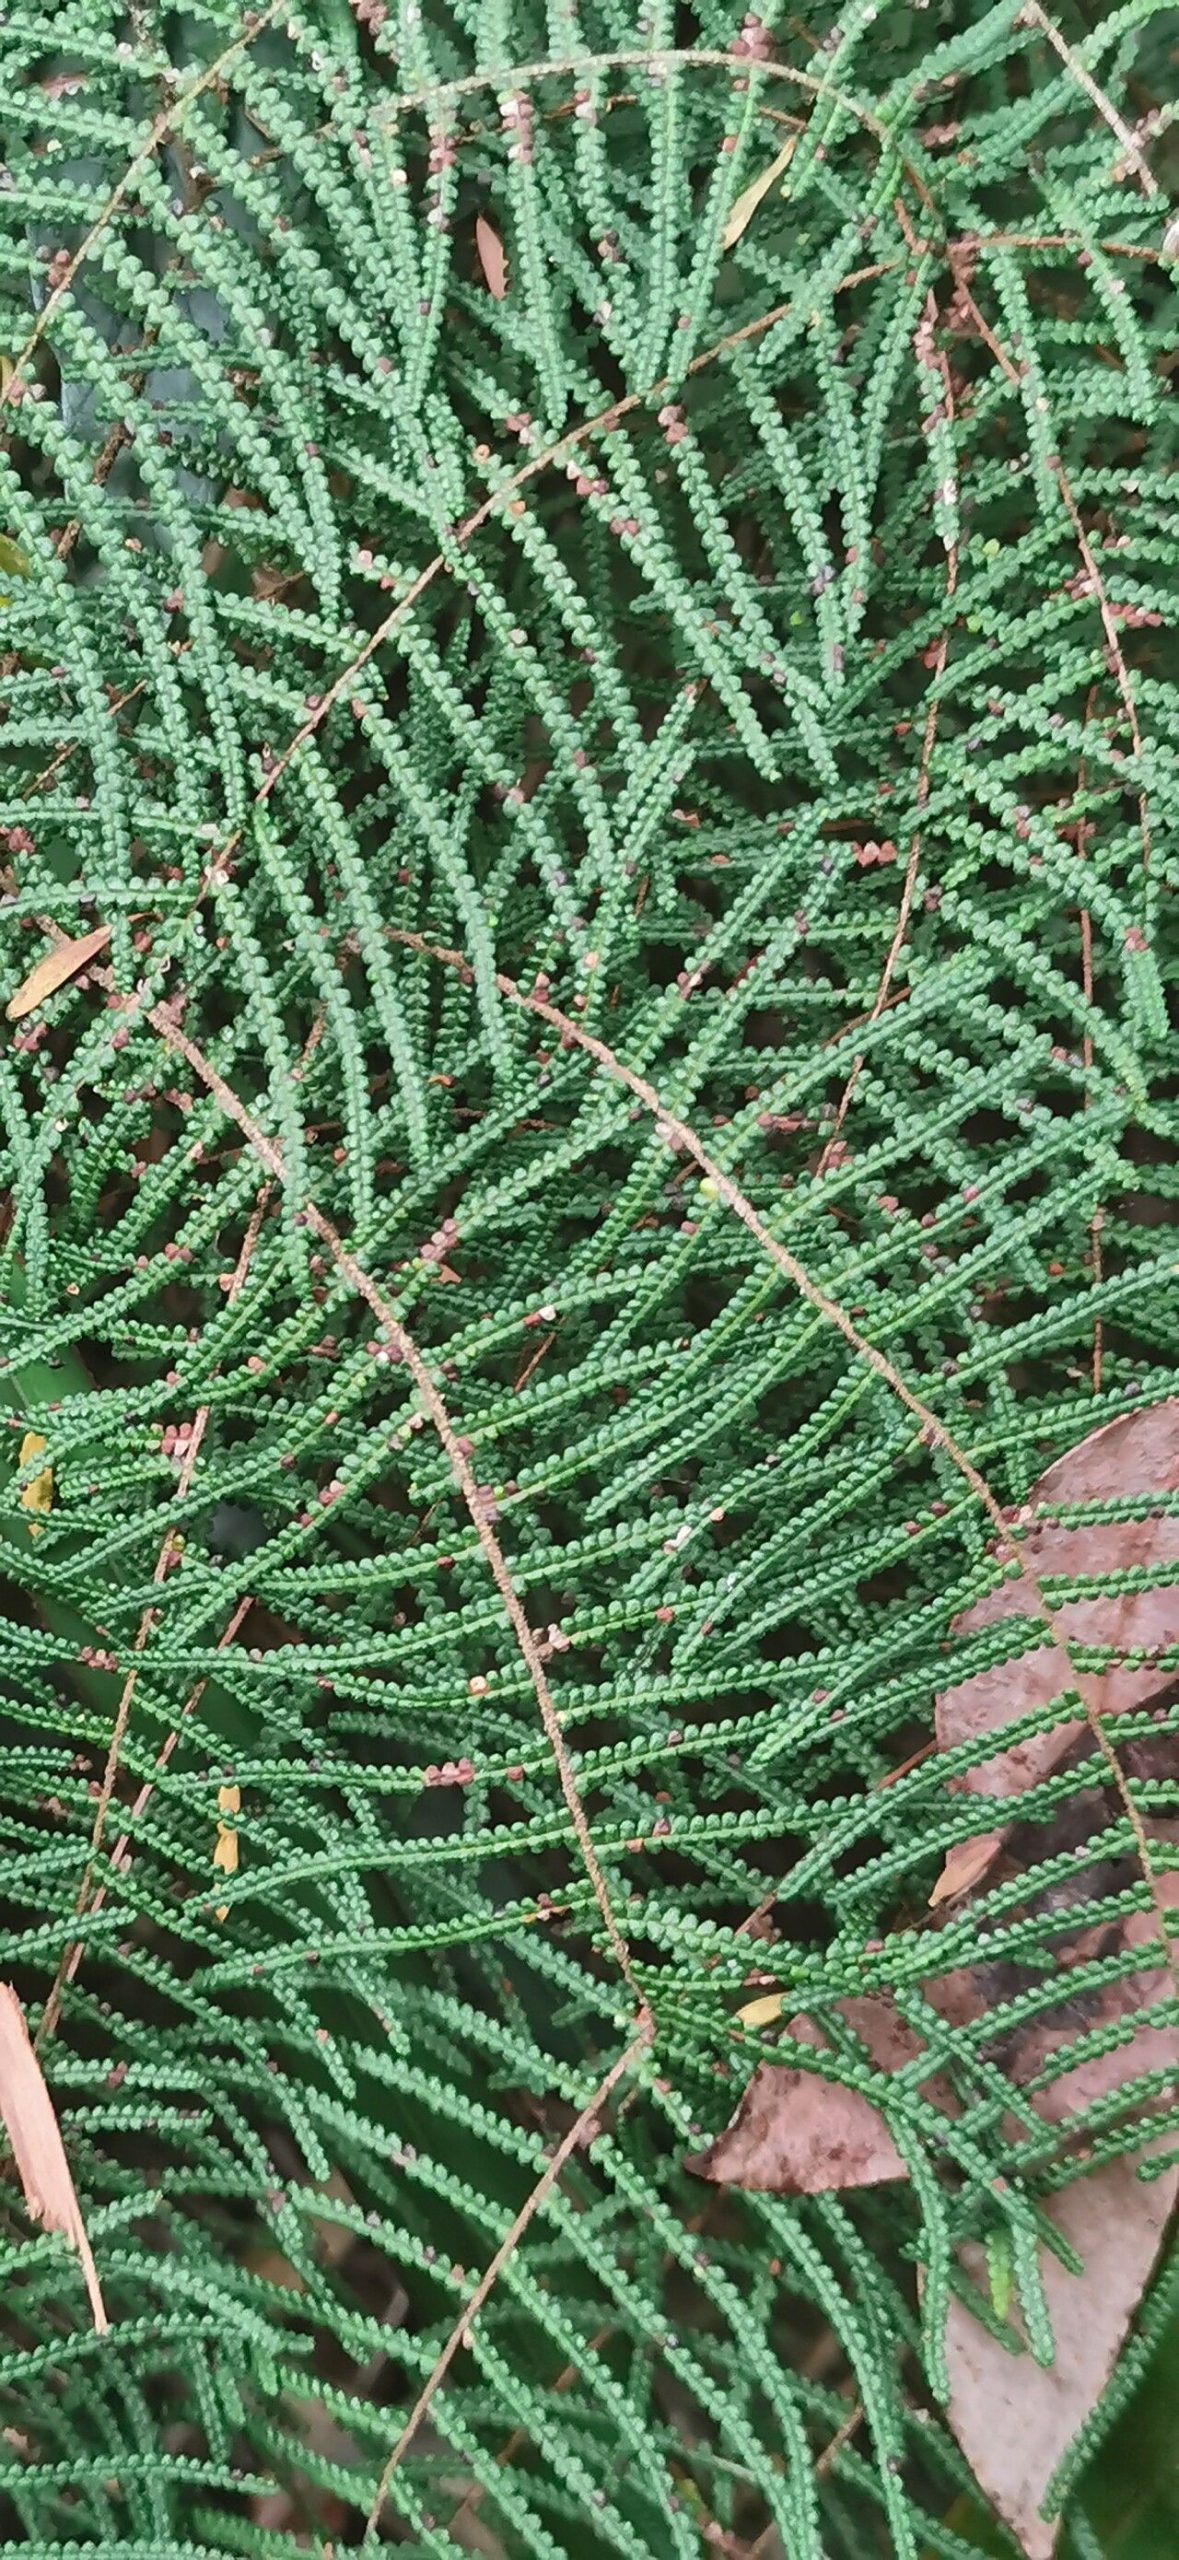
Hey there, fellow plant enthusiasts! Today, we’re going to dive into the wonderful world of propagating Gleichenia dicarpa, often known as the Coral Fern or Tangle Fern. If you’ve ever admired the delicate, almost lace-like fronds of this Australian native, you’re not alone. It really adds a touch of wild beauty to any shady corner.
Now, I’ll be honest, Gleichenia dicarpa isn’t the easiest plant for absolute beginners to propagate. It has its quirks. But don’t let that deter you! With a little patience and understanding, it’s incredibly rewarding to see your own little fern babies unfurl. And isn’t that what gardening is all about? Nurturing new life from something small?
The Best Time to Start
The sweet spot for propagating Gleichenia dicarpa is when the plant is actively growing. Think spring or early summer. You want to catch it when it’s full of energy, ready to put out new shoots. Avoid trying to propagate from stressed or dormant plants.
Supplies You’ll Need
Here’s a little toolkit to get you started:
- Sharp, sterilized pruning shears or a clean knife
- A good quality, well-draining potting mix. I like a mix of peat moss, perlite, and a bit of compost. For ferns, a slightly acidic pH is generally preferred.
- Small pots or propagation trays with drainage holes.
- A plastic bag or dome cover to create a humid environment.
- Optional: Rooting hormone powder or gel. While not strictly necessary for all ferns, it can give your cuttings a helpful boost.
- A spray bottle filled with filtered or rainwater.
Propagation Methods
There are a couple of reliable ways to get new Gleichenia dicarpa plants.
Stem Cuttings
This is my go-to method for many ferns.
- Choose your cutting: Select a healthy, vigorous stem that has at least two or three sets of fronds. You want something that’s not too woody but also not brand new and flimsy. Cut it just below a node (where a frond attaches to the stem). Aim for cuttings that are about 4-6 inches long.
- Prepare the cutting: Gently remove the lower fronds from the bottom inch or so of the cutting. This prevents them from rotting in the media and encourages root development at the base.
- Apply rooting hormone (optional): Dip the cut end into rooting hormone powder or gel. Tap off any excess.
- Plant the cutting: Make a small hole in your prepared potting mix with a pencil or your finger. Gently insert the cutting, ensuring the nodes are buried. Firm the soil around the base to ensure good contact.
- Water gently: Water the potting mix until it’s evenly moist, but not waterlogged.
- Create humidity: Cover the pot with a clear plastic bag or place it in a propagation tray with a lid. This keeps the humidity high, which is crucial for ferns. You can use stakes to keep the bag from touching the fronds.
- Place in bright, indirect light: Keep the cuttings in a warm spot with bright, filtered light. Direct sun will scorch them.
Division
If you have a mature Gleichenia dicarpa that’s getting a bit crowded, division is a great option.
- Gently remove the plant from its pot. You might need to gently loosen the soil around the edges.
- Identify natural divisions. Look for areas where the rhizome (the creeping underground stem) has naturally split into separate clumps.
- Carefully separate the clumps. You can often do this by hand. If it’s a bit tough, you can use a clean, sharp knife or trowel to cut through the rhizome. Make sure each division has some healthy fronds and a good portion of roots.
- Pot up the divisions. Plant each new division in its own pot filled with your well-draining fern mix.
- Water thoroughly.
The “Secret Sauce” (Pro Tips)
Here are a few things I’ve learned over the years that can make a big difference:
- Avoid waterlogged soil at all costs. This is the fastest way to invite rot. Ferns like consistent moisture, but they loathe sitting in soggy conditions. Good drainage is your best friend.
- Use tepid or slightly warm water for misting. Very cold water can shock a young cutting. I often just let my watering can sit out for a bit, especially in cooler weather.
- Patience is key. Gleichenia dicarpa can be a bit of a slow starter when it comes to rooting. Don’t get discouraged if you don’t see immediate results. Keep it consistently moist and humid, and give it time.
Aftercare & Troubleshooting
Once you start seeing tiny new fronds emerging from your cuttings, it’s a good sign that roots have formed!
- Gradually increase ventilation: Once you see growth, start to lightly ventilate the propagation enclosure for a few hours a day. This helps the new plant adjust to less humid conditions.
- Keep it moist: Continue to keep the potting mix evenly moist. I still prefer using my spray bottle for gentle watering at this stage, as it’s less disruptive to developing roots.
- Transplant when ready: When the new plant has a good root system and is producing new fronds, you can transplant it into a slightly larger pot with fresh potting mix.
Common signs of failure: The most common issue is rot, which will show up as wilting, browning, or blackened stems at the soil line. This is almost always due to too much moisture and poor air circulation. If you see this, it’s usually best to discard the affected cutting and start again, focusing on drainage and ventilation.
A Little Encouraging Closing
So there you have it! Propagating Gleichenia dicarpa is a journey, and like any good journey, it’s worth the effort. Don’t be afraid to experiment. If a cutting doesn’t make it, learn from it and try again. The satisfaction of nurturing a new fern from a tiny piece of your favorite plant is truly special. Happy propagating!
Resource:
https://identify.plantnet.org/k-world-flora/species/Gleichenia%20dicarpa%20R.Br./data