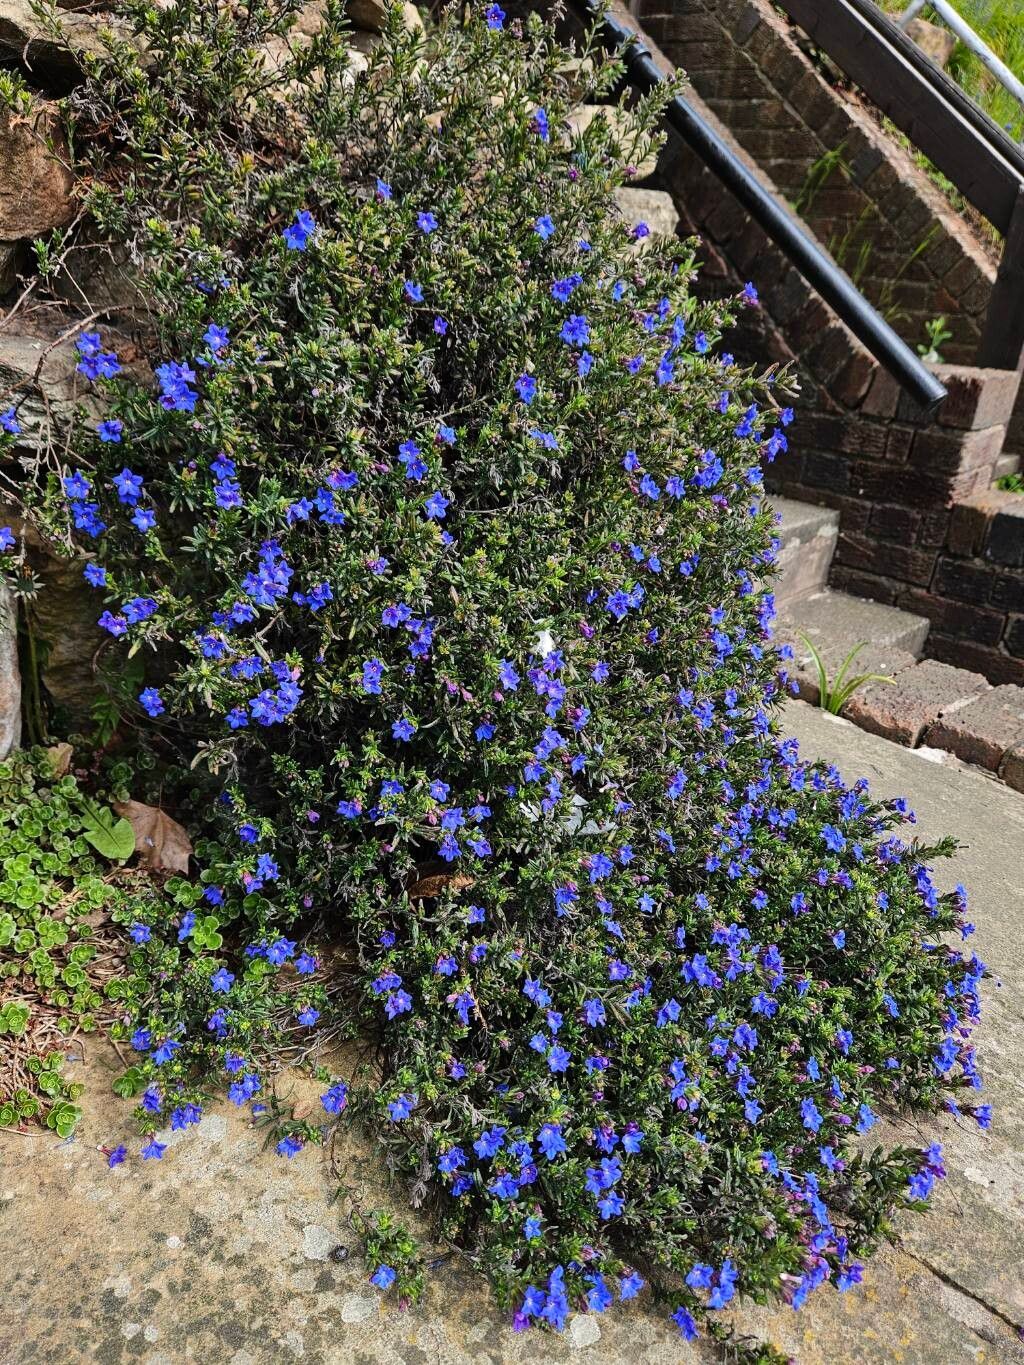
Hello fellow plant lovers! If you’re anything like me, you’ve probably fallen head over heels for the lovely Glandora prostrata. Its delicate, jewel-toned flowers and lovely trailing habit make it a real showstopper in any garden or container. And the best part? It’s surprisingly rewarding to multiply this beauty yourself!
For those of you just starting out, don’t shy away. While no plant is completely foolproof, propagating Glandora prostrata is a wonderfully accessible project. I’ve found it to be quite forgiving, which makes those first successful roots all the sweeter.
The Best Time to Start
When it comes to getting the most success with your Glandora prostrata cuttings, spring and early summer are your golden ticket. This is when the plant is actively growing and has plenty of energy to put into developing new roots. You’re looking for healthy, new growth – think about those slightly softer, but not completely woody, stems. Avoid anything that’s already flowered or feels super stiff.
Supplies You’ll Need
Gathering your tools beforehand makes the whole process much smoother. Here’s what I usually have on hand:
- Sharp, clean pruning shears or a sharp knife: Essential for making clean cuts.
- Rooting hormone (optional, but recommended): This helps speed up root development. I like a powder or gel.
- A well-draining potting mix: A mix designed for cuttings, or a blend of equal parts peat moss (or coco coir) and perlite or coarse sand works brilliantly.
- Small pots or seed trays: Clean containers are a must to prevent disease.
- A spray bottle: For misting your cuttings.
- Plastic bags or a propagator: To create a humid environment.
- Water: For hydration and potentially water propagation.
Propagation Methods
Let’s get our hands dirty! Here are a couple of my favorite ways to multiply Glandora prostrata:
Stem Cuttings
This is my go-to method, and it’s incredibly effective.
- Take Your Cuttings: Using your clean pruning shears, select healthy stems that are about 4-6 inches long. Make a cut just below a leaf node (where a leaf attaches to the stem). Remove the lower leaves, leaving just a couple at the top.
- Apply Rooting Hormone: If you’re using rooting hormone, dip the cut end of each stem into the powder or gel. Tap off any excess.
- Plant Your Cuttings: Fill your small pots with your well-draining potting mix. Make a small hole with your finger or a pencil. Gently insert the cut end of the stem into the hole, ensuring the leaves aren’t buried. Firm the soil gently around the stem.
- Water and Cover: Water the soil thoroughly, but don’t make it soggy. Then, cover the pot with a clear plastic bag or place it in a propagator. This creates a mini-greenhouse, keeping the humidity high which is crucial for cuttings to root. Poke a few holes in the bag for some air circulation.
Water Propagation
A more visual method that’s equally satisfying!
- Prepare the Cuttings: Similar to above, take 4-6 inch cuttings just below a leaf node. Remove all the leaves except for the top two or three.
- Place in Water: Fill a clean jar or glass with room-temperature water. Place the cuttings in the water, making sure no leaves are submerged. They will rot if they sit in the water.
- Find a Bright Spot: Place the container in a location that receives bright, indirect light.
- Change Water Regularly: Change the water every few days to keep it fresh and prevent bacterial growth. You should start seeing tiny roots emerging from the nodes within a few weeks. Once the roots are about an inch long, you can carefully transplant them into soil.
The “Secret Sauce” (Pro Tips)
Here are a few little tricks I’ve learned over the years that can make a big difference:
- Don’t Let those Leaves Touch the Water! Seriously, this is a big one for water propagation. Submerged leaves are a fast track to rot. Keep them high and dry.
- Bottom Heat is Your Friend: If you have a heat mat designed for seedlings, popping your pots on it can really give those cuttings a boost. It mimics the warmth of spring soil and encourages root development.
- Patience with the Mist: While you want humidity, avoid over-misting. A gentle misting once a day is usually plenty, or let the enclosed environment do the work. Too much water on the leaves can encourage fungal issues.
Aftercare & Troubleshooting
Once you start seeing those beautiful little roots peeking out the bottom of your pot (or growing in the water!), it’s time to transition to aftercare. Gently pot up your new plants into slightly larger pots with a good quality potting mix. Keep them in a bright, but not scorching, location and continue to water them when the top inch of soil feels dry. They’re still a bit delicate, so regular, consistent watering is key.
Now, about problems. The most common culprit with cuttings is rot. If your cuttings look mushy, black, or just sad and won’t root, it’s usually a sign of too much moisture or not enough air circulation. Ensure your soil is draining well and that your covered environment isn’t too sealed. If you see rot, it’s best to discard the affected cutting and try again, learning from what might have gone wrong.
Happy Growing!
Propagating plants is such a rewarding journey. It’s a chance to connect with nature, learn patience, and fill your home and garden with beautiful greenery. Don’t be discouraged if your first attempts aren’t perfect. Keep trying, enjoy the process, and soon you’ll have more Glandora prostrata than you know what to do with! Happy gardening!
Resource: