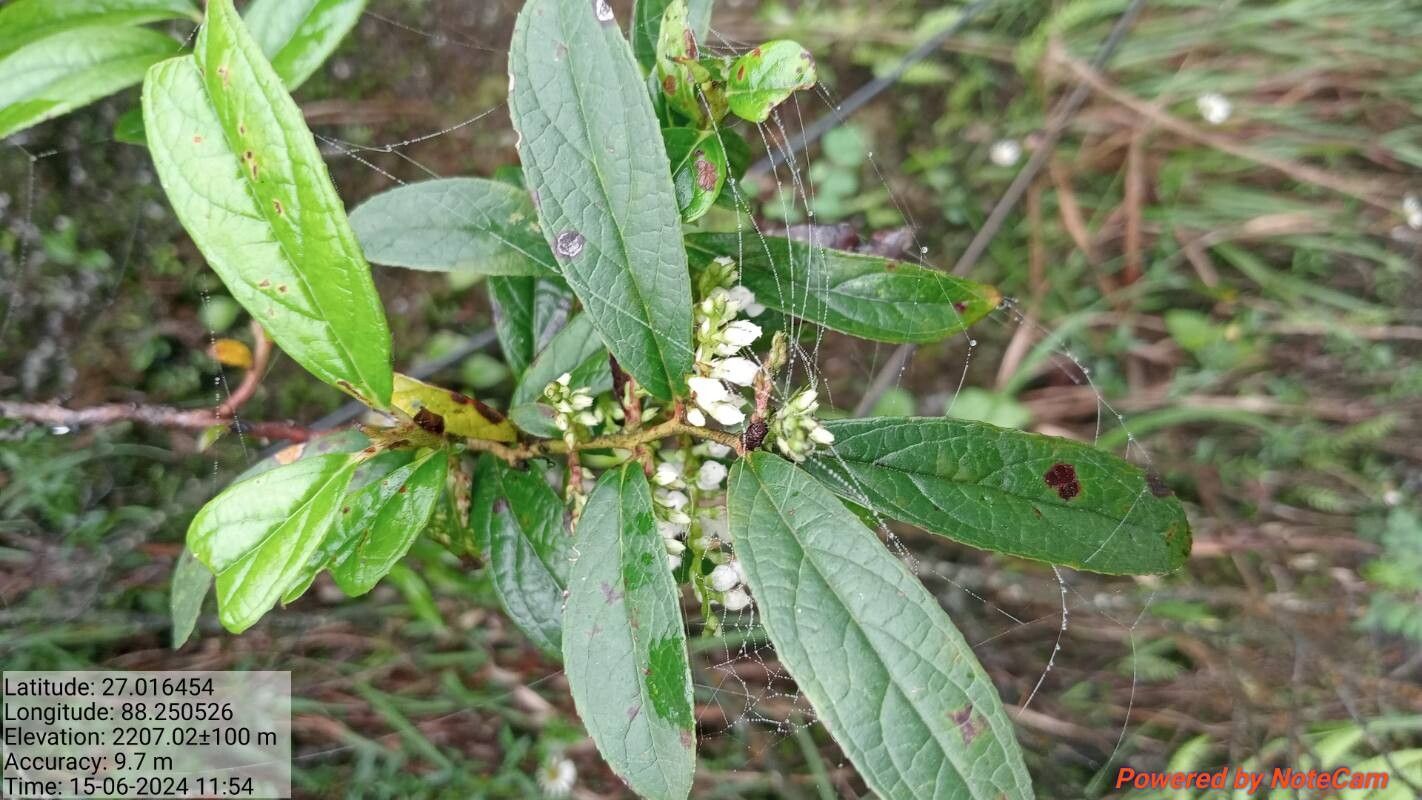
Hello, fellow garden enthusiasts! Ever admired those beautiful, deep green leaves and charming berries of Gaultheria semi-infera? I know I have. This gem of a plant brings such understated elegance to shaded corners and woodland gardens. And the really wonderful part? You can easily bring more of its beauty into your own space by propagating it yourself. It’s a deeply satisfying process, and while it might seem a touch daunting at first, I promise, it’s quite achievable, even for those just starting their green journey.
The Best Time to Start
For Gaultheria semi-infera, the sweet spot for propagation is definitely late spring to early summer. This is when the plant is in active growth and has plenty of energy to put into developing new roots. I’ve found that focusing on softwood or semi-hardwood cuttings during this time yields the best results. Avoid trying to propagate from very new, flimsy growth or old, woody stems.
Supplies You’ll Need
Here’s what you’ll want to have on hand before you begin:
- Sharp pruning shears or a clean, sharp knife: For making clean cuts.
- Rooting hormone (optional, but recommended): Helps with root development. Look for one suitable for woody plants.
- Small pots or seed trays: With drainage holes, of course!
- A good potting mix: I like a blend of peat moss, perlite, and a bit of compost. This provides excellent drainage and aeration, which is crucial.
- A clear plastic bag or propagation dome: To create a humid environment.
- Watering can or spray bottle: For gentle watering.
Propagation Methods
I’ve had the most success with stem cuttings for Gaultheria semi-infera. Here’s how I do it:
- Take your cuttings: In late spring or early summer, look for healthy, non-flowering shoots that are about 4-6 inches long. Make a clean cut just below a leaf node (where a leaf attaches to the stem).
- Prepare the cuttings: Gently remove the lower leaves, leaving just a few at the top. This prevents them from rotting when they’re in the soil. If you’re using rooting hormone, dip the cut end into the powder, tapping off any excess.
- Pot them up: Fill your small pots or trays with your prepared potting mix. Gently insert the cuttings into the soil, about an inch deep. Make sure they are firm enough to stand upright.
- Create humidity: Water the soil gently until it’s moist but not waterlogged. Cover the pot with a clear plastic bag or place it under a propagation dome. This traps humidity around the cuttings, which is essential for encouraging root formation.
The “Secret Sauce” (Pro Tips)
Now for a few little tricks I’ve learned over the years. These aren’t strictly necessary, but they can really boost your success rate:
- Bottom heat is your friend: If you have a propagation mat or can place your pots on top of a warm appliance (like a gently running computer), it makes a huge difference. Warm soil temperatures encourage roots to form much faster.
- Patience will be rewarded: Don’t be tempted to pull your cuttings out to check for roots too soon! I usually wait at least 4-6 weeks, sometimes even longer. You’ll know they’re rooted when you see new growth appearing or feel a gentle resistance when you tug.
- Sterilize everything: Even though this isn’t a disease-prone plant, using clean tools and pots really minimizes the risk of fungal infections that can quickly take hold of vulnerable cuttings.
Aftercare & Troubleshooting
Once you see those first signs of new growth or feel that resistance when gently tugging, it’s time for a little adjustment.
Gradually acclimate your new plants to the open air by lifting the plastic bag or dome for a few hours each day over a week or so. Keep the soil consistently moist, but never soggy. They still need that gentle humidity.
The most common issue you might face is rot. If you see your cuttings turning black and mushy, it’s usually a sign of too much moisture and not enough air circulation. If this happens, try to remove the affected cutting immediately and ensure your soil drains well. Sometimes, even with the best efforts, a cutting might not take. Don’t get discouraged! It’s all part of the learning process.
So there you have it! Propagating Gaultheria semi-infera is a wonderful way to expand your garden and share its beauty with others. Take your time, be observant, and most importantly, enjoy the magic of watching new life emerge from a simple stem. Happy gardening!
Resource: