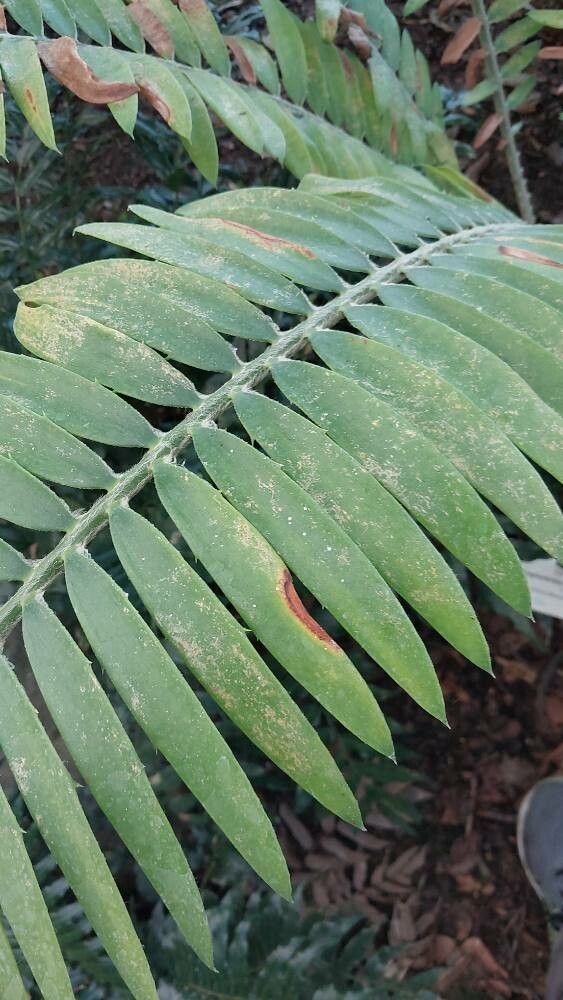
Oh, welcome, fellow plant enthusiast! Grab a cuppa, and let’s chat about one of my all-time favorites: Encephalartos pterogonus, the “Fern Leaf Cycad.” Isn’t it just magnificent? With its strikingly architectural fronds, it brings a touch of prehistoric drama to any garden. If you’ve ever dreamed of multiplying these beauties, you’re in for a treat. Propagating cycads like E. pterogonus can be a bit of a journey, not exactly an “easy” beginner project, but incredibly rewarding when you succeed. That feeling of nurturing a new life from a piece of an established plant? Pure magic.
When to Get Your Hands Dirty
The absolute best time to attempt propagating your Encephalartos pterogonus is when the plant is actively growing. For most of us, this means late spring through early summer. You want to see new fronds unfurling. This vigorous growth phase means the plant has plenty of energy to invest in developing roots. Avoid doing this when the plant is dormant in cooler months; you’ll just be working against its natural rhythms.
Your Propagation Toolkit
Before we dive in, let’s make sure you’re armed with the right gear. Think of this as your starter pack for creating new cycad babies:
- Sharp Pruning Shears or a Saw: Clean, sharp tools are crucial for making precise cuts and minimizing damage.
- Rooting Hormone: A good quality rooting hormone, preferably a powder or gel containing auxins, will give your cuttings a significant head start.
- Well-Draining Potting Mix: This is your best friend! A mix of perlite, coarse sand, and a small amount of peat moss or coco coir works wonders. Standard potting soil is often too water-retentive for cycads.
- Small Pots or Trays: Choose pots that are just a bit larger than your cutting. Terra cotta pots are excellent because they breathe.
- Gravel or Small Stones: For drainage at the bottom of pots, if you’re concerned about waterlogging.
- Plastic Bags or a Humidity Dome: To create a microclimate for your cuttings, especially helpful in humid environments or to maintain consistent moisture.
- Labels and a Waterproof Marker: You’ll want to keep track of what you’ve planted and when!
Bringing New Cycads to Life
Encephalartos pterogonus typically propagates through two main methods: offsets (pups) and stem cuttings from the main trunk.
Method 1: Offsets (Pups) – The Easiest Route
Many cycads, including our E. pterogonus, produce offsets, or “pups,” at the base of the main plant. These are essentially baby plants that have emerged from the parent.
- Identify a Healthy Pup: Look for a pup that is at least a few inches in diameter and has its own developing leaves.
- Carefully Excavate: Gently dig away some of the soil around the base of the pup. You want to expose where it connects to the mother plant.
- Separate the Pup: Using a very sharp, clean knife or small saw, carefully cut the pup away from the parent plant. Try to get as much of its base as possible.
- Allow to Callus: This is a vital step! Place the separated pup in a warm, dry, shaded spot for several days, or even a week or two, until the cut surface has completely dried and callused over. This prevents rot.
- Planting the Pup: Once callused, plant the pup in your well-draining potting mix. It shouldn’t be too deep; the base of the leaves should be just above the soil surface. Water very sparingly at first.
Method 2: Stem Cuttings – For the Adventurous
This method involves taking a section of the main trunk. It’s a bit more involved and requires patience.
- Select a Mature Trunk Section: Choose a healthy, mature part of the trunk that is at least a few inches thick. Ideally, you’re looking for a section that might have some latent buds or has previously carried leaves.
- Make a Clean Cut: Using your sharp saw, make a clean, horizontal cut through the trunk. The piece you take should be a good size, at least 6-8 inches long, though bigger is often better.
- Remove Lower Foliage: Strip away any leaves or leaf bases from the lower portion of the cutting that will be buried in the soil.
- Callus, Callus, Callus! Just like with pups, allowing the cut ends (both the top and bottom) to thoroughly dry and callus over is absolutely critical. This can take 2-4 weeks or even longer in humid conditions. Place it on its side or upright in a warm, dry, well-ventilated area away from direct sun.
- Apply Rooting Hormone: Once callused, dip the callused bottom end of the cutting into rooting hormone, tapping off any excess.
- Planting the Cutting: Insert the callused end into your prepared well-draining potting mix. Make sure it’s stable and upright. You might need to prop it up with stakes initially.
The “Secret Sauce”: Insider Tips from the Trenches!
Having played with these beauties for years, I’ve picked up a few tricks that can really boost your success.
- Bottom Heat is Your Friend: For stem cuttings, providing a gentle bottom heat makes a HUGE difference. Placing your pot on a seedling heat mat set to a low temperature (around 70-75°F or 21-24°C) encourages root development remarkably well. It’s like giving the cutting a warm footbath to get things started.
- Don’t Drown Your Dreams: This is probably the biggest mistake beginners make. Once your cutting or pup is planted, water very sparingly. You want the soil to be just barely moist, not wet. Overwatering is the fastest way to invite rot. Let the top inch or so of the soil dry out between waterings.
- Patience is a Virtue (and a Necessity): Cycads are slow Growers. Don’t expect to see roots popping out in a week. For stem cuttings, it can take several months, even up to a year, to establish a good root system. Be patient, resist the urge to constantly dig around, and trust the process.
Nurturing New Growth and What to Watch For
Once your cutting or pup shows signs of new growth – a tiny flush of leaves – you know you’re on the right track!
- Gradual Acclimation: If you’ve used a plastic bag or dome, gradually increase ventilation over a week or two before removing it entirely. This helps the new plant adjust to normal humidity levels.
- Continue Minimal Watering: Keep watering sparingly. Feel the soil moisture. Only water when the top inch or two feels dry.
- Patience with Potting Up: Don’t rush to pot them into a larger container. Let them develop a decent root system first. You’ll know it’s time when you see roots emerging from the drainage holes.
Troubleshooting: The most common adversary is rot. If you notice your cutting turning mushy, black, or developing a foul smell, it’s likely rot. In this case, it’s usually best to discard it to prevent spread. Prevention is key: excellent drainage and cautious watering are your best defense. If a pup looks unhealthy, it might not have had enough stored energy or might have been damaged during separation. Learn from it and try again.
A Blooming (or rather, Frond-ing!) Finale
Propagating Encephalartos pterogonus is a true labor of love. It demands patience and a gentle hand, but the reward of nurturing these ancient beauties into new life is incredibly fulfilling. Don’t be discouraged if your first attempt isn’t perfect. Every gardener learns through trial and error. Just keep at it, enjoy the process of watching something new emerge, and soon you’ll have your own little prehistoric forest! Happy propagating!
Resource: