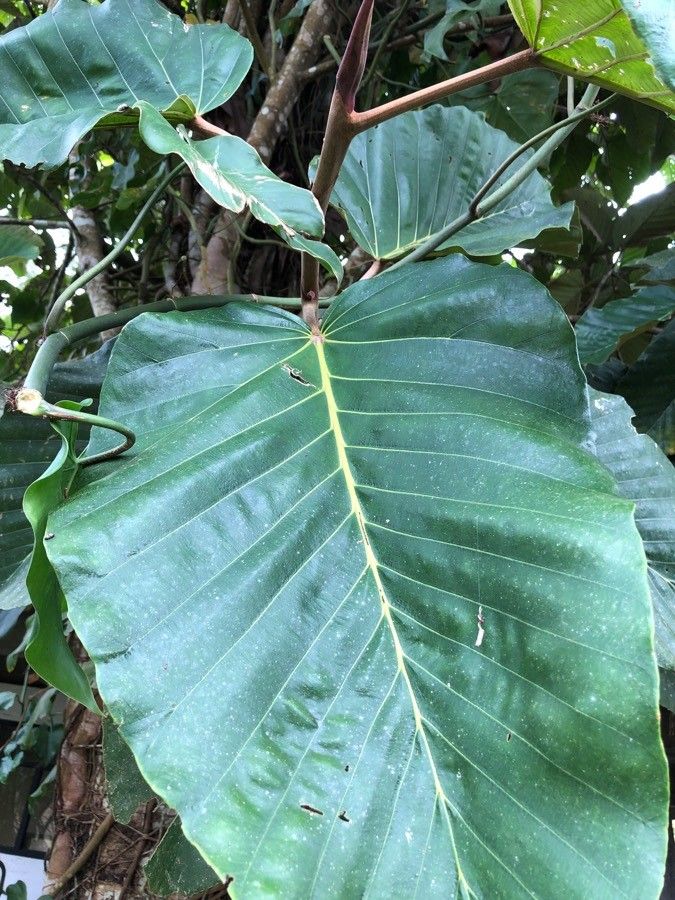
Hello there, fellow plant lovers! I’m so excited to talk to you today about a truly charming plant: Coussapoa villosa. If you’ve ever admired its lush, fuzzy leaves and striking appearance, you’re not alone. These beauties bring such wonderful texture and a touch of the tropics to any space. And the best part? Propagating them is a fantastic way to share that magic.
Now, for you beginners out there, I’ll be honest. Coussapoa villosa can be a little bit of a diva when it comes to propagation. It’s not a plant that’s going to forgive every little slip-up like a pothos might. But with a bit of care and attention, you absolutely can achieve success. Think of it as a rewarding challenge that’s well worth the effort!
The Best Time to Start
When you’re looking to make new Coussapoa villosa babies, spring and early summer are your golden ticket. This is when the plant is in its active growth phase, meaning it has more energy to put into rooting. Starting from cuttings during this period gives them the best chance to establish themselves before winter’s chill sets in.
Supplies You’ll Need
Gathering your tools beforehand makes the whole process so much smoother. Here’s what I always have on hand:
- Sharp, clean pruning shears or a sterile knife: Essential for making clean cuts that heal well.
- Well-draining potting mix: I like a blend of perlite, peat moss, and coco coir. Think airy!
- Small pots or propagation trays: Those with drainage holes are a must.
- Rooting hormone (optional but recommended): A little boost can encourage quicker root development.
- Clear plastic bags or a propagation dome: To create that humid microclimate cuttings crave.
- A spray bottle filled with water: For misting.
- Identification tags: To keep track of your new plants!
Propagation Methods: Let’s Get Our Hands Dirty!
The most reliable way I’ve found to propagate Coussapoa villosa is through stem cuttings. It’s straightforward once you know the drill.
- Take Your Cuttings: First, find a healthy, non-flowering stem. Using your sharp pruning shears, make a clean cut just below a leaf node (where a leaf attaches to the stem). You want cuttings that are about 4-6 inches long.
- Prepare the Cuttings: Gently remove the lower leaves from your cuttings, leaving only the top 2-3 leaves. If the remaining leaves are very large, I sometimes cut them in half to reduce water loss.
- Apply Rooting Hormone (Optional): Dip the cut end of each stem into your rooting hormone. Tap off any excess. This stuff isn’t magic, but it certainly helps!
- Plant Them Up: Fill your small pots or trays with your well-draining potting mix. Make a small hole in the center of the mix with your finger or a pencil. Gently insert the cut end of your Coussapoa villosa cutting into the hole, ensuring the node is buried. Firm the soil gently around the stem.
- Create a Humid Environment: Water the soil lightly, just enough to moisten it. Then, cover the pot with a clear plastic bag or place it under a propagation dome. This traps in moisture, mimicking the humid conditions these tropical beauties love.
The “Secret Sauce” (Pro Tips)
Over the years, I’ve learned a few tricks that can really make a difference.
- Don’t Let Those Leaves Touch the Water: If you’re doing water propagation (which I find can be a bit trickier for Coussapoa villosa than soil), make sure absolutely none of the leaves are submerged. Rot will set in faster than you can say “oops!”
- Bottom Heat is Your Friend: Coussapoa villosa really thrives with a touch of warmth from below. Placing your pots on a heat mat designed for seedlings can significantly speed up root formation. It mimics the feeling of warm tropical soil, which they just adore.
- Patience is Key with This One: I know I said it’s a bit of a diva, but seriously, don’t give up too soon. Roots can take anywhere from 4-8 weeks to appear. I often gently tug on a cutting after a month or so. If there’s resistance, you’ve got roots!
Aftercare & Troubleshooting
Once you see those first signs of new growth or feel that resistance when gently tugging, it’s time to adjust their care. You can gradually remove the plastic bag or dome over a week or two to acclimate them to lower humidity. Continue to keep the soil lightly moist but never waterlogged. Bright, indirect light is perfect.
The most common issue you’ll encounter is rot. If your cutting turns black and mushy, sadly, it’s likely a lost cause. This is usually a sign of too much moisture and not enough airflow. If you start seeing this, check your watering habits and ensure good ventilation. Yellowing leaves can sometimes indicate overwatering or not enough light.
Happy Propagating!
Watching a new plant emerge from a humble cutting is one of gardening’s greatest joys. Coussapoa villosa may require a little extra attention, but the reward of seeing your own fuzzy beauties flourish is truly special. Be patient with yourself and the process, and before you know it, you’ll have a whole little jungle of Coussapoa villosa to enjoy and share. Happy growing!
Resource:
https://identify.plantnet.org/k-world-flora/species/Coussapoa%20villosa%20Poepp.%20&%20Endl./data