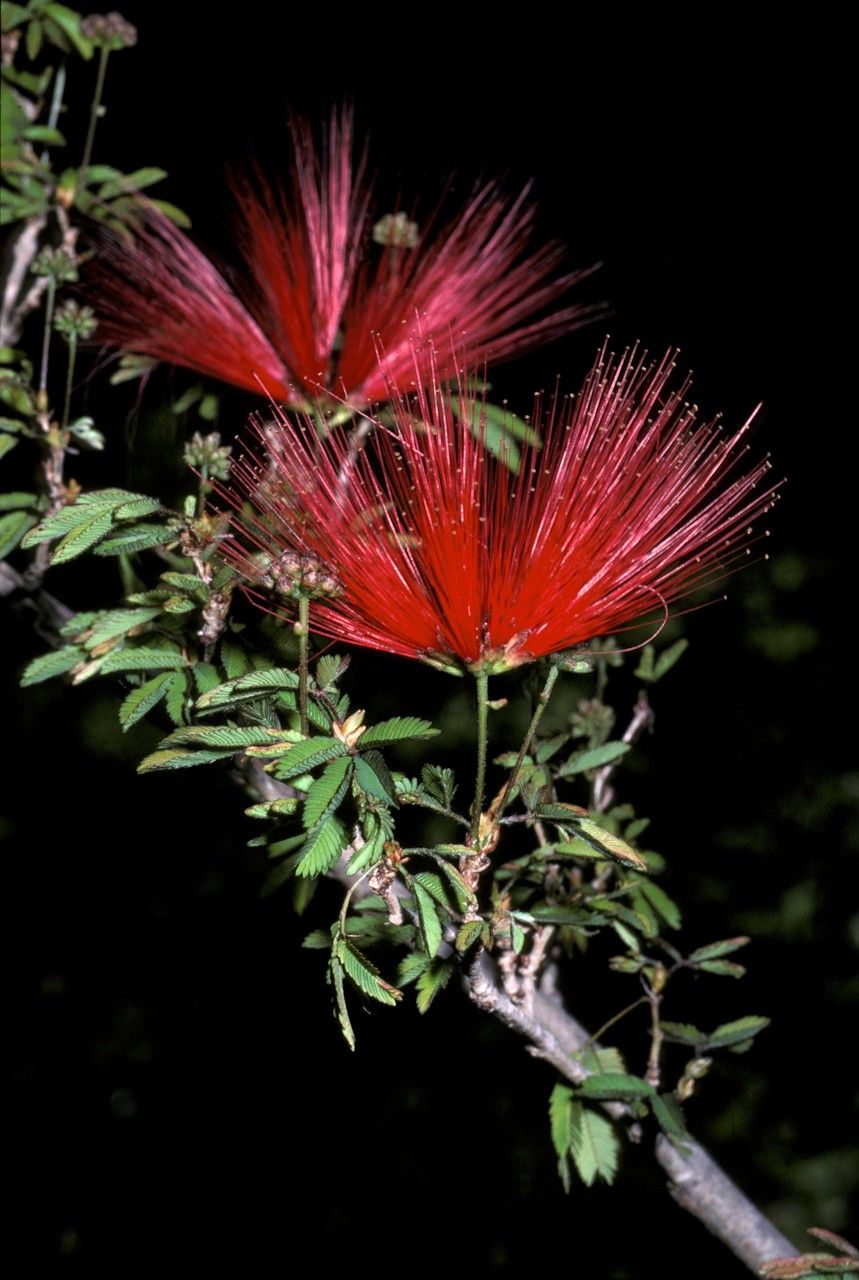
Ah, the Calliandra parvifolia! Isn’t it just a joy to behold with its delicate, frothy pink blooms and airy foliage? It reminds me of a gentle blush on a summer’s day. And the most wonderful thing? You can bring that beauty home, again and again, by propagating it yourself. It’s a truly rewarding feeling, getting a brand new plant from just a small piece of an existing one. Now, for beginners, I’ll level with you – it’s not quite as straightforward as some of the tougher succulents, but it’s absolutely achievable with a little know-how and patience. Don’t let that deter you!
The Best Time to Start
For Calliandra parvifolia, the sweet spot for propagation really is late spring through summer. This is when the plant is in its active growing phase. You’ll want to take cuttings from stems that are semi-hardwood – meaning they’ve finished their vigorous new flush of growth but aren’t yet completely woody and old. Think of a pencil that’s firm but still has a bit of give when you bend it. Trying to propagate when the plant is dormant or under stress is just asking for disappointment.
Supplies You’ll Need
Here’s what you’ll want to have on hand before you get started:
- Sharp Pruning Shears or a Clean Knife: For making clean cuts.
- Well-Draining Potting Mix: I like a blend of equal parts perlite and peat moss, or a commercial propagation mix.
- Small Pots or Seed Trays: Clean ones, of course!
- Rooting Hormone (Optional but Recommended): Especially for Calliandra, this can give your cuttings a significant boost. I prefer a powdered form.
- Plastic Bag or Humidity Dome: To create a mini greenhouse effect.
- Gravel or Small Stones (for water propagation): To help keep cuttings upright.
- Clear Glass or Jar (for water propagation): So you can see those roots developing.
Propagation Methods
Let’s dive into how you can get more of these beauties.
1. Stem Cuttings – My Go-To Method
This is generally the most successful and direct way to propagate Calliandra parvifolia.
- Select Your Cuttings: Find those semi-hardwood stems and aim for pieces about 4-6 inches long. Make a clean cut just below a leaf node (where a leaf attaches to the stem). The leaf node is where a lot of root-forming cells are concentrated.
- Prepare the Cuttings: Gently remove the lower leaves, leaving just a couple of leaves at the top. This reduces water loss. If the remaining leaves are very large, you can even cut them in half horizontally.
- Apply Rooting Hormone: Dip the cut end of the stem into water, then gently tap it into your rooting hormone powder, coating the bottom inch or so. Tap off any excess.
- Pot Them Up: Fill your small pots with your moistened (but not soggy!) propagation mix. Make a small hole with your finger or a pencil and insert the cutting, ensuring the leaf node is buried. Gently firm the soil around it.
- Create Humidity: Water the soil lightly again. Then, cover the pot with a plastic bag supported by stakes so it doesn’t touch the leaves, or place it under a humidity dome. This is crucial for keeping the cuttings from drying out.
- Find a Warm, Bright Spot: Place the pots in a location that gets bright, indirect light. Avoid direct sun, which can scorch the delicate cuttings.
2. Water Propagation – A Visually Rewarding Option
While I often find cuttings root more robustly in soil, water propagation is a fantastic way to watch the magic happen.
- Prepare the Cuttings: Follow steps 1 and 2 from the stem cutting method.
- Place in Water: Fill a clean glass or jar with fresh, room-temperature water. You can add a few small stones or gravel to the bottom to help keep the cuttings upright. Crucially, ensure no leaves are submerged in the water.
- Position and Observe: Place the jar in a spot with bright, indirect light, just like you would for soil cuttings. Change the water every few days to keep it fresh and prevent bacterial growth. You should start to see tiny white roots forming within a few weeks.
- Transplant When Ready: Once the roots are about an inch long, it’s time to carefully transplant them into potting mix. Handle those new roots with great care!
The “Secret Sauce” (Pro Tips)
Here are a few things I’ve learned over the years that really make a difference:
- Bottom Heat is Your Friend: If you can, place your pots on a heat mat designed for seedlings. This gentle warmth encourages root development from below, giving your cuttings a significant advantage, especially if your ambient temperatures are cooler.
- Cleanliness is Paramount: Make sure all your tools and pots are scrupulously clean. A tiny bit of mold or bacteria can quickly lead to rot and the loss of your precious cuttings. I often give my pots a soak in a dilute bleach solution and rinse thoroughly.
- Don’t Disturb Too Soon: Resist the urge to constantly poke and prod! Let your cuttings settle in. You’ll know they’re rooting when you gently tug on them and feel resistance, or when you see new leaf growth emerging.
Aftercare & Troubleshooting
Once you see those little white roots emerging (either in the pot or in the water, ready for transplanting!), the real fun begins.
- Gradual Acclimation: If you used a humidity dome or bag, gradually introduce your new plant to open air over a week or so. Start by taking the cover off for an hour or two each day, then longer.
- Watering: Keep the soil consistently moist but not waterlogged. It’s easy to overwater tiny new plants. Let the surface of the soil show a slight dryness before watering again.
- Feeding (Lightly): Once your plant is established and showing good new growth, you can start feeding it with a diluted liquid fertilizer suitable for flowering plants, about once a month during the growing season.
The most common sign of failure is rotting stems. This usually happens if the cuttings are kept too wet, not enough air circulation, or if you used dirty tools. If you see a stem turning black and mushy, sadly, it’s likely gone. Don’t be discouraged! Just clear it out and try again.
A Encouraging Closing
Propagating Calliandra parvifolia is a journey, and like any good journey, it requires patience and a willingness to learn. Don’t be disheartened if your first few attempts aren’t perfect. Every gardener has lost cuttings! Celebrate the successes, learn from the little setbacks, and most importantly, enjoy the process of coaxing new life from your existing green treasures. Happy propagating!
Resource: