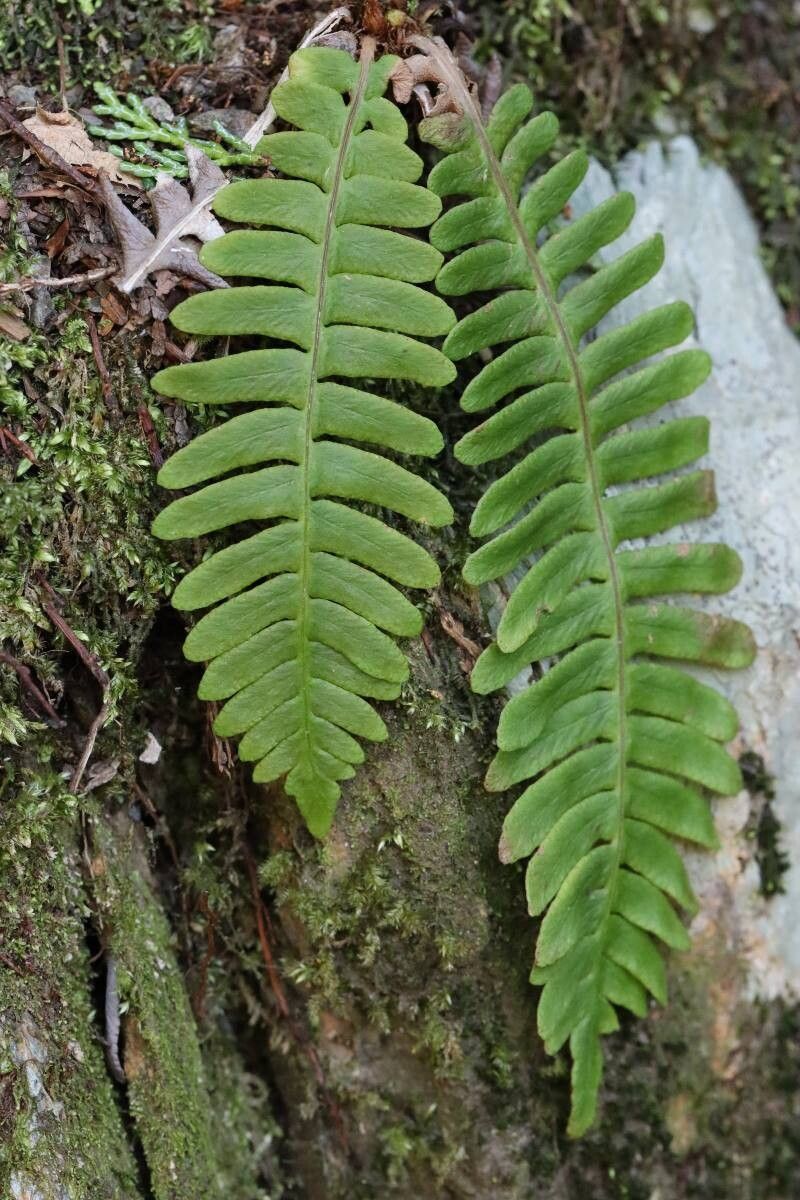
Hey there, fellow plant lovers! Today, we’re diving into the fascinating world of Blechnum amabile, the delightful Porcelain fern. If you’ve ever admired its delicate, almost translucent fronds that unfurl with such grace, you’re not alone. Propagating this beauty is a truly rewarding experience, watching a tiny piece of your prized fern blossom into a whole new plant. Now, I’ll be honest, compared to some of the more robust ferns, Blechnum amabile can be a tad more particular. It’s not quite a beginner’s free-for-all, but with a little guidance and patience, you’ll be well on your way to success.
The Best Time to Start
For Blechnum amabile, the sweet spot for propagation is during its active growing season. Think late spring through mid-summer. This is when the plant has the most energy reserves to dedicate to developing new roots and shoots. Starting when the plant is happily putting out new fronds generally means you’re working with healthy, vigorous material.
Supplies You’ll Need
Here’s what you’ll want to have on hand before you get started:
- Sharp, clean pruning shears or a sharp knife: For making clean cuts.
- Well-draining potting mix: A good blend of peat moss, perlite, and a bit of orchid bark works wonders for ferns.
- Small pots or propagation trays: Whatever you have that can hold your cuttings and keep them moist.
- Plastic wrap or a clear plastic bag: To create a humid environment.
- Optional: Rooting hormone: While not strictly necessary for this fern, it can give an extra boost, especially if you’re a bit nervous.
- Watering can or mister: For gentle watering.
Propagation Methods
My favorite way to propagate Blechnum amabile is through division. It’s often the most straightforward and successful method for this particular fern.
Division:
- Gently remove the mother plant from its pot. I like to do this when I’m repotting anyway, as it’s less disruptive.
- Inspect the root ball. You’re looking for natural divisions – clumps of rhizomes (the thick underground stems) with their own set of fronds.
- Carefully tease apart the root ball with your fingers or a clean knife. Avoid ripping or tearing as much as possible. Aim for divisions that have several healthy fronds and a good portion of roots attached.
- Pot up each division into its own container filled with your well-draining fern mix.
- Water thoroughly to settle the soil around the roots.
- Place the newly potted divisions in a spot with bright, indirect light.
- Cover the pots with a clear plastic bag or plastic wrap to maintain high humidity. This is crucial! Open it for a few minutes each day to allow for air circulation and prevent fungal issues. Keep the soil consistently moist but not waterlogged.
While stem cuttings aren’t impossible, they tend to be trickier with Blechnum amabile as the newer fronds can be quite delicate and prone to rot before they establish. If you have a very young, tender frond that’s just emerging, you might try it, but division is usually your best bet.
The “Secret Sauce” (Pro Tips)
Here are a couple of things I’ve learned over the years that make a big difference:
- Don’t disturb it too much! Ferns, especially Blechnum, dislike being fussed over. Once you’ve potted up your divisions, resist the urge to constantly check for roots. Give them time and space to settle in and recover.
- Humidity is king. I can’t stress this enough. If you’re not using a plastic bag or dome, make sure your propagation area is incredibly humid. A pebble tray filled with water underneath the pot can help, or grouping your new plants together can create a microclimate.
Aftercare & Troubleshooting
Once you see signs of new growth – little fiddleheads emerging or new fronds beginning to unfurl – you know your division has taken root! At this point, you can gradually reduce the humidity by opening the plastic bag more each day over a week or so. Continue to keep the soil consistently moist.
The most common sign of trouble is rot. If the fronds turn yellow and mushy, or if you notice a black base to the fronds, it’s usually a sign of overwatering or too little air circulation. If this happens, remove the affected parts immediately and try to improve air flow. Sometimes, a cutting or division is just too far gone, and that’s okay. Every gardener experiences losses; it’s part of the learning curve.
A Encouraging Closing
Propagating Blechnum amabile is a journey, not a race. Be patient with your new little ferns, give them a stable, humid environment, and celebrate every tiny frond that emerges. It’s incredibly satisfying to nurture these plants from a piece of the original, and I’m so excited for you to experience that joy! Happy propagating!
Resource:
https://identify.plantnet.org/k-world-flora/species/Blechnum%20amabile%20Makino/data