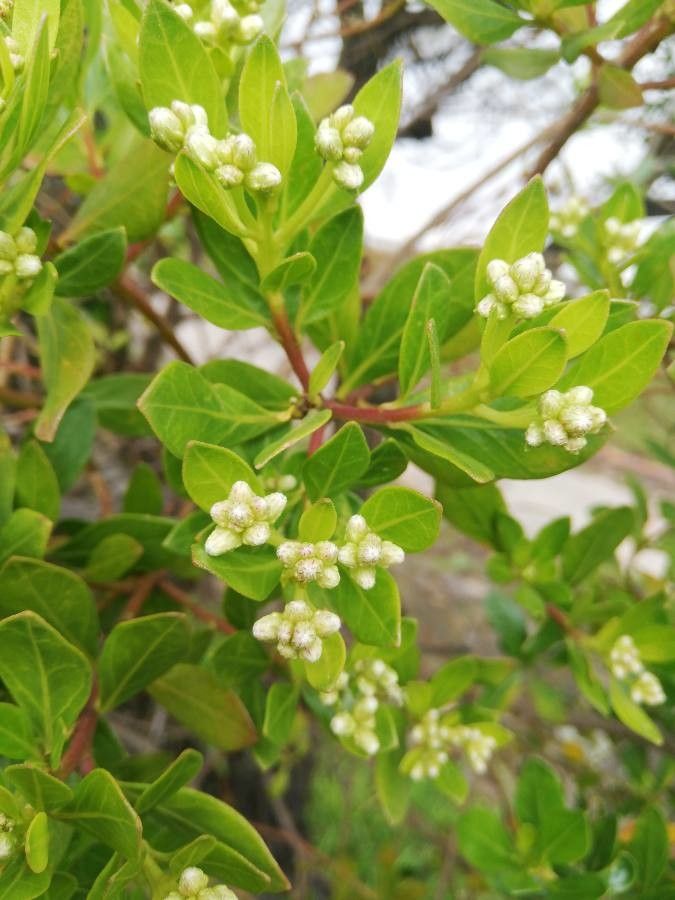
Hello there, fellow garden enthusiasts! I’m so excited to chat with you today about a plant that’s really captured my heart over the years: Baccharis macrantha. If you haven’t met this beauty yet, imagine a shrub with delightful, often fragrant blooms and a robust, wild charm that can truly transform a corner of your garden. It’s a wonderful choice, especially for those of you looking for a plant that doesn’t demand constant fuss. And the best part? Propagating it is incredibly rewarding, allowing you to share its magic with friends, fill in gaps in your own landscape, or simply experience the joy of watching new life sprout. For beginners, I’d say Baccharis macrantha is moderately easy to propagate. It’s not as foolproof as, say, a pothos cutting, but with a little care and attention, you’ll be successful.
The Golden Window: When to Propagate
The absolute best time to get your hands dirty with Baccharis macrantha propagation is during its active growing season. For most climates, this means late spring through early summer. You’re looking for new, semi-hardened growth. Think of sprigs that have grown nicely this year but aren’t quite woody and old. They should be flexible enough to bend a bit without snapping, but not so soft that they wilt instantly. This stage gives your cuttings the best chance at developing roots quickly.
Your Propagation Toolkit
Gathering your supplies beforehand makes the whole process flow so much smoother. Here’s what you’ll want to have on hand:
- Sharp Pruning Shears or a Knife: Clean cuts are essential for healthy root development.
- Rooting Hormone: This isn’t strictly mandatory for Baccharis macrantha, but it can significantly speed up the process and improve success rates. Look for a powder or gel.
- A Well-Draining Potting Mix: I prefer a blend of half peat moss or coco coir and half perlite or coarse sand. This ensures good aeration and prevents waterlogging.
- Small Pots or Trays: Clean pots about 4-6 inches in diameter are ideal. Make sure they have drainage holes!
- Plastic Bags or a Propagator: This creates a humid environment for your cuttings.
- Watering Can or Spray Bottle: Gentle watering is key.
- Labels and a Marker: Trust me, you’ll thank yourself later for labeling your cuttings!
Bringing New Life Forth: Stem Cuttings
This is my go-to method for propagating Baccharis macrantha. It’s efficient and yields great results.
- Take Your Cuttings: On a cool morning, select stems that are about 4-6 inches long. Using your sharp pruners, make a clean cut just below a leaf node (where the leaves attach to the stem). Remove the lower leaves, leaving just a few at the top.
- Prepare the Cuttings: If you’re using rooting hormone, dip the cut end into the powder or apply the gel, following the product’s instructions. Tap off any excess.
- Planting Time: Fill your clean pots with your prepared potting mix and moisten it lightly. Make a small hole with your finger or a pencil, and gently insert the prepared cutting, ensuring the nodes are below the soil surface. Firm the soil gently around the base.
- Create a Humid Environment: Water the soil gently. Then, cover the pots with a clear plastic bag, propping it up with stakes so it doesn’t touch the leaves. Alternatively, place them in a propagator with the lid closed.
The “Secret Sauce”: A Gardener’s Wisdom
Now, for a few tricks I’ve picked up over the years that really make a difference:
- Timing is Everything (Again!): While late spring is great, if you miss it, don’t despair. You can also take cuttings from semi-hardwood growth in late summer or early autumn. These might take a little longer to root, but they work too. The key is that the wood is firm but not fully mature.
- Give Them a Cozy Bed: If you’re struggling with cuttings taking a long time to root, try providing bottom heat. A heated propagator mat or even placing your pots on top of an appliance that emits gentle warmth can really encourage root formation. Just make sure the soil doesn’t dry out!
- Fresh is Best: Once you take your cuttings, get them planted as soon as possible. Don’t let them sit around in a bucket of water for ages. The fresh cut needs to connect with the rooting medium to start its magic.
Nurturing Your New Sprouts: Aftercare & Troubleshooting
Once your cuttings are planted, place them in a bright spot with indirect light. Avoid harsh, direct sun, which can scorch those tender new leaves. Keep the soil consistently moist but not soggy. You can check this by gently poking your finger into the soil – it should feel damp.
The real test comes when you see new growth! This is a fantastic sign that roots have formed. You can also give a very gentle tug on the cutting; if there’s resistance, you’ve got roots. At this point, you can start to gradually acclimate them to lower humidity by opening the plastic bag or propagator for increasing periods each day.
What if things go wrong? The most common culprit is rot. This usually happens when the soil is kept too wet or the humidity is too high without enough air circulation. If you see your cutting turning black and mushy at the base, unfortunately, it’s likely a goner. Don’t be discouraged! Just toss the rotten cutting, sterilize your pot and tools, and try again with fresh material and perhaps adjust your watering schedule. Another sign of failure is if the cutting simply shrivels and dies. This can be due to dryness, too much direct sun, or simply a lack of vigor in the original cutting.
So there you have it! Propagating Baccharis macrantha is a wonderful way to connect with nature and expand your garden’s beauty. Be patient with your little green charges, give them the right conditions, and celebrate every tiny leaf and root. Happy propagating, and may your gardens be ever bountiful!
Resource:
https://identify.plantnet.org/k-world-flora/species/Baccharis%20macrantha%20Kunth/data