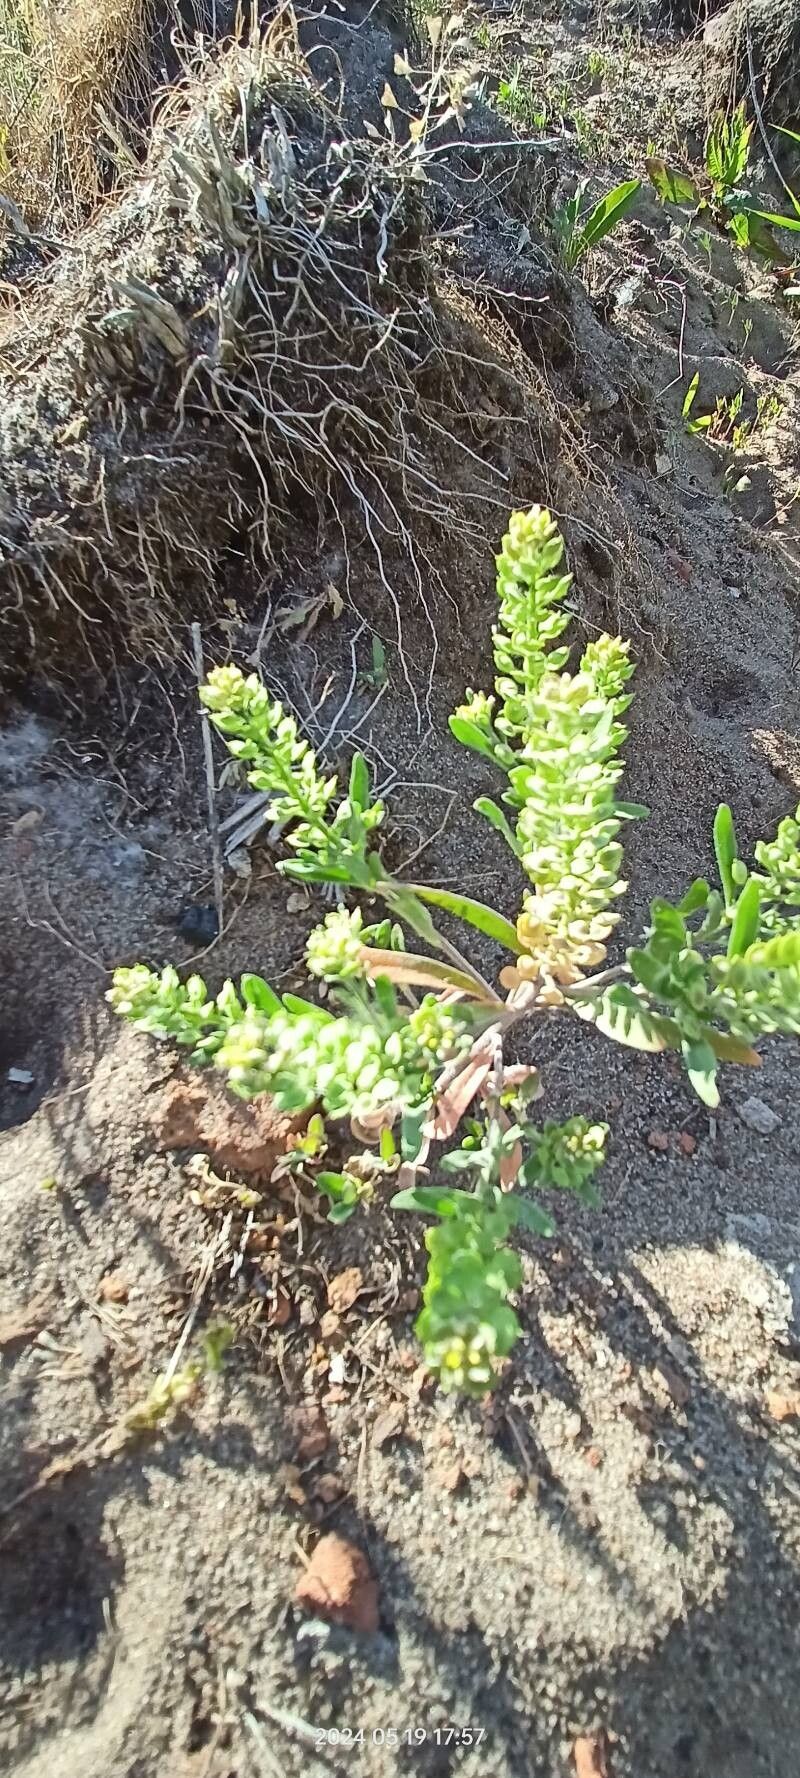
Oh, hello there, fellow plant enthusiast! Grab a mug, settle in, and let’s chat about Alyssum desertorum. If you’ve ever seen this little charmer carpeting a sunny spot with its delicate, sweet-scented flowers, you know it’s a garden gem. It’s just so cheerful, isn’t it? And the best part? It’s surprisingly easy to multiply! Getting more of these beauties for your own garden, or even to share with friends, is a wonderfully rewarding process. If you’re new to propagating plants, this is a fantastic one to start with.
The Best Time to Start
I find the sweet spot for propagating Alyssum desertorum is in the late spring or early summer. This is when the plant is in a vigorous growth phase, meaning it’s actively producing new shoots that are perfect for taking cuttings. You can also try in early fall, but the growth might be a bit slower, and you’ll have less time before cooler weather sets in.
Supplies You’ll Need
Ready to get your hands dirty? Here’s what you’ll want to have on hand:
- Sharp pruning shears or a clean knife: For making precise cuts.
- A good quality potting mix: I prefer a mix that’s light and well-draining. A blend of peat moss, perlite, and a bit of compost works wonders. You can also use a specific seed-starting mix.
- Small pots or seed trays: Whatever you have that can hold your cuttings. Make sure they have drainage holes!
- Plastic bags or a propagator lid: To create a humid environment for your cuttings.
- Rooting hormone (optional but recommended): This little helper can give your cuttings a significant boost in establishing roots.
- Spray bottle: For misting.
- Labels and a marker: So you don’t forget what you planted where!
Propagation Methods
Let’s get down to the nitty-gritty. I find two main methods work exceptionally well for Alyssum desertorum.
Stem Cuttings: My Go-To
This is my favorite way to propagate Alyssum desertorum. It’s straightforward and usually gives excellent results.
- Take your cuttings: Look for healthy, non-flowering stems. You want stems that are somewhat woody at the base but still pliable. Snip a piece about 3-4 inches long. Try to make the cut just below a leaf node (where a leaf attaches to the stem).
- Prepare the cuttings: Gently remove the lower leaves. You want to leave just a couple of leaves at the top. This prevents them from rotting when they’re in the soil.
- Apply rooting hormone (if using): Dip the cut end of the stem into your rooting hormone. Tap off any excess.
- Plant the cuttings: Fill your pots or trays with your prepared potting mix. Make a small hole with your finger or a pencil. Insert the cutting into the hole, ensuring the leaf nodes you cleared are below the soil line. Gently firm the soil around the base.
- Water and cover: Water the soil thoroughly but gently. Then, cover the pots with a plastic bag or a propagator lid to keep the humidity high. You can prop the bag up with a couple of skewers so it doesn’t touch the leaves.
Water Propagation: A Visual Treat
If you like watching the magic happen, water propagation is for you! It’s also very simple.
- Take your cuttings: Follow the same steps as above for taking the cuttings and removing the lower leaves.
- Place in water: Put the prepared cuttings into a small jar or vase of clean water. Make sure only the stem is submerged, and the leaves are well above the water line. This is crucial to prevent rot.
- Find a bright spot: Place the jar in a bright location, but out of direct, harsh sunlight.
- Change the water regularly: Change the water every few days to keep it fresh and prevent bacteria growth. You’ll start seeing little white roots emerge in a week or two!
- Pot them up: Once the roots are about an inch long, you can carefully transplant them into pots filled with your potting mix, just like the stem cuttings.
The “Secret Sauce” (Pro Tips)
Here are a few little tricks I’ve picked up over the years that can really make a difference:
- Bottom Heat is Your Friend: If you have an old heating mat for reptiles or a dedicated seed-starting heating mat, placing your pots on it can significantly speed up root development. It mimics the warmth of spring soil and is a game-changer for many cuttings.
- Don’t Be Afraid to Go Sibling Shopping: If you have a few cuttings that seem to be struggling, don’t despair! Sometimes, even a slightly overlooked stem can take off. I like to take more cuttings than I think I’ll need. It’s better to have extras than to be disappointed with none.
- “Air Layering” for Tougher Stems: While not strictly for Alyssum desertorum, for slightly woodier plants you might have trouble with, you can try air layering. You make a small nick on a stem still attached to the parent plant, wrap it in damp sphagnum moss, and then cover with plastic. Roots form on the stem while still attached, giving you a stronger start when you finally detach it. It’s a bit more involved, but so satisfying!
Aftercare & Troubleshooting
Once your cuttings have developed a nice root system (you can gently tug on them to feel for resistance, or see roots poking out of the drainage holes), it’s time to give them their own space.
- Gradual Acclimation: If you used the plastic bag method, gradually start opening the bag a little each day over a week. This helps your new plants adjust to normal humidity levels.
- Water Wisely: Water them regularly, but avoid letting them sit in soggy soil. Let the top inch of soil dry out between waterings.
- Sunshine: Once they’re established, give them plenty of sun.
What if things go wrong? The most common issue is rot. You’ll see the cutting turn mushy, black, or develop a fuzzy mold. This is usually due to too much moisture and not enough airflow, or if leaves were touching the water in water propagation. If you spot rot, unfortunately, that cutting is likely a goner. Remove it promptly to prevent it from spreading to others. Don’t beat yourself up – it happens to the best of us! Just try again with fresh cuttings.
A Encouraging Closing
Propagating plants is a journey, and like any good journey, it’s about the experience as much as the destination. Be patient with your little Alyssum cuttings. Some will take off faster than others. Celebrate every new root, every tiny leaf. You’re nurturing life, and that’s a truly beautiful thing. Happy propagating!
Resource:
https://identify.plantnet.org/k-world-flora/species/Alyssum%20desertorum%20Stapf/data