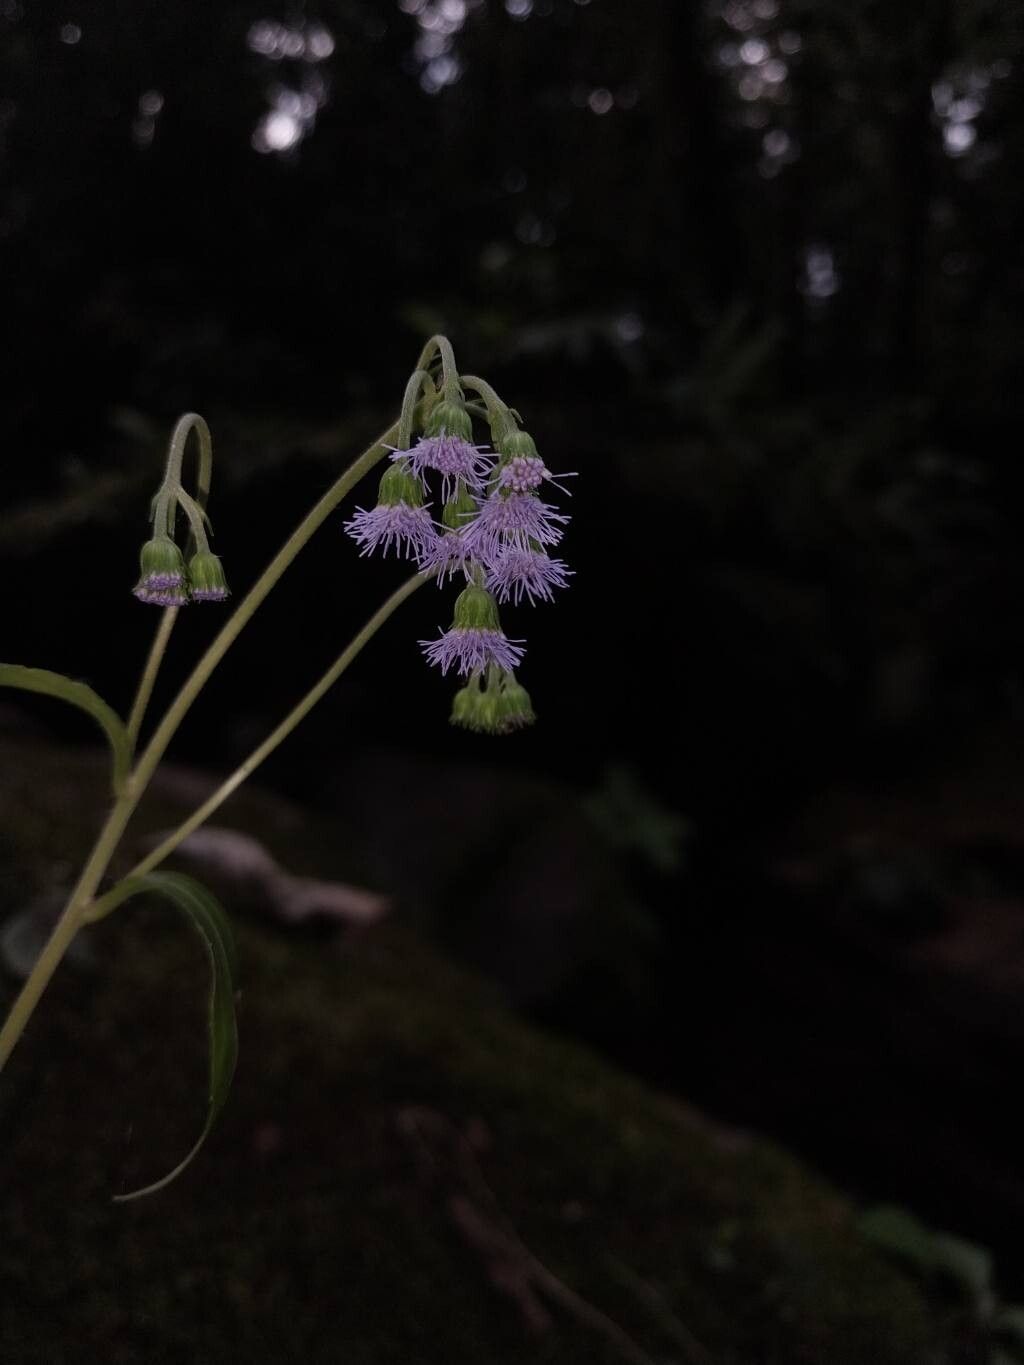
Oh, Ageratum riparium! If you’re looking for a plant that brings a splash of soft, almost ethereal color to your garden spaces, this is a wonderful choice. Its delicate, lavender-blue blooms have a way of softening edges and adding an airy charm. And the best part? Propagating it is surprisingly straightforward, a really rewarding way to fill your garden or share some beauty with friends. I’d say it’s quite beginner-friendly, which is always a plus in my book!
The Best Time to Start
For the absolute best success rates, I always recommend starting your Ageratum riparium propagation in the late spring to early summer. This is when the plant is actively growing, and those young, vigorous stems are just begging to be given a new life. You’re essentially borrowing a bit of their youthful enthusiasm for your new babies. Waiting a bit past the last frost is key.
Supplies You’ll Need
Before we get our hands dirty, let’s gather our tools. It’s always good to be prepared!
- Sharp Pruning Shears or a Craft Knife: For clean cuts, which really helps prevent disease.
- Rooting Hormone (Optional but Recommended): This little boost can significantly speed up root development. I like the powdered kind.
- Small Pots or Seed Trays: With drainage holes, of course!
- A Well-Draining Potting Mix: I find a mix of equal parts perlite, peat moss, and vermiculite works wonders. You can also use a good quality seedling mix.
- Plastic Bags or a Clear Plastic Dome: To create a humid environment for your cuttings.
- Watering Can with a Fine Rose: For gentle watering.
- Labels: So you don’t forget what you’ve planted!
Propagation Methods
Let’s dive into how we actually make these little wonders! The most common and effective method for Ageratum riparium is through stem cuttings.
Stem Cuttings:
- Take Your Cuttings: In late spring or early summer, identify a healthy, non-flowering stem on your mature Ageratum riparium. Using your sharp shears, make a clean cut just below a leaf node (where a leaf attaches to the stem). Aim for cuttings that are about 4-6 inches long.
- Prepare the Cuttings: Gently remove the lower leaves from the cutting, leaving just a couple at the very top. This helps prevent them from rotting in the soil and encourages the plant to focus its energy on root production.
- Apply Rooting Hormone (Optional): If you’re using rooting hormone, dip the cut end of the stem into the powder, tapping off any excess.
- Potting Up: Fill your small pots with your prepared potting mix. Make a small hole in the center of the soil with your finger or a dibber. Insert the cut end of your Ageratum cutting into the hole, ensuring the leaf nodes you exposed are below the soil surface. Gently firm the soil around the cutting.
- Water and Cover: Water thoroughly but gently, allowing excess water to drain away. Then, cover the pot with a plastic bag or place it under a clear plastic dome. This creates a mini greenhouse, keeping humidity high, which is crucial for cuttings to root. Aim to keep the soil consistently moist but not waterlogged.
The “Secret Sauce” (Pro Tips)
Here are a few little tricks I’ve learned over the years that can really make a difference:
- Bottom Heat is Your Friend: If you have a heat mat designed for seedlings, placing your pots on it can significantly speed up the rooting process. Ageratum loves a bit of warmth to get those roots going enthusiastically. Just a gentle warmth, no need to roast them!
- Don’t Let Those Leaves Drip: If you’re using a plastic bag or dome to maintain humidity, be mindful of condensation. Ensure the leaves of your cuttings aren’t touching the plastic. If they are, you risk them developing fungal issues. You can adjust the cover or even gently wipe away excess moisture.
- Patience with the Potting Mix: When you’re first potting your cuttings, it’s really important to use a very airy, free-draining mix. It needs to allow oxygen to reach the delicate roots while also wicking away excess moisture. That perlite/peat/vermiculite blend I mentioned earlier? It’s a lifesaver for preventing soggy bottoms!
Aftercare & Troubleshooting
Once your Ageratum riparium cuttings have developed a good root system – you’ll know because you’ll see new growth at the top or gentle resistance when you give them a very light tug – it’s time to start acclimating them.
Gradually remove the plastic cover over a few days to let them adjust to the drier air. Continue to keep the soil consistently moist. Once they are well-established and looking sturdy, you can transplant them into larger pots or directly into your garden beds.
Watch out for rot. This is the most common issue and usually indicates the soil is too wet and lacks good drainage, or there’s not enough air circulation. If you see a cutting looking limp and mushy, it’s likely a goner. Don’t be discouraged; just move on to the next batch! Sometimes, a little bit of mildew can appear, especially if humidity is too high for too long. Increasing air circulation can often help this.
A Encouraging Closing
Propagating plants is a journey, and Ageratum riparium is a lovely companion for that journey. Be patient with your little cuttings, enjoy the process of watching them grow, and don’t be afraid to experiment. Happy propagating, and may your gardens be filled with beautiful blue blooms!
Resource:
https://identify.plantnet.org/k-world-flora/species/Ageratum%20riparium%20B.L.Rob./data