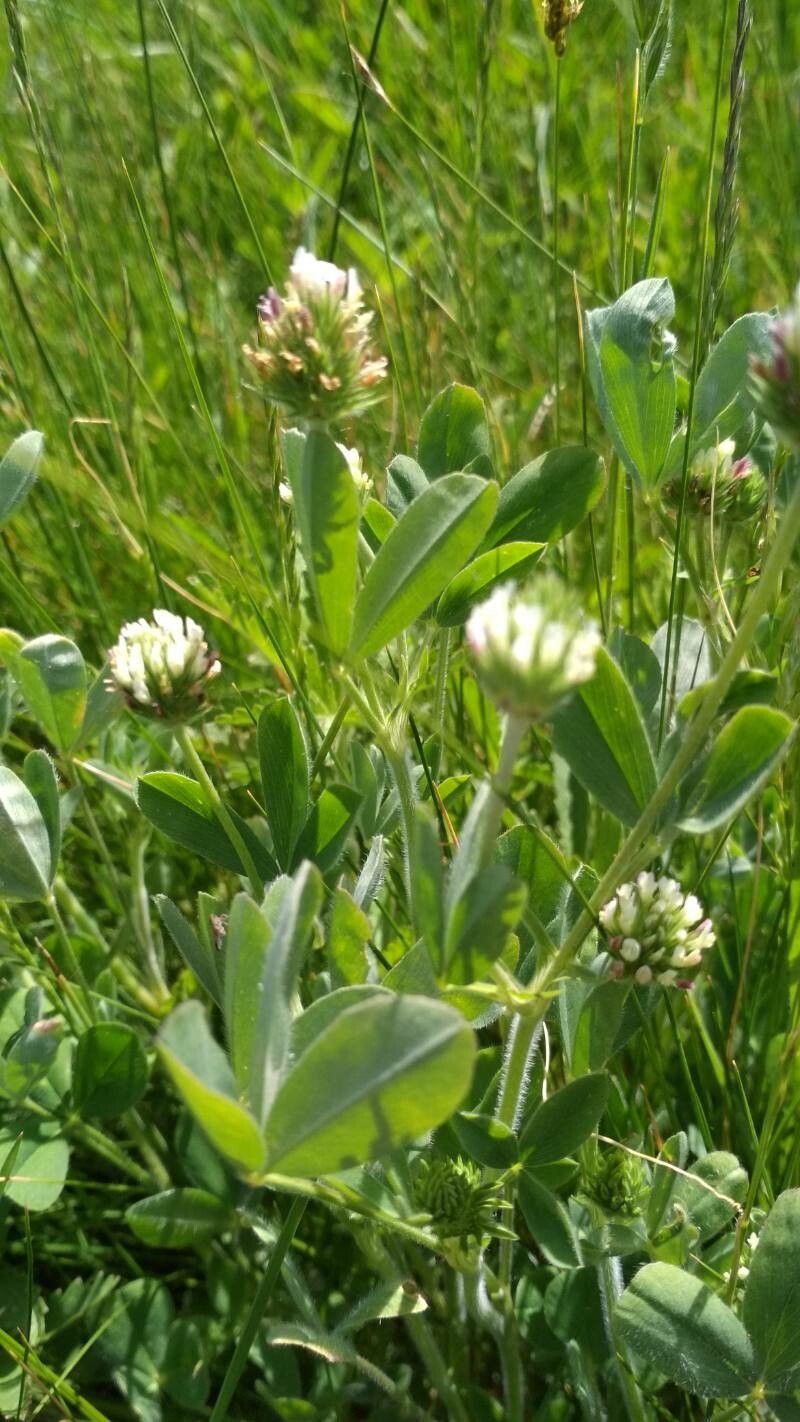
Oh, Trifolium leucanthum! What a charmer. That delicate white bloom, like a tiny little snowdrift in your garden, always makes me smile. I remember the first time I saw it, and ever since, I’ve been eager to share its beauty. If you’ve fallen a little (or a lot!) for this sweet clover, you’re in for a treat. Propagating it is surprisingly rewarding, and actually, for a beginner, it’s a lovely plant to get your propagation feet wet with. It’s quite forgiving, which is always a bonus!
The Best Time to Start
My go-to time for propagating Trifolium leucanthum is late spring to early summer. This is when the plant is actively growing after waking up from its winter slumber. You’ll find it’s producing nice, healthy shoots that are just begging to be turned into new plants. Waiting until the plant is in its vigorous growth phase really gives your cuttings or divisions the best shot at success.
Supplies You’ll Need
Here’s what I like to have on hand:
- Sharp Pruning Shears or a Knife: For clean cuts, which are crucial.
- A Good Quality Potting Mix: I lean towards a mix that offers good drainage – something like a blend of potting soil, perlite, and a touch of coco coir works wonders.
- Small Pots or Seed Trays: Depending on your chosen method.
- Rooting Hormone (Optional but Recommended): Especially helpful for stem cuttings.
- Watering Can or Spray Bottle: For gentle watering.
- Labels: So you don’t forget what you’ve planted!
- A Pen or Marker: To write on your labels.
Propagation Methods
Trifolium leucanthum is quite versatile, and I’ve had success with a couple of different methods.
Stem Cuttings
This is my favorite way to multiply my Trifolium leucanthum collection.
- Select Your Cuttings: Look for healthy, non-flowering stems that are about 3-4 inches long. You want to snip just below a leaf node – that’s the little bump on the stem where leaves emerge.
- Prepare the Cuttings: Gently remove the lower leaves from the cutting, leaving just a few at the top. This prevents them from rotting when you stick them in the soil. If you’re using rooting hormone, dip the cut end into it now.
- Plant Your Cuttings: Fill your small pots with your damp potting mix. Make a little hole with your finger or a pencil, and gently insert the cutting. Firm the soil around it.
- Water Gently: Give them a light watering, just enough to settle the soil.
- Provide Humidity: Cover the pots with a plastic bag or a clear plastic dome to create a mini greenhouse effect. This keeps the humidity high, which cuttings love.
Division
If your Trifolium leucanthum is already a well-established clump, division is a straightforward approach.
- Gently Excavate: Carefully dig up the entire plant. If it’s a large clump, you might want to do this after flowering has finished.
- Divide the Roots: Gently tease apart the root ball into smaller sections. You can use your fingers or a clean trowel for this. Aim for sections that have both roots and some leafy growth.
- Replant Immediately: Pot up each division into its own pot with fresh potting mix.
- Water Well: Water thoroughly to help the roots settle into their new home.
The “Secret Sauce” (Pro Tips)
Here are a couple of things I’ve learned that can make a big difference:
- Keep Those Leaves Dry: When watering cuttings, I always avoid getting the leaves wet. A spray bottle or watering from the bottom helps immensely. Wet leaves on a cutting are a recipe for rot, and we certainly don’t want that!
- A Cozy Warmth: If you have a heat mat designed for seedlings, using it under your pots of cuttings can speed up root development significantly. It mimics that lovely warm spring soil that encourages growth. Just make sure it’s not too hot!
Aftercare & Troubleshooting
Once you see tiny new growth or feel a bit of resistance when you gently tug on a cutting, congratulations! Roots are forming.
- Acclimatize Gradually: If you’ve covered your cuttings, start removing the plastic a little bit each day to help them adjust to drier air.
- Water Consistently: Keep the soil consistently moist, but not waterlogged. Overwatering is the most common culprit for disappointment.
- Watch for the Signs: If your cutting turns yellow and limp, or you see mold developing, it’s usually a sign of too much moisture or not enough light. If a division droops dramatically, make sure it’s getting enough water and is planted at the correct depth. Don’t be disheartened if a few don’t make it; it’s part of the learning curve!
A Little Encouragement to Finish
Propagating plants, just like gardening in general, is a journey. It teaches you patience and observation. Don’t get discouraged if your first few attempts aren’t perfect. Each sprout, each new leaf you nurture, is a little triumph. Enjoy the process, celebrate the successes, and learn from the little setbacks. Happy propagating, and may your Trifolium leucanthum bring you double the delight!
Resource:
https://identify.plantnet.org/k-world-flora/species/Trifolium%20leucanthum%20M.Bieb./data