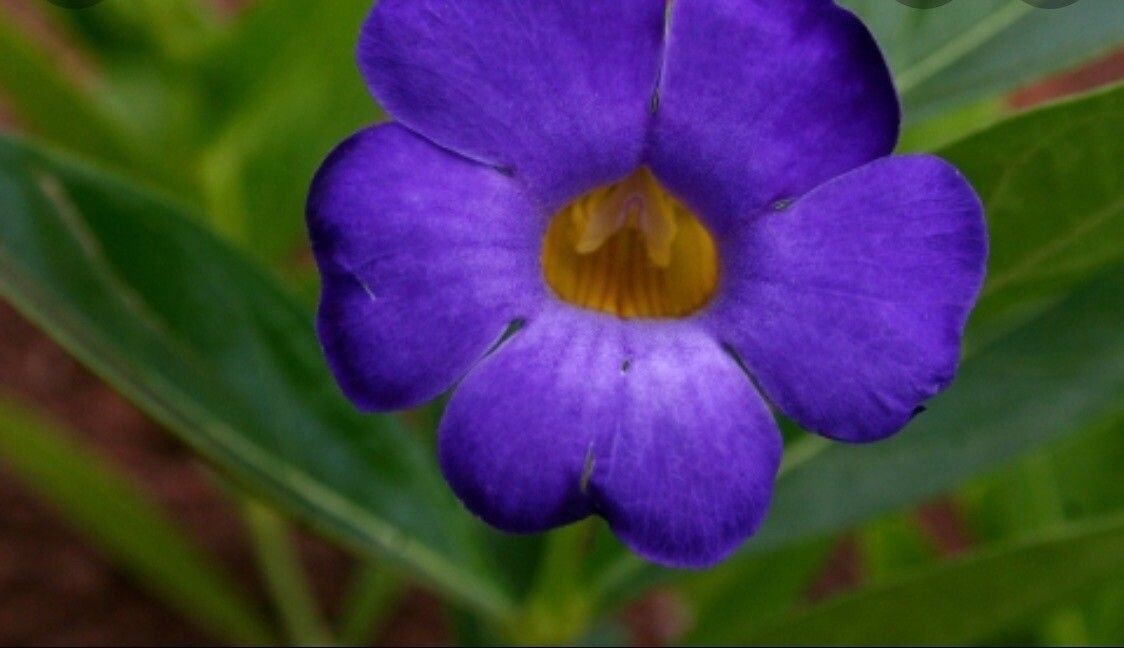
Oh, how I love Thunbergia lancifolia! Its beautiful, trumpet-shaped flowers, often in shades of cheerful blue or purple, cascading over a garden wall or spilling from a hanging basket, just make me smile. It’s a plant that truly brings joy, and the incredibly rewarding feeling of creating more of them yourself is something special. If you’re new to propagation, I’ve got good news: Thunbergia lancifolia is quite forgiving, making it a wonderful plant to start your journey with.
The Best Time to Start
For the highest success rate, I find late spring or early summer is absolutely perfect. This is when the plant is in its active growth phase, meaning it’s brimming with energy and readily producing new shoots that are ideal for taking cuttings. You want to be taking them from healthy, vigorous stems that haven’t flowered yet.
Supplies You’ll Need
To get your Thunbergia lancifolia propagation underway, gather these few essentials:
- Sharp, clean pruning shears or a sharp knife: For making clean cuts.
- Rooting hormone (optional, but recommended): A little boost can really help.
- A well-draining potting mix: I usually use a 50/50 blend of peat moss or coco coir and perlite or coarse sand.
- Small pots or seed trays: Clean ones are crucial to prevent disease.
- A spray bottle: For misting.
- A clear plastic bag or propagation dome: To create a humid environment.
Propagation Methods
Let’s get our hands dirty with a couple of tried-and-true methods for Thunbergia lancifolia.
Stem Cuttings:
- Select your stem: Look for new, non-woody growth on your healthy plant. You want a stem that’s about 4-6 inches long.
- Make the cut: Using your clean shears, make a clean cut just below a leaf node (where a leaf attaches to the stem).
- Prepare the cutting: Gently remove the lower leaves, leaving just two or three at the top. This prevents them from rotting in the soil.
- Apply rooting hormone (optional): Dip the cut end of the stem into your rooting hormone powder, tapping off any excess.
- Plant the cutting: Fill your small pots with your prepared potting mix. Make a small hole with your finger or a pencil, and insert the cutting so that the leaf nodes you removed are below the soil surface. Gently firm the soil around the cutting.
- Water and cover: Water the pot gently to settle the soil. Then, cover the pot with a clear plastic bag or place it under a propagation dome. This keeps the humidity high, which is vital for cuttings.
Water Propagation (My Favorite for Showing Off!)
- Take your cutting: Follow steps 1 and 2 from the stem cutting method.
- Remove lower leaves: Just like before, remove any leaves that would be submerged.
- Place in water: Pop the cuttings into a clean jar or glass filled with fresh water. Make sure no leaves are touching the water.
- Find a bright spot: Place the jar in a bright location out of direct sunlight.
- Change the water: Change the water every few days to keep it fresh and prevent bacteria buildup.
The “Secret Sauce” (Pro Tips)
After years of playing with plants, I’ve learned a thing or two!
- Bottom Heat is Your Friend: For stem cuttings, using a propagation mat or placing your pots on top of a warm appliance (like a router!) can significantly speed up root development. It mimics the warmth of spring soil.
- Don’t Be Afraid of the Misting: I like to mist my cuttings daily for the first week or two, especially if they’re not under a dome. This keeps the leaves hydrated while they’re trying to form roots.
- Watch for the “Pearls”: When propagating in water, you’ll often see tiny white bumps forming on the submerged stem. These are the beginnings of roots, and they’re a very encouraging sign!
Aftercare & Troubleshooting
Once you see signs of new growth or a good root system developing (you can gently tug on a cutting to feel resistance, or carefully peek at the roots in a clear pot or water), it’s time for a little more care.
- Gradually Acclimate: If you’ve been using a plastic bag or dome, gradually increase ventilation over a week by opening it for longer periods each day. This toughens up your new plant before you remove the cover entirely.
- Watering is Key: Water your new plants when the top inch of soil feels dry. Avoid overwatering, as this is a common culprit for rot.
- Signs of Trouble: The most common issues are wilting (often due to not enough humidity or an unhealthy cutting) or rot. If you see black, mushy stems, sadly, that cutting is likely lost. Remove it immediately to prevent it from affecting others. Yellowing leaves can sometimes mean too much or too little water, or not enough light.
A Little Patience Goes a Long Way
Propagating plants is a bit of a dance with nature, and each cutting has its own journey. Don’t get discouraged if not every single one takes. Celebrate the successes, learn from any setbacks, and most importantly, enjoy the process of nurturing these new lives. Happy propagating!
Resource:
https://identify.plantnet.org/k-world-flora/species/Thunbergia%20lancifolia%20T.Anderson/data