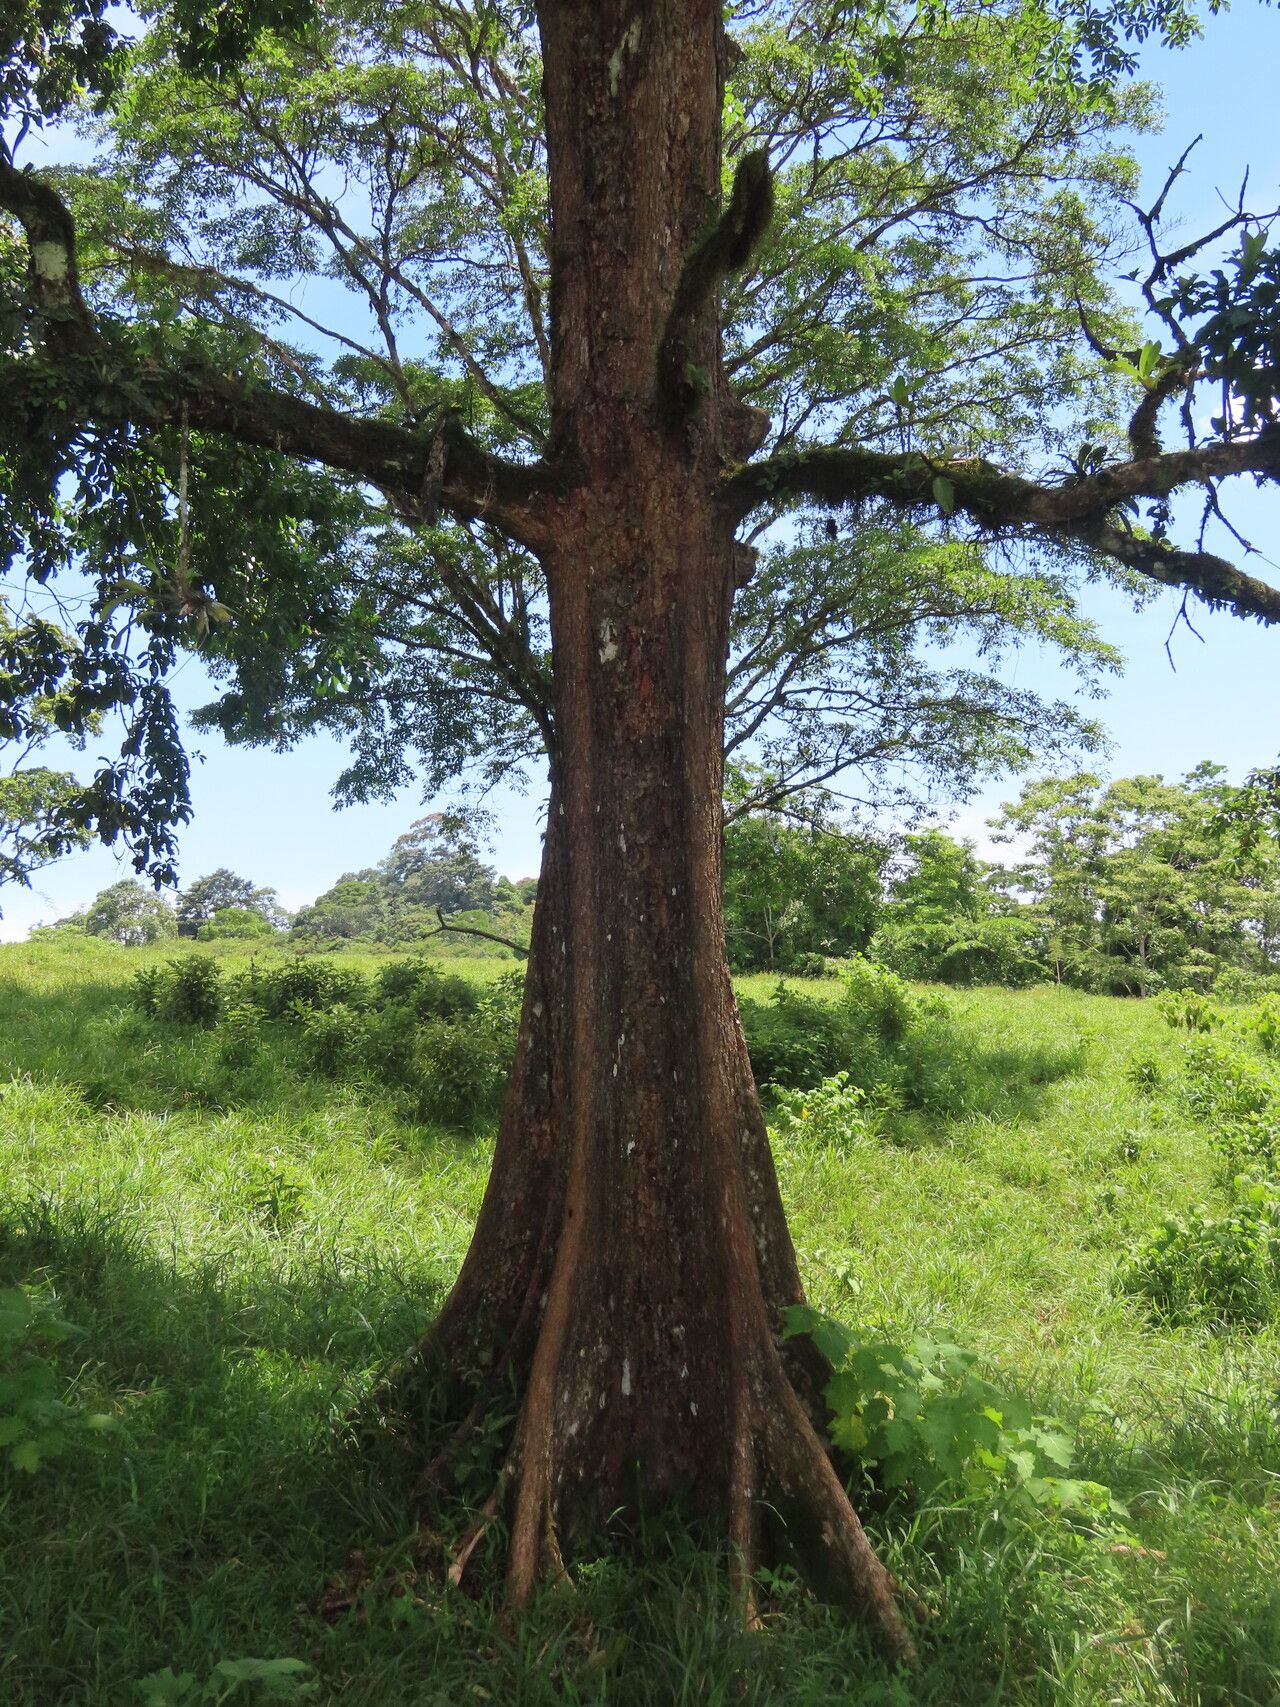
Hey there, fellow plant lovers! I’m so excited to chat with you today about a truly magnificent tree: Terminalia bucidoides. If you’ve ever had the pleasure of seeing this beauty, you know exactly what I mean. Its elegant, spreading branches and lush foliage create such a peaceful, inviting presence in any garden. And the best part? You can create your own little piece of paradise by propagating it!
Now, I’ll be honest, propagating Terminalia bucidoides isn’t exactly as simple as sticking a potato in the ground. It leans a bit more towards the intermediate level. But don’t let that deter you! With a little patience and the right know-how, you’ll be rewarded with stunning new trees that you grew yourself. There’s something incredibly special about nurturing a plant from its very beginning, don’t you think?
The Best Time to Start
When it comes to giving your Terminalia bucidoides cuttings the best chance of success, late spring to early summer is usually your golden window. This is when the plant is actively growing, and its stems are full of vigor. Look for young, semi-hardwood stems – they’re not too soft and floppy, but not yet completely woody and tough. These have just the right balance of flexibility and stored energy to root well.
Supplies You’ll Need
Before we dive into the nitty-gritty, let’s gather our essentials. Having everything ready makes the process so much smoother.
- Sharp Pruning Shears or a Knife: For clean cuts that heal quickly.
- Rooting Hormone: While not always strictly necessary, it can give your cuttings a significant boost. Look for one containing IBA.
- Well-Draining Potting Mix: A good blend is crucial. I often use a mix of equal parts peat moss or coco coir, perlite, and coarse sand. This prevents waterlogging.
- Small Pots or Trays: About 4-6 inch pots are perfect for starting.
- Plastic Bags or a Clear Dome: To create a humid environment for your cuttings.
- Water: For misting and watering.
- Labels: To mark your cuttings! Trust me, you’ll thank yourself later.
Propagation Methods
Now, the fun part! We’ll focus on the most reliable method for Terminalia bucidoides: stem cuttings.
Stem Cuttings:
- Take Your Cuttings: On a pleasant morning after the dew has dried, select healthy, one-year-old stems that are about pencil-thick. Using your sharp pruning shears, make a clean cut just below a leaf node. Aim for cuttings that are around 6-8 inches long.
- Prepare the Cuttings: Gently remove the lower leaves from the bottom half of the stem. This prevents them from rotting in the soil or water. If you’re using rooting hormone, dip the cut end of each stem into the powder or gel. Tap off any excess.
- Plant Your Cuttings: Fill your chosen pots with your well-draining potting mix. Make a small hole in the center of the soil with your finger or a pencil. Carefully insert the prepared cutting into the hole, ensuring the leaf nodes where you removed leaves are below the soil surface. Firm the soil gently around the stem.
- Water and Cover: Water the soil thoroughly until you see water drain from the bottom of the pot. This settles the soil around the cutting. Now, to create that essential humid environment, loosely cover the pot with a clear plastic bag, propping it up with stakes so it doesn’t touch the leaves, or use a clear plastic dome. This helps retain moisture.
The “Secret Sauce” (Pro Tips)
Here are a couple of things I’ve learned over the years that can really make a difference:
- Don’t Let Leaves Touch Water: If you happen to choose water propagation (though soil is generally better for this tree), make sure the leaves of your cutting do not sit in the water. Any submerged foliage will quickly rot and likely doom your cutting before roots even have a chance.
- Bottom Heat is Your Friend: For an extra boost, especially if your home is a bit on the cooler side, using a seedling heat mat under your pots can significantly speed up root development. The warmth encourages root growth without overheating the top of the plant.
Aftercare & Troubleshooting
Once your cuttings are potted, find them a spot with bright, indirect light. Direct sunlight can fry those tender new cuttings. Keep the soil consistently moist but not soggy. You want it to feel like a wrung-out sponge. Mist the leaves occasionally, especially if you have the humidity dome.
You’ll know your cuttings are rooting when you see new leaf growth or gently tug on a cutting and feel resistance. This can take anywhere from 4-8 weeks, or sometimes longer. Be patient!
The most common issue you’ll encounter is rot. This usually happens when the soil is too wet or the environment is too humid without enough air circulation. If you see a cutting turning black and mushy, sadly it’s likely a goner. Remove it immediately to prevent it from spreading to other cuttings.
A Encouraging Closing
See? It’s not rocket science, but it does require a bit of finesse and a lot of encouragement. Don’t be discouraged if your first few attempts aren’t perfect. Every gardener has a few casualties along the way – it’s all part of the learning process! Just keep trying, enjoy the journey of watching these little cuttings transform into your very own Terminalia bucidoides, and celebrate each success. Happy propagating!
Resource: