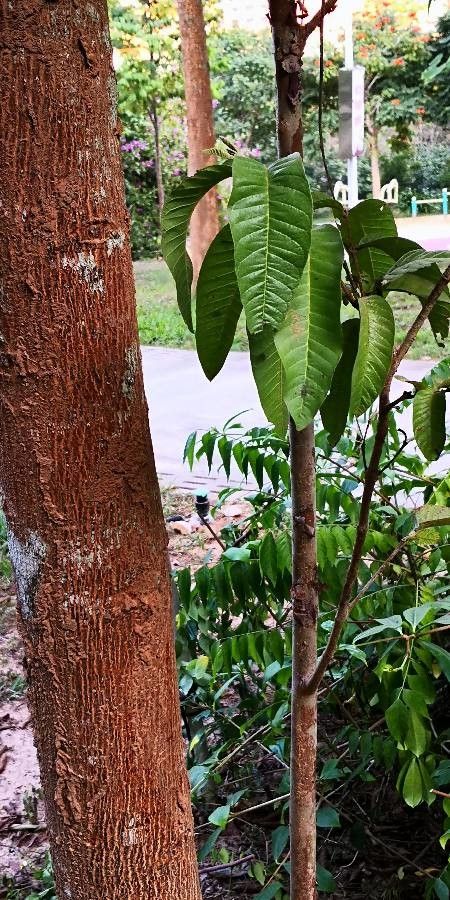
Hello my fellow plant enthusiasts! Isn’t Shorea wangtianshuea just a dream? The way its leaves unfurl, that almost iridescent sheen… it’s truly a showstopper. I’ve been captivated by this beauty for years, and trust me, coaxing a new plant into existence from a piece of an established one is one of the most satisfying gardening feats you can achieve. While it might seem a little intimidating at first glance, don’t let that shy you away. With a little know-how and patience, you can absolutely have success with propagating Shorea wangtianshuea.
The Best Time to Start
For Shorea wangtianshuea, the sweet spot for propagation is typically during its active growing season. Think late spring through early summer. This is when the plant has the most energy to invest in producing roots. You’ll want to take cuttings from healthy, semi-hardwood stems – this means growth that’s not brand new and flimsy, but not overly woody and mature either. It’s that perfect in-between stage that shows real promise.
Supplies You’ll Need
Gathering your tools beforehand makes the whole process feel smoother. Here’s what I usually have on hand:
- Sharp Pruning Shears or a Clean Blade: For making clean cuts to avoid damaging the plant.
- Rooting Hormone: A powder or gel can significantly boost your success rate by encouraging root development.
- Well-Draining Potting Mix: A special blend here is key. I often use a mix of perlite, coco coir, and a bit of horticultural charcoal. You want something that allows for plenty of air circulation and doesn’t hold too much moisture.
- Small Pots or Seedling Trays: Clean, appropriately sized containers for your cuttings.
- Plastic Bag or Humidity Dome: To create a humid microclimate for your cuttings.
- Watering Can with a Fine Rose: For gentle watering.
- Optional: Heating Mat: For bottom heat, which can really speed up root formation.
Propagation Methods
For Shorea wangtianshuea, stem cuttings are usually my go-to method. It’s straightforward and often yields great results.
- Select Your Cuttings: Choose healthy stems from your mature plant that are about 6-8 inches long. Look for stems that have developed some firmness but are still pliable.
- Make the Cut: Using your clean pruning shears, make a clean cut just below a leaf node. A leaf node is where a leaf attaches to the stem; this is where roots are most likely to form.
- Prepare the Cutting: Carefully remove any lower leaves, leaving just a few at the top. This prevents them from rotting in the soil and encourages the cutting to focus its energy on root development.
- Apply Rooting Hormone: Dip the cut end of the stem into your rooting hormone, coating it thoroughly. Gently tap off any excess.
- Potting Up: Fill your small pots with your well-draining potting mix. Make a small hole with your finger or a pencil, and carefully insert the prepared cutting. Gently firm the soil around the base of the cutting.
- Create Humidity: Water the soil lightly. Then, cover the pot with a clear plastic bag (propped up with sticks so it doesn’t touch the leaves) or place it under a humidity dome. This is crucial for keeping the cuttings from drying out.
- Placement: Place the pots in a bright location but out of direct sunlight. A spot on a windowsill that gets indirect light is perfect. If you have a heating mat, place the pots on it.
The “Secret Sauce” (Pro Tips)
Over the years, I’ve picked up a few tricks that seem to make all the difference!
- My absolute favorite tip for keeping cuttings happy is to avoid letting the leaves touch the water if you were to try water propagation (which I don’t recommend as much for this one, but if you dabble!). Even with soil, making sure the soil isn’t waterlogged is paramount. Soggy conditions are the enemy of happy roots.
- Bottom heat is a game changer! Even a gentle warmth from a heating mat can dramatically speed up the rooting process. It mimics the conditions of springtime soil and really encourages those root hormones to get to work.
- Don’t be afraid to experiment with different parts of the stem. Sometimes younger, softer growth will root faster, and other times, slightly more mature growth takes hold better. Keep notes on what works best for you!
Aftercare & Troubleshooting
Once your cuttings have been potted up and are comfortably housed, the waiting game begins! Keep the soil consistently moist but not soggy. How do you know when it’s working? You’ll start to see new growth appearing from the top of the cutting. This is a fantastic sign that roots are forming! I usually give my cuttings a gentle tug after about 6-8 weeks. If there’s some resistance, you’ve got roots!
The most common issue you might face is rot. This usually happens due to overwatering or poor drainage. If you see your cutting start to blacken or become mushy, it’s likely succumbed to rot. Don’t be discouraged! Just pull it out, discard it, and try again, focusing on better air circulation and ensuring your soil drains freely.
Wrap Up
Propagating plants, especially something as lovely as Shorea wangtianshuea, is a journey. There will be successes, and perhaps a few gentle learning curves, but that’s all part of the fun. Be patient with your little cuttings, give them the right conditions, and soon enough, you’ll be rewarded with new green life. Happy planting!
Resource: