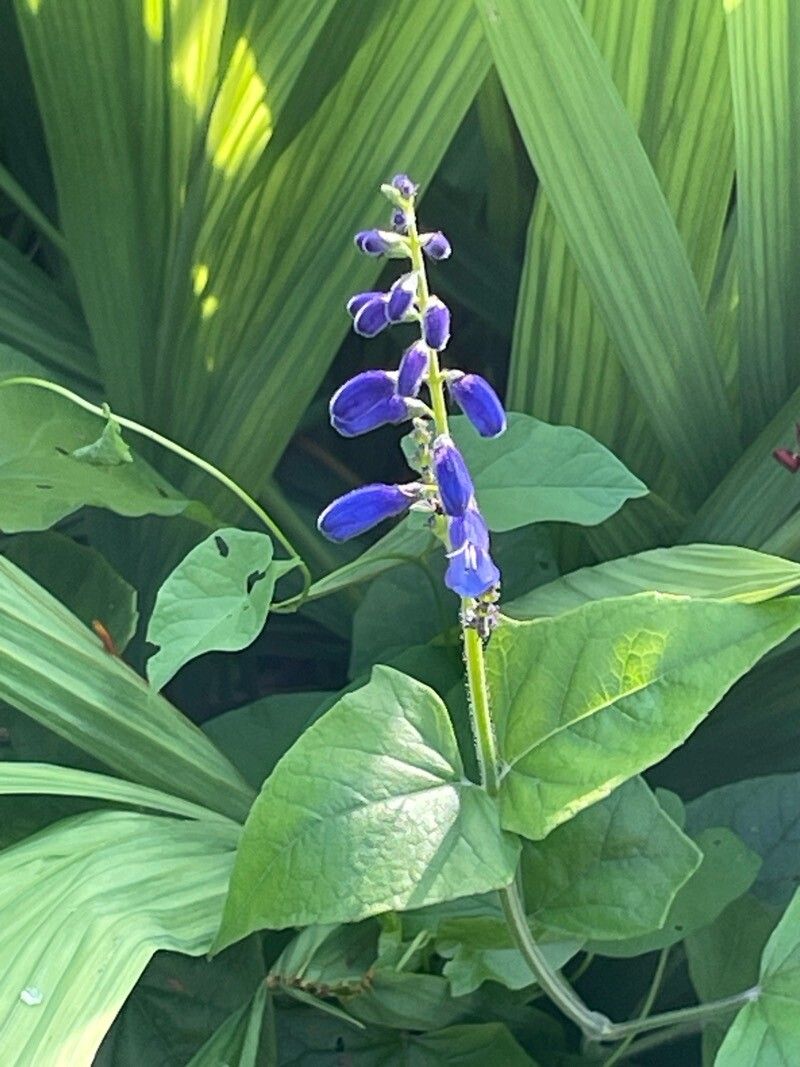
Hello, fellow garden lovers! I’m so excited to chat with you today about a plant that truly lights up my garden: Salvia cacaliifolia. This gorgeous sage, often called Blue Vine Sage, boasts the most incredible, vibrant blue flowers that seem to glow. It’s cheerful, attracts tons of pollinators, and honestly, just makes me happy every time I see it. And the best part? You can easily bring that joy into your own garden by propagating it!
Many gardeners wonder if this particular sage is a good beginner plant to propagate. I’m happy to report that, yes, Salvia cacaliifolia is quite forgiving. It’s a rewarding plant to multiply, and you’ll likely have great success, especially if you follow a few simple steps. It’s a fantastic way to fill more space in your garden or share a bit of beauty with friends.
The Best Time to Start
When it comes to getting the best results, timing is everything. For Salvia cacaliifolia, the absolute sweet spot for propagation is late spring to early summer. This is when the plant is actively growing and has plenty of energy to channel into developing new roots. Look for stems that are firm but not woody – you want that semi-ripe stage. Avoid trying to take cuttings from brand-new, floppy growth or from old, tough stems.
Supplies You’ll Need
Don’t worry, you don’t need a whole greenhouse full of fancy equipment. Here’s what I reach for:
- Sharp pruning shears or a clean, sharp knife: For making clean cuts.
- Rooting hormone (optional, but recommended): A gentle dip can significantly speed up root development.
- Small pots or seed trays: About 3-4 inches in size are perfect.
- Well-draining potting mix: I like a blend of equal parts peat moss or coco coir, perlite, and compost.
- Plastic bag or a clear dome: To create a humid environment.
- Watering can or spray bottle: For gentle watering.
- Labels: To keep track of what you’ve planted!
Propagation Methods
Salvia cacaliifolia is wonderfully adaptable, and I find two methods to be the most successful: stem cuttings and division.
Stem Cuttings
This is my go-to method for multiplying my sages.
- Take Your Cuttings: In late spring or early summer, select healthy, vigorous stems. Use your sharp shears to cut a 4-6 inch section just below a leaf node (where the leaves emerge from the stem). Remove the lower leaves, leaving just a few at the top.
- Prepare the Cutting: If you’re using rooting hormone, dip the cut end into it. Don’t be shy, just coat the bottom inch or so.
- Plant Them Up: Fill your small pots with your prepared potting mix. Make a hole in the center with your finger or a pencil.
- Insert the Cutting: Gently place the cutting into the hole, ensuring the leaf nodes are buried in the soil. Firm the soil gently around the stem.
- Create Humidity: Water everything thoroughly, and then cover the pots loosely with a plastic bag or a clear dome. This will trap moisture and mimic the humid greenhouse conditions the cuttings crave. Place them in a bright spot with indirect sunlight.
- Water Gently: Keep the soil consistently moist, but not waterlogged. A spray bottle is perfect for this.
Division
If you have an established clump of Salvia cacaliifolia, dividing it is a fantastic way to get multiple plants.
- Dig Up the Plant: In spring, before new growth gets too vigorous, carefully dig up the entire plant. You want to get as much of the root ball as possible.
- Separate the Roots: Gently shake off excess soil so you can see the root structure. With your hands or a clean trowel, carefully pull or cut the root ball into sections. Aim for sections that have both roots and some leafy top growth.
- Replant Immediately: Plant each division into its new spot in the garden or into pots with fresh potting mix. Water them in well.
The “Secret Sauce” (Pro Tips)
Here are a few little tricks I’ve learned over the years that really boost success:
- Don’t Let the Leaves Touch the Water (Even in Water Propagation): While I primarily use soil for Salvia cacaliifolia, if you ever try water propagation with other plants, it’s crucial: ensure no leaves are submerged. Any leaf in the water will rot and potentially kill your cutting.
- Bottom Heat is Your Friend: For stem cuttings, placing your pots on a gentle heating mat can make a huge difference. It encourages the roots to develop faster by providing warmth from below. You don’t need it blazing hot, just a gentle warmth.
- Air Circulation is Key: While you need humidity, good air circulation prevents fungal issues. If you’re using a plastic bag, I like to poke a few small holes in it, or lift the bag daily for a few minutes to let fresh air in.
Aftercare & Troubleshooting
Once you see new growth emerging from your cuttings, it’s a good sign that roots are forming!
- Acclimate Gradually: If you used a plastic bag or dome, gradually introduce your new plant to drier air over a week or so. Start by lifting the cover for longer periods.
- Transplant When Ready: When your new plants have a robust root system (you can test by gently tugging – if there’s resistance, they’re ready), you can transplant them into slightly larger pots or directly into your garden beds.
- Watch for Rot: The most common problem is rot, which usually happens from overwatering or poor drainage. If your cuttings turn black and mushy at the base, it’s likely rot. If you see this, remove the rotten cutting immediately to prevent it from spreading. Ensure your soil drains well.
A Encouraging Closing
Propagating Salvia cacaliifolia is a truly satisfying endeavor. It’s a chance to connect with your plants and expand your garden without spending a fortune. Be patient with the process; sometimes it takes a few weeks for roots to develop. Enjoy watching those little sprouts emerge and know you’ve created something beautiful with your own hands. Happy gardening!
Resource:
https://identify.plantnet.org/k-world-flora/species/Salvia%20cacaliifolia%20Benth./data