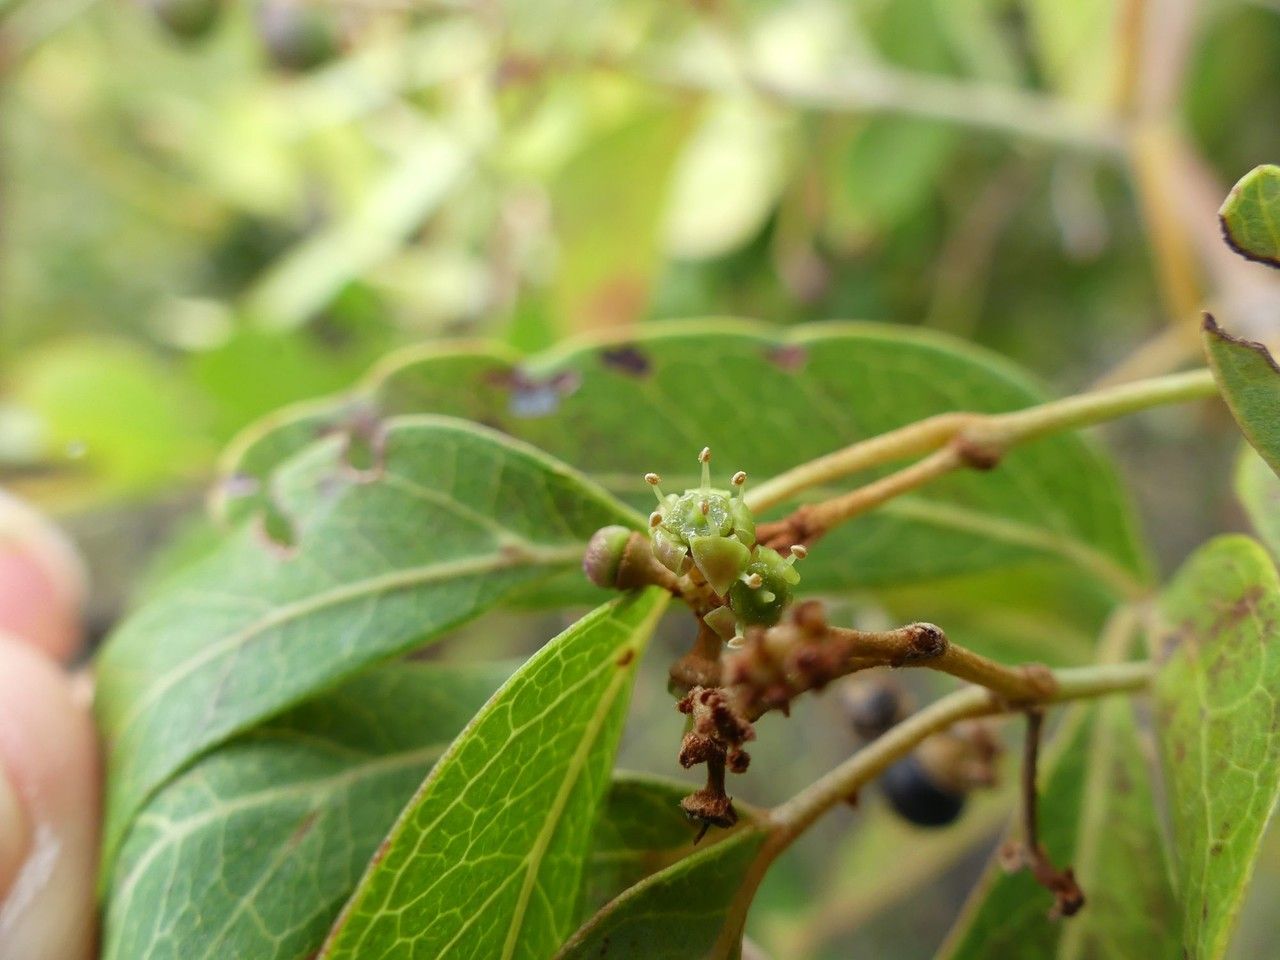
Hello fellow plant lovers! I’m so excited to chat with you today about a truly lovely vine: Rhoicissus revoilii, also known as the Cape Ivy or African Ivy. This plant has such a gorgeous, cascading habit, with those attractive, lobed leaves that can really soften a room. And the best part? It’s surprisingly rewarding to propagate! It’s a plant that doesn’t often get the spotlight, but its ease of propagation makes it a real gem for anyone looking to share the green love or simply expand their own collection without breaking the bank.
For absolute beginners, I’d say Rhoicissus revoilii is a good friend to have. It’s not overly fussy, and with a little understanding, you’ll likely have success. Propagating it is a fantastic way to learn the ropes of plant multiplication and gain that extra bit of confidence in your gardening skills.
The Best Time to Start
When it comes to getting new Rhoicissus revoilii babies started, spring and early summer are your golden ticket. This is when the plant is actively growing, meaning it has more energy to put into rooting and establishing new life. You’ll want to take cuttings from healthy, vigorous stems that are currently growing, not woody old growth. Think of it as harvesting from a plant that’s just waking up and feeling energized!
Supplies You’ll Need
Gathering your supplies beforehand makes the whole process so much smoother. Here’s what I usually have on hand:
- Sharp Pruning Shears or Scissors: Cleanliness is key to preventing disease. I give mine a quick wipe with rubbing alcohol.
- Small Pots or Seedling Trays: Whatever you have available will work. Ensure they have drainage holes!
- Potting Mix: A good starting mix is crucial. I like a blend of equal parts peat moss or coco coir, perlite, and a little bit of regular potting soil. This provides good drainage while holding just enough moisture.
- Rooting Hormone (Optional but Recommended): This gel or powder really gives cuttings a boost.
- Plastic Bag or Clear Dome: To create a humid environment for the cuttings.
- Water: For misting and keeping things moist.
- Labels: Trust me, you’ll thank yourself later!
Propagation Methods
I find Rhoicissus revoilii takes beautifully to stem cuttings, and it’s a method that’s both simple and effective.
Stem Cuttings:
- Select Your Cuttings: Look for healthy, non-flowering stems that are about 4-6 inches long. You want stems that are a bit flexible, not completely woody.
- Make the Cut: Using your clean shears, make a cut just below a leaf node (where a leaf attaches to the stem). This is where the plant will be most eager to form roots.
- Prepare the Cutting: Gently remove the lower leaves from the cutting, leaving just 2-3 leaves at the top. If the top leaves are very large, you can even cut them in half to reduce water loss.
- Apply Rooting Hormone (Optional): Dip the cut end of the stem into your rooting hormone, tapping off any excess.
- Potting Up: Fill your small pots with the prepared potting mix. Make a small well in the center with your finger or a pencil.
- Insert the Cutting: Gently place the cut end of the Rhoicissus revoilii cutting into the well. Firm the soil around the stem to ensure good contact.
- Water Gently: Water the soil lightly. You want it to be moist, but not waterlogged.
- Create Humidity: Now, we need to create that greenhouse effect. You can either cover the pot with a clear plastic bag (making sure the leaves don’t touch the plastic) or place the pot under a clear dome. To keep the bag from collapsing, you might want to insert a skewer or two.
- Placement: Place your newly potted cuttings in a bright spot that receives indirect light. Avoid direct sun, as it can scorch the delicate cuttings.
Water Propagation (Another Easy Option):
If you prefer to try water propagation, it’s quite straightforward for this vine:
- Follow steps 1-3 from the stem cuttings method.
- Instead of potting, place the prepared cuttings in a jar or vase filled with clean water.
- Ensure the leaf nodes are submerged, but make sure no leaves are sitting in the water. Submerged leaves will just rot and lead to failure.
- Place the jar in a bright spot with indirect light.
- Change the water every few days to keep it fresh and prevent bacterial growth.
The “Secret Sauce” (Pro Tips)
After years of pottering about, I’ve learned a few tricks that tend to give me that extra edge.
- My absolute favorite tip for stem cuttings is using bottom heat. If you have a seedling heat mat, place your pots on top of it. This gentle warmth encourages root development like nothing else. You’ll see roots form so much faster!
- When using the plastic bag method, open the bag for a few minutes each day to allow for fresh air circulation. This helps prevent fungal issues. It’s a delicate balance between maintaining humidity and allowing for airflow.
- Don’t be afraid to take more cuttings than you think you’ll need. Not every single one is guaranteed to succeed, and having extras means you’re more likely to end up with a healthy batch of new plants. It’s like planting extra seeds – you plan for a few to not germinate.
Aftercare & Troubleshooting
Once you start seeing tiny white roots peeking out of the drainage holes or a gentle tug on the cutting reveals resistance (usually after 3-6 weeks for stem cuttings), your plant has officially rooted! Congratulations!
- Gradual Acclimation: If you used a plastic bag or dome, gradually introduce your new plant to drier air over a week or so. Open the bag for longer periods each day.
- Potting Up: Gently transplant your rooted cutting into a slightly larger pot with a good quality potting mix. Water it in well.
- Light and Water: Continue to provide bright, indirect light. Water when the top inch of soil feels dry.
- Troubleshooting: The most common issue is rot. If your cutting turns mushy and black, it’s likely rotted. This usually happens from too much moisture and poor air circulation. If you see this, discard the cutting. Yellowing leaves can sometimes indicate too much or too little water, or not enough light. Just pay attention to your plant and adjust accordingly.
And there you have it! Propagating Rhoicissus revoilii is a truly satisfying journey. Be patient with your little green babies, celebrate every little sign of growth, and enjoy the process of nurturing new life. Happy gardening!
Resource:
https://identify.plantnet.org/k-world-flora/species/Rhoicissus%20revoilii%20Planch./data