Hey there, fellow garden enthusiasts!
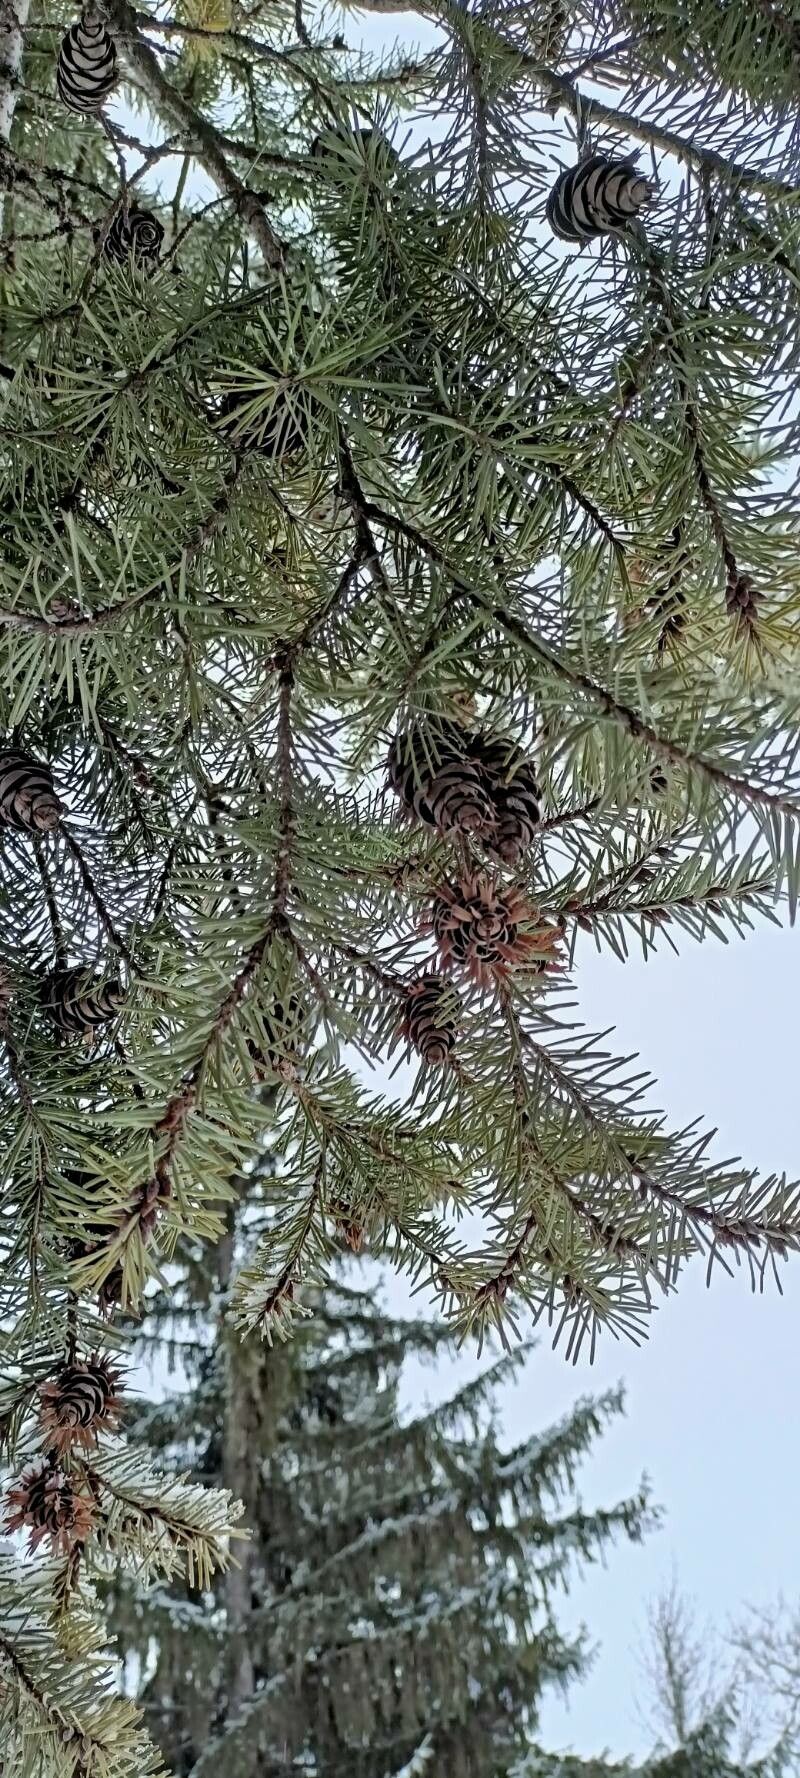
It’s so good to be here and chat about one of my absolute favorites: the Douglas fir, or Pseudotsuga menziesii. There’s something magical about these towering beauties. They smell incredible, their cones are so unique, and they just exude a sense of timelessness in the landscape. If you’ve ever admired one and wished you could have a little piece of that grandeur in your own garden, you’re in luck! Propagating them can be a wonderfully rewarding endeavor.
Now, I won’t lie to you. Propagating Douglas fir from cuttings isn’t exactly like whipping up a batch of basil starts. It’s a bit more of a patient game. For absolute beginners, it might present a gentle challenge. But with a little know-how and a lot of heart, you can absolutely succeed.
The Best Time to Start
Timing is everything, right? For Pseudotsuga menziesii, the sweet spot for taking semi-hardwood cuttings is typically in the late summer to early fall, around August to October. This is when the current year’s growth has started to mature a bit but hasn’t fully hardened off. You want wood that is flexible but no longer actively mushy.
Supplies You’ll Need
Gathering your tools beforehand makes the whole process much smoother. Here’s what I usually have on hand:
- Sharp pruning shears or a clean knife: For making precise cuts. Sterilize them between each cut, please!
- Rooting hormone: A powder or gel specifically formulated for woody cuttings.
- Propagating medium: A well-draining mix is crucial. I love a combination of equal parts perlite and coco coir, or even a peat-free compost mixed with coarse sand. Avoid heavy garden soil.
- Small pots or trays: With drainage holes! This is non-negotiable.
- Plastic bags or a propagating dome: To create a humid environment.
- Labels: So you don’t forget what you planted and when!
- Spray bottle: For misting.
Propagation Methods (The Cutting Way!)
For Douglas fir, the most common and successful method I use is stem cuttings. Let’s walk through it:
- Select your cuttings: Look for healthy, vigorous branches on your established Douglas fir. You want cuttings that are about 6 to 8 inches long. Make your cut at a slight angle, just below a leaf node (where a leaf attaches to the stem).
- Prepare the cuttings: Strip off any foliage from the bottom half of the cutting. You want a bare section to insert into the soil. If there are any needles on the lower part, a few firm scrapes with your fingernail or a dull knife can help expose the stem.
- Apply rooting hormone: Dip the cut end of each cutting into a small amount of rooting hormone. Tap off any excess. This stuff really gives your cuttings a boost in the root initiation process.
- Plant your cuttings: Fill your pots or trays with your chosen propagating medium. Make a hole in the center with a pencil or your finger. Gently insert the cut end of the cutting into the hole, ensuring the rooting hormone stays on the stem. Firm the medium gently around the cutting.
- Water gently: Water the medium thoroughly but gently. You don’t want to dislodge your cuttings.
- Create humidity: Place the pots inside a clear plastic bag, zipping it or sealing it loosely with a rubber band. Alternatively, use a propagating dome. This traps humidity, which is vital for preventing the cuttings from drying out before they can form roots.
The “Secret Sauce” (Pro Tips)
Here are a few things I’ve learned over the years that can really make a difference:
- Don’t drown your babies: While humidity is key, stagnant water is the enemy. Make sure that the leaves themselves aren’t sitting in any pooled water within the bag. If you see condensation building up heavily, open the bag for a few hours to let it air out a bit.
- Bottom heat is your friend: If you can, place your cuttings on a heated propagation mat. A consistent, gentle warmth from below encourages root development much faster than relying on ambient room temperature alone. It’s like giving them a cozy, warm bed for their roots to grow!
- Patience, my dear gardener! Douglas fir can be slowpokes when it comes to rooting. Don’t be tempted to pull them up too soon to check for roots. We’re talking months, sometimes even up to a year, for good root development.
Aftercare & Troubleshooting
Once you start seeing new growth on your cuttings, it’s a great sign!
- Acclimate slowly: Once roots have formed and you see signs of vigorous new shoot growth, begin to gradually acclimate your cuttings to lower humidity. Open the plastic bag a little more each day over a week or two.
- Transition to regular potting mix: When they are well-established, you can transplant them into a slightly richer potting mix in larger pots.
- Watch for rot: The most common issue is rot, which usually happens due to overwatering or poor drainage. If your cuttings look brown, mushy, and detached, it’s likely rot. Remove them immediately. Prevention is key here: ensure excellent drainage and don’t let them sit in soggy conditions.
Propagating Douglas fir is indeed a journey, not a sprint. It takes observation, a gentle touch, and a good dose of patience. But believe me, the first time you see those tiny roots emerge on a cutting you’ve nurtured, it’s an incredibly satisfying feeling. So, give it a try, enjoy the process, and happy gardening!
Resource:
https://identify.plantnet.org/k-world-flora/species/Pseudotsuga%20menziesii%20(Mirb.)%20Franco/data