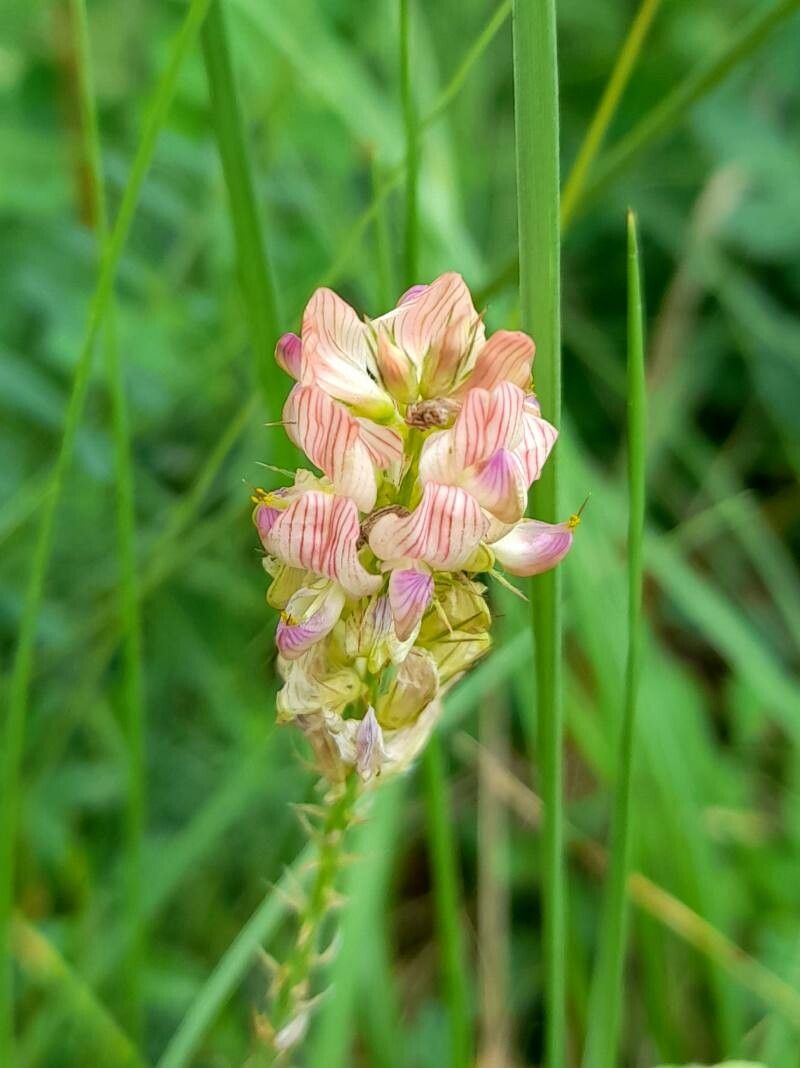
Oh, Onobrychis supina! What a delightful subject. Those delicate, rose-pink flowers are just a dream, aren’t they? And seeing a tiny seedling unfurl its first true leaves, knowing you played a part in its journey – there’s truly nothing quite like it. If you’re looking to fill your garden with more of this charming legume, you’ll be pleased to know propagation is a rewarding endeavor. For beginners, I’d say it’s moderately easy, especially if you’re patient and follow a few key steps.
The Best Time to Start
My favorite time to get started with Onobrychis supina is when the plant is in its active growth phase, but before it gets too stressed with flowering or setting seed. Late spring to early summer is usually your sweet spot. You want to catch it when it has plenty of energy to dedicate to developing new roots. If you’ve missed this window, don’t fret! You can sometimes get away with taking cuttings in early autumn, but success rates might be a little lower.
Supplies You’ll Need
Here’s what I like to have on hand before I begin my propagation adventure:
- Sharp pruning shears or a clean, sharp knife: For making clean cuts.
- Rooting hormone powder or gel (optional but recommended): This really gives your cuttings a helpful boost.
- Well-draining potting mix: A good seed starting mix or a blend of peat moss, perlite, and a bit of sand works beautifully. Onobrychis supina hates soggy feet.
- Small pots or seed trays: Clean ones are crucial to prevent disease.
- Plastic bags or a propagation dome: To create a humid environment for cuttings.
- Watering can with a fine rose: For gentle watering.
- Labels and a marker: So you don’t forget what you planted where!
Propagation Methods
While you could try starting Onobrychis supina from seed, I find stem cuttings to be the most direct and often most successful route for getting new plants exactly like the parent. Division is also an option if you have an established clump.
Stem Cuttings
- Select your cutting: Look for healthy, non-flowering stems from your established plant. You want pieces that are about 4-6 inches long. They should be firm but still flexible – not woody and brittle.
- Make the cut: Using your sharp secateurs or knife, make a clean, angled cut just below a leaf node (where a leaf attaches to the stem). This is where root development is most likely to occur.
- Prepare the cutting: Gently remove the lower leaves from the cutting, leaving just a few at the top. This prevents them from rotting in the soil. If your cutting is particularly long, you can even cut the remaining leaves in half to reduce water loss.
- Apply rooting hormone: Dip the cut end of the stem into your rooting hormone, tapping off any excess. Again, this is optional, but I find it really speeds things up.
- Plant your cutting: Make a small hole in your prepared potting mix with a pencil or your finger. Gently insert the cut end of the stem into the hole, and firm the soil around it.
- Water gently: Water the soil thoroughly but gently. You want it moist, not waterlogged.
- Create humidity: Cover the pot with a plastic bag (making sure the leaves don’t touch the plastic) or place it in a propagation dome. This humidity is key to preventing the cuttings from drying out before they can form roots.
- Find a bright spot: Place the pot in a location that receives bright, indirect light. Avoid direct sun, which can scorch the delicate cuttings.
The “Secret Sauce” (Pro Tips)
- Bottom heat is your friend: Placing your cuttings on a heated propagator mat (if you have one) can make a huge difference. The warmth encourages root formation from below, while the humidity keeps the top happy.
- Don’t be tempted to peek too often: I know it’s hard, but resist the urge to constantly pull at your cuttings to check for roots. Give them at least 3-4 weeks before you gently tug. If there’s resistance, you’ve got roots!
- Air circulation is vital: While you need humidity, too much stagnant air can encourage fungal problems. If you’re using a plastic bag, open it up for a few minutes each day to let fresh air in.
Aftercare & Troubleshooting
Once you see new growth or feel that resistance when gently tugging, it’s a good sign that roots have formed! You can now gradually introduce your new plants to slightly less humid conditions. Start by opening the bag or dome for longer periods each day. When they seem robust enough, you can remove the cover entirely. Continue to keep the soil consistently moist but not soggy.
The most common issue you’ll encounter is rot. If your cuttings turn black and mushy, it’s usually a sign of too much moisture and not enough air circulation. Discard any rotted cuttings immediately to prevent it from spreading. If the leaves turn yellow and wilt, they might be getting too much direct sun or not enough water. Adjust their location and watering as needed.
A Bit of Patience, a Lot of Garden Joy
Propagating Onobrychis supina is a wonderful way to expand your garden and share this beauty with others. There’s a satisfaction in nurturing something from a simple cutting. Be patient, observe your new charges, and enjoy the process. Happy gardening!
Resource:
https://identify.plantnet.org/k-world-flora/species/Onobrychis%20supina%20(Vill.)%20DC./data