Oh, hello there! Come on in and grab a cuppa. Today, we’re going to chat about one of my absolute favorite garden gems: Nierembergia rivularis, also known as the lovely white Chilean sea-lavender.
My Love Affair with Chilean Sea-Lavender
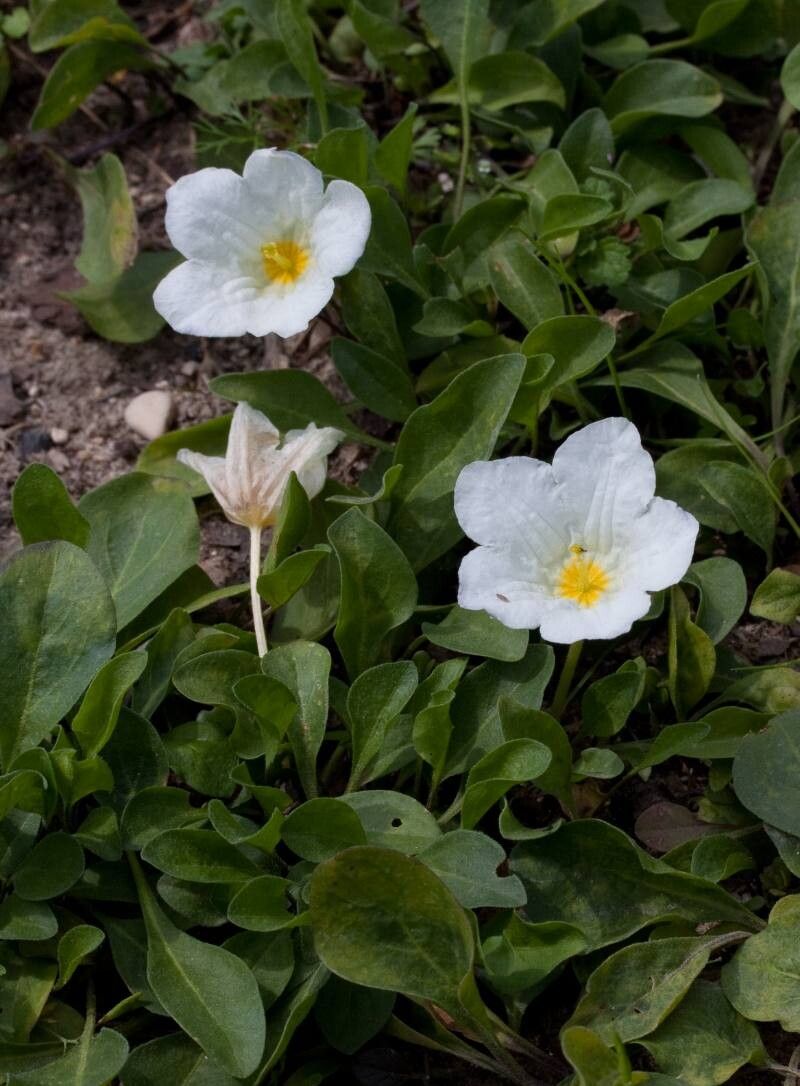
Honestly, if you’re looking for a plant that just adores to spill over a garden edge or tumble out of a container, this is it. Its delicate, star-shaped white flowers, often with a subtle touch of yellow in the center, are just breathtaking. They bloom for ages, and there’s something so utterly charming about their understated elegance. Plus, propagating them is a truly rewarding experience. You’ll feel like a gardening magician, watching tiny new plants emerge from what seemed like just a few cuttings. And for beginners? You’ll be happy to know that Nierembergia rivularis is quite forgiving, making it a wonderful plant to start your propagation journey with.
When to Get Your Hands Dirty
The sweet spot for propagating Nierembergia rivularis is generally in the late spring or early summer. This is when the plant is actively growing, and the stems are tender and full of life. You’ll be looking for new, non-flowering shoots that are pliable and easy to work with. Avoid old, woody stems; they’re just not as enthusiastic about rooting.
Your Propagation Toolkit
Before we dive in, let’s gather our supplies. It’s always good to have everything ready to go.
- Sharp Pruning Shears or a Craft Knife: For clean cuts.
- A Well-Draining Potting Mix: I like to use a mix of seed-starting mix and perlite – usually about a 50/50 ratio. This ensures good drainage, which is crucial to prevent rot.
- Small Pots or Trays: Clean ones, of course! Small nursery pots or even cleaned-out yogurt containers with drainage holes work perfectly.
- Rooting Hormone (Optional but Recommended): This little powder or gel can really give your cuttings a boost. Clonex is a popular one I trust.
- Gravel or Small Pebbles: For water propagation, if you choose that route.
- A Spray Bottle: For keeping things moist.
- Plastic Bags or a propagator: To create a humid environment.
Bringing New Life: Propagation in Action
Nierembergia rivularis is quite adaptable, but my go-to method is stem cuttings. It’s straightforward and usually yields great results.
- Take Your Cuttings: Gently select healthy stems, ideally about 4-6 inches long. Using your sharp shears or knife, make a clean cut just below a leaf node (where a leaf attaches to the stem). Remove the lower leaves, leaving just two or three at the very top. This prevents them from rotting in the soil.
- Prepare for Rooting: If you’re using rooting hormone, dip the cut end of the stem into it, tapping off any excess.
- Planting the Cuttings: Fill your small pots with your prepared potting mix. Make a small hole in the center with your finger or a pencil. Gently insert the cut end of the stem into the hole, making sure the leaf nodes are below the soil surface. Firm the soil around the base of the cutting.
- Water and Cover: Water your cuttings gently but thoroughly. You want the soil to be evenly moist, not waterlogged. Then, place a clear plastic bag over the pot, or place the pots inside a propagator. This creates a mini-greenhouse effect, trapping humidity, which is vital for cuttings to form roots. Secure the bag loosely with a rubber band.
My Little Gardening Secrets
Here are a few things I’ve learned over the years that really make a difference.
- Bottom Heat is Your Friend: If you have a heat mat designed for propagation, using a little bottom heat can significantly speed up the rooting process. It mimics the warmth of spring soil, which encourages root development. Be careful not to overheat, though!
- Airflow Matters: While humidity is key, stagnant air can encourage fungal diseases. Every couple of days, lift the plastic bag or open the propagator for a few minutes to allow for some air circulation. This helps prevent rot and diseases.
- Don’t Disturb the Roots Too Soon: Resist the urge to tug on your cuttings to see if they’ve rooted. Be patient! You’ll start to see new leaf growth, which is a good sign. For cuttings in pots, you’ll know they’re ready to transplant when you see roots emerging from the drainage holes.
Nurturing Your New Sprouts
Once you see those glorious little roots making their appearance – yay! It’s time to transition them.
- Move to Brighter Light: Gradually move your rooted cuttings to a brighter location, but avoid direct, scorching sun for the first week or so. A bright, indirect light is perfect.
- Water Cautiously: Continue to keep the soil consistently moist but not soggy. As the plant grows, you can gradually introduce it to your regular watering schedule.
- Transplant When Ready: When your new plants have a good network of roots and look strong, you can transplant them into slightly larger pots or into their permanent garden beds.
Troubleshooting: What to Watch Out For
Sometimes things don’t go exactly as planned, and that’s okay!
- Wilting or Browning Leaves: This can indicate that the cutting is too dry, or it’s getting too much direct sun before it’s established. Ensure the soil is consistently moist and move it to a shadier spot if needed.
- Mushy Stems and Rot: This is the most common issue, and it’s usually due to too much moisture and poor air circulation. Make sure your soil is draining well, and remember that daily airing out of your propagator or plastic bag. If rot sets in, it’s often best to discard the affected cutting to prevent it from spreading to others.
Go Forth and Propagate!
See? Not so daunting, is it? Watching a tiny slip of a plant transform into a whole new garden resident is one of the most fulfilling parts of this hobby. Be patient with yourself and your new green charges. Enjoy the process, the little victories, and soon enough, you’ll have a whole legion of beautiful Nierembergia rivularis to share! Happy gardening!
Resource:
https://identify.plantnet.org/k-world-flora/species/Nierembergia%20rivularis%20Miers/data