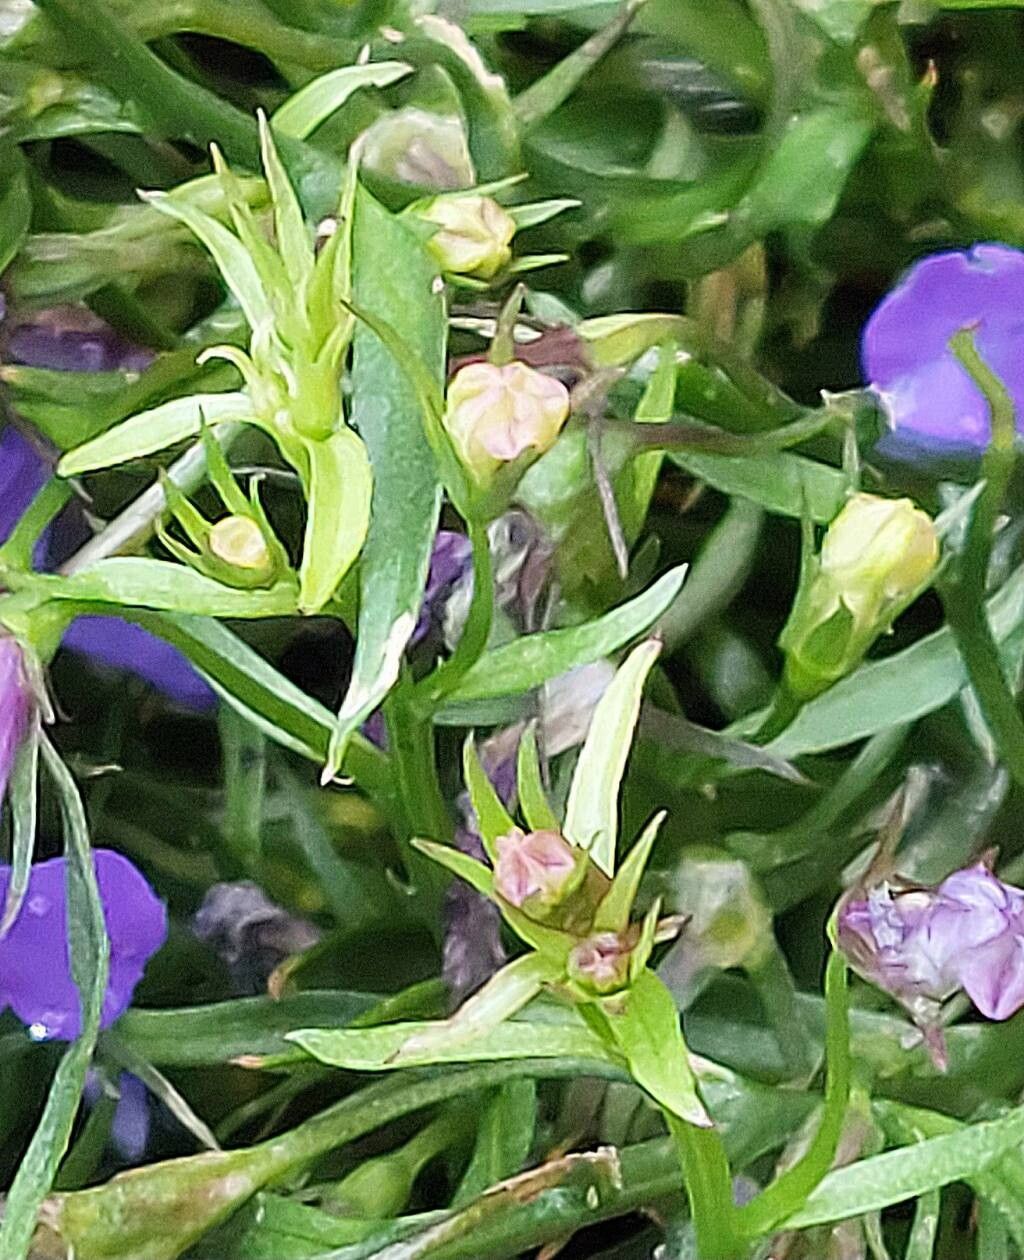
Oh, lobelia! Those cascades of vibrant blue (or sometimes pink or white) really are something special, aren’t they? Whether you’re tucking them into a hanging basket, letting them spill over the edge of a pot, or creating a colorful groundcover, they bring such joy to the garden. And the best part? They’re surprisingly easy to propagate, which means you can have more of that delightful color for free! Don’t worry if you’re new to this; lobelia is a wonderful plant to start your propagation journey with.
The Best Time to Start
For the highest success rate, I always recommend starting new lobelia plants from cuttings in late spring or early summer. This is when the plant is actively growing and has plenty of young, flexible stems to work with. You can also take cuttings in early spring, just as new growth begins to emerge from overwintered plants, if you’re lucky enough to have them survive in a milder climate or protected spot.
Supplies You’ll Need
Gathering your supplies beforehand makes the whole process so much smoother. Here’s what you’ll want to have on hand:
- Sharp, clean pruning shears or scissors: A clean cut prevents disease.
- Seedling potting mix or a well-draining potting mix: Something light and airy is best. Regular garden soil is too heavy.
- Small pots or seed trays: Make sure they have drainage holes.
- Rooting hormone (optional but recommended): This gives your cuttings a little boost.
- Plastic bags or a clear plastic dome: To create a humid environment for your cuttings.
- A spray bottle: For misting.
- A sharp knife or razor blade: For taking clean cuttings if you don’t have shears.
Propagation Methods
I’ve found that stem cuttings are by far the most successful and straightforward method for lobelia. It’s almost foolproof!
Stem Cuttings:
- Select Your Mother Plant: Choose a healthy, vigorous lobelia plant. Look for stems that are showing new, green growth but aren’t yet woody.
- Take the Cuttings: Using your sharp shears, snip off pieces of stem that are about 3-4 inches long. Make your cut just below a leaf node (the point where a leaf attaches to the stem).
- Prepare the Cuttings: Gently remove the lower leaves from the cutting, leaving only the top two or three sets of leaves. This prevents them from rotting in the soil. If your stems are quite long, you can even cut them in half to make multiple cuttings.
- Apply Rooting Hormone (Optional): Dip the cut end of each stem into your rooting hormone, tapping off any excess.
- Plant the Cuttings: Fill your pots or trays with your potting mix. Make small holes in the soil with your finger or a pencil. Insert the cuttings into the holes, ensuring the leaf nodes are buried. Gently firm the soil around the base of each cutting.
- Water Gently: Water the soil thoroughly with your spray bottle. You want the soil to be moist, not soggy.
- Create Humidity: This is key! Cover your pots with a plastic bag, securing it around the rim with a rubber band, or place a clear plastic dome over the tray. This traps moisture and creates a mini-greenhouse effect.
- Place in Bright, Indirect Light: Find a spot that receives plenty of bright light but no direct sun, which can scorch your delicate cuttings.
The “Secret Sauce” (Pro Tips)
Here are a few things I’ve learned over the years that can really make a difference:
- Don’t Let Leaves Touch the Water (if water propagating): While I prefer soil for lobelia, if you do try water propagation, make sure any leaves you leave on the cutting are well above the water line. Submerged leaves are a prime spot for rot to start.
- Bottom Heat is Your Friend: If you have a heat mat, placing your pots on it can significantly speed up rooting. Lobelia roots a little faster when they’re warm from below. It gives them a great start!
- Watch for Wilting, Not Rot: It’s normal for cuttings to droop a bit initially as they adjust. What you don’t want to see is that sad, mushy, dark brown rot at the soil line. If you see that, it’s time to discard the affected cutting.
Aftercare & Troubleshooting
Once your cuttings have been planted, check the soil moisture regularly. You want it to stay consistently moist but not waterlogged. Mist the leaves occasionally, especially if you notice them looking a bit dry.
The exciting part is watching for new growth! You should start to see signs of rooting within 2-4 weeks. A good sign is when the leaves start to look perkier and you might even see tiny new leaves emerging. You can gently tug on a cutting; if there’s resistance, it means roots have formed.
If you notice any signs of rot – mushy stems or black discoloration at the base – unfortunately, that cutting is likely lost. Remove it from the pot to prevent the rot from spreading. Overwatering is the most common culprit here, so be sure your pots are draining well and don’t let them sit in standing water. Another issue can be damping-off, a fungal disease that attacks seedlings; good air circulation and sterile potting mix can help prevent this.
A Encouraging Closing
Propagating lobelia is a really satisfying way to expand your garden without spending a dime. Don’t be discouraged if you have a few failures along the way – every gardener does! Patience is key, my friend. Just keep at it, enjoy the process of nurturing these tiny new plants, and soon you’ll be rewarded with a riot of beautiful lobelia blooms. Happy propagating!
Resource:
https://identify.plantnet.org/k-world-flora/species/Lobelia%20erinus%20L./data