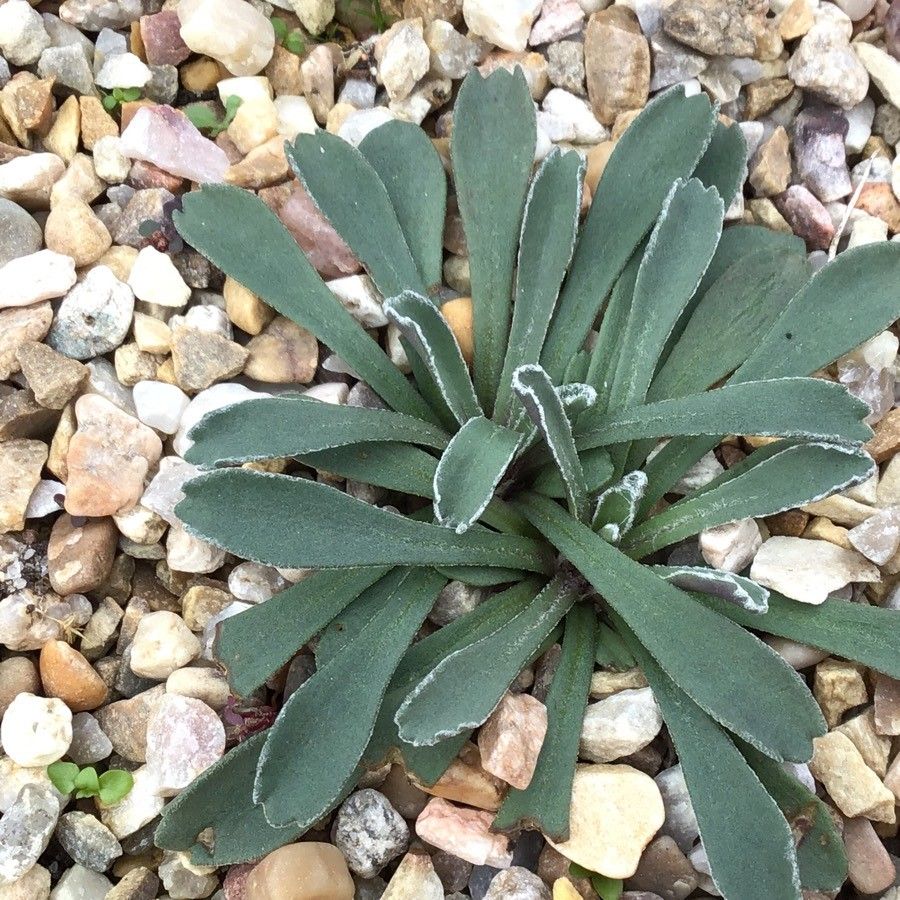
Oh, hello there! Welcome to my little corner of the gardening world. Today, we’re diving into the delightful task of propagating Jacobaea auricula, sometimes known as the fancy-leaved or Persian violet. I’ve spent two decades coaxing beautiful blooms and vibrant foliage from my garden, and let me tell you, seeing a tiny cutting transform into a thriving new plant is one of the most rewarding feelings. Jacobaea auricula is a real gem with its intricate, colorful leaves, and happily, propagating it is quite achievable, even for those of you just dipping your toes into plant parenthood.
The Best Time to Start
For Jacobaea auricula, I always find the late spring to early summer to be the sweet spot. This is when the plant is actively growing, its stems are supple, and it has the most energy to put into rooting. Starting when the days are getting longer and warmer seems to give cuttings a real boost.
Supplies You’ll Need
Gathering your tools before you begin makes the whole process so much smoother. Here’s what I usually have on hand:
- Sharp Pruning Shears or a Clean Knife: For making those vital cuts. Sterilize them with rubbing alcohol before and after use!
- Well-Draining Potting Mix: A blend of peat moss or coco coir, perlite, and a bit of compost works beautifully. I often use a mix specifically for seedlings.
- Small Pots or Trays: Clean pots are key to preventing disease. Small 4-inch pots are perfect for cuttings.
- Rooting Hormone (Optional but Recommended): This isn’t strictly necessary for Jacobaea, but it can give your cuttings a significant head start, especially if you’re starting out. Look for a powder or gel.
- Plastic Bags or a Propagation Dome: To create a humid environment for your cuttings.
- Watering Can with a Fine Rose: For gentle watering.
Propagation Methods
There are a few ways to multiply your Jacobaea auricula, but my favorites are stem cuttings and division.
Stem Cuttings (My Go-To!)
This is by far the most common and successful method for me.
- Select a Healthy Stem: Look for a non-flowering stem that’s about 4-6 inches long. It should be firm, not woody.
- Make the Cut: Using your clean shears or knife, cut about 1/4 inch below a leaf node. A leaf node is that little bump where a leaf attaches to the stem – that’s where the magic happens and roots will emerge.
- Prepare the Cutting: Gently remove the lower leaves from the stem, leaving just a few at the top. This prevents them from rotting in the soil.
- Dip in Rooting Hormone (Optional): If you’re using rooting hormone, lightly dip the cut end into the powder or gel. Tap off any excess.
- Plant the Cutting: Make a small hole in your potting mix with a pencil or your finger. Gently insert the cutting into the soil, making sure the leaf node is buried.
- Water Gently: Lightly water the soil until it’s moist but not soggy.
- Create Humidity: Cover the pot with a clear plastic bag or place it under a propagation dome. This traps moisture and creates that essential humid microclimate. Make sure the leaves aren’t touching the plastic if possible.
- Place in Bright, Indirect Light: Find a warm spot with plenty of bright, indirect light. Avoid direct sun, which can scorch delicate cuttings.
Division (For Established Plants)
If you have a larger, established plant, division is an excellent way to create multiple new plants and give your original specimen a bit of a refresh.
- Gently Remove from Pot: Carefully take your Jacobaea auricula out of its pot.
- Loosen the Roots: Gently shake off excess soil. You’ll want to carefully tease apart the root ball with your fingers.
- Separate into Sections: Look for natural divisions. Each section should have its own roots and a healthy crown (where the leaves emerge from the roots). You can use a clean knife or just your hands to separate them.
- Pot Them Up: Plant each division into its own pot filled with your well-draining potting mix, just as you would a mature plant. Water them in.
- Keep Them Cozy: Place the newly divided plants in bright, indirect light and keep the soil consistently moist but not waterlogged.
The “Secret Sauce” (Pro Tips)
Here are a couple of things I’ve learned over the years that make a real difference:
- Bottom Heat is Your Friend: I always put my pots with cuttings on a heat mat. Even a low setting provides gentle warmth to the soil, which encourages root development much faster. It’s like a little greenhouse hug for those developing roots!
- Air Them Out: While humidity is vital, don’t forget to air out your cuttings daily for a few minutes. This helps prevent fungal diseases and allows for fresh air exchange, which is crucial for healthy growth.
Aftercare & Troubleshooting
Once you see new growth appearing, that’s a great sign! It usually means roots have formed.
- Gradually Reduce Humidity: Once your cuttings have a good amount of new growth and you’re confident they’ve rooted, you can start to gradually acclimate them to normal room humidity. This means opening the plastic bag a little more each day.
- Watering: Keep the soil consistently moist, but never soggy. Allow the top inch of soil to dry out slightly between waterings.
- Fertilizer: Wait a few weeks after you see significant new growth before you start feeding them with a diluted liquid fertilizer. They’re still young and delicate!
Now, what if things go wrong? The most common culprit is rot. If your cutting looks limp, mushy, or develops dark spots, it’s likely due to too much moisture and not enough airflow. If you see this, remove the affected cutting immediately. Check your soil moisture and ensure good ventilation. Sometimes, you might have a cutting that just doesn’t take. Don’t be discouraged! It happens to all of us. Just try again with fresh material and a slightly different approach.
A Encouraging Closing
Propagating Jacobaea auricula is a wonderful journey. Be patient with your little ones; they take their time! Enjoy the process of nurturing new life, and soon you’ll be surrounded by an abundance of these stunning plants. Happy gardening!
Resource: