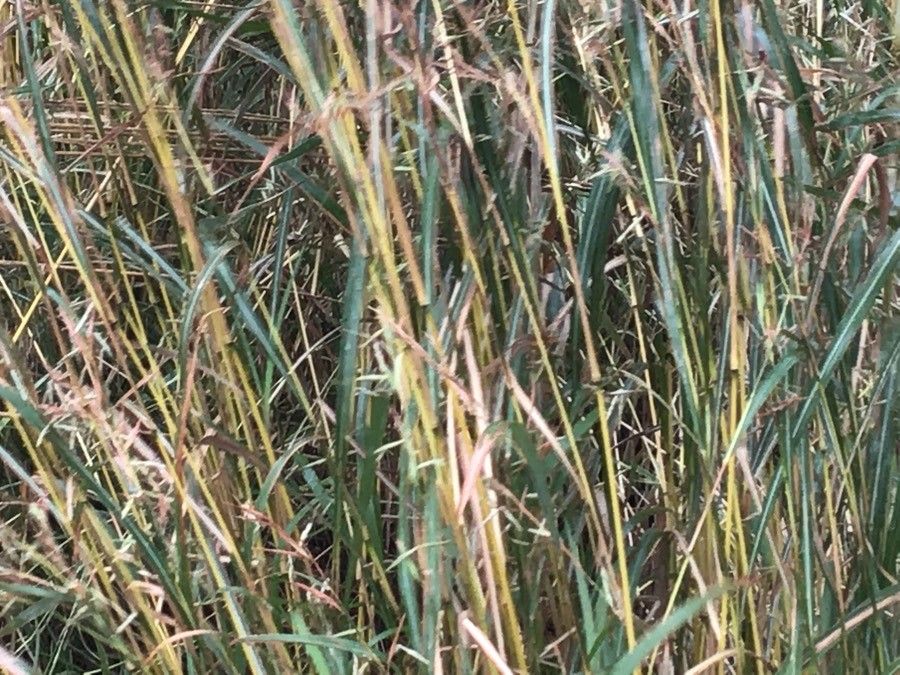
Hello fellow plant lovers! It’s so wonderful to have you join me today. We’re going to talk about a truly magnificent grass, one that brings such dramatic texture and movement to the garden: Hyparrhenia tamba, also known as Tambookie Grass.
I’ve always been drawn to its striking, arching foliage and the way it catches the light. Propagating this beauty is incredibly satisfying. You’ll have more of this gorgeous grass to fill your garden or share with friends, and it’s a relatively straightforward process, even for those of you who are just starting out with plant propagation.
The Best Time to Start
For Hyparrhenia tamba, the sweet spot for propagation is during its active growing season. Think spring and early summer, when the plant is really pushing out new growth. This is when it has the most energy to put into developing roots.
Supplies You’ll Need
Gathering your tools before you begin makes everything go so much smoother. Here’s what I always have on hand:
- Sharp, clean pruning shears or a strong knife: Essential for making clean cuts.
- Well-draining potting mix: A blend of peat moss, perlite, and a bit of sand works wonders. Or, a good quality cactus and succulent mix is often perfect.
- Small pots or seed trays: Make sure they have drainage holes!
- Rooting hormone (optional but helpful): A powder or gel can give your cuttings a nice boost.
- Clear plastic bags or a propagator lid: To create a humid environment.
- Watering can with a fine rose: For gentle watering.
Propagation Methods
Hyparrhenia tamba is wonderfully versatile, and I find division to be the easiest and most successful method.
Division: The Gardener’s Friend
This is how I usually multiply my Tambookie Grass. It’s best done in spring.
- Gently excavate: Carefully dig up the entire plant. I like to use a garden fork for this, working around the root ball to loosen it.
- Shake off excess soil: Gently remove as much of the old soil as you can. This lets you see the root structure clearly.
- Look for natural breaks: Examine the clump. You’re looking for sections that are already naturally separated or where the roots are easily divided. You can often untangle them with your hands.
- Make the divisions: If needed, use your sharp pruning shears or a clean knife to cut through thicker root masses. Aim for sections that have at least a few healthy shoots and a good amount of root.
- Pot them up: Plant each division in its own pot filled with your well-draining potting mix. Water thoroughly.
The “Secret Sauce” (Pro Tips)
Over the years, I’ve picked up a few tricks that really make a difference. Here are mine for Hyparrhenia tamba:
- Don’t overwater your divisions initially. While they need moisture, soggy soil is the quickest way to rot new roots, especially right after dividing. Let the top inch of soil dry out slightly between waterings.
- Consider a touch of warmth. Placing your newly potted divisions on a heat mat, just a gentle warmth from underneath, can really encourage root development. It mimics that lovely spring soil temperature.
- Be patient with new growth. It can take a few weeks, sometimes even a month, for a newly divided clump to show vigorous new shoot growth. Trust that the roots are settling in.
Aftercare & Troubleshooting
Once your Hyparrhenia tamba divisions are established and showing new shoots, water them as you would a mature plant – deeply but infrequently, allowing the soil to dry out between waterings.
The most common sign of failure is rot. If you see your divisions wilting, turning mushy at the base, or developing dark, soft spots, it’s usually a sign of too much moisture or an infection. If you catch it early, you might be able to trim away affected parts and repot in fresh, dry soil, but often it’s sadly too late. Good drainage is your best defense.
A Encouraging Closing
Propagating Hyparrhenia tamba is such a rewarding way to expand your garden and connect with the rhythm of nature. Don’t be discouraged if your first attempt isn’t perfect. Gardening is all about learning and experimenting. Just enjoy the process, observe your plants, and soon you’ll have a beautiful sea of Tambookie Grass to admire. Happy propagating!
Resource: