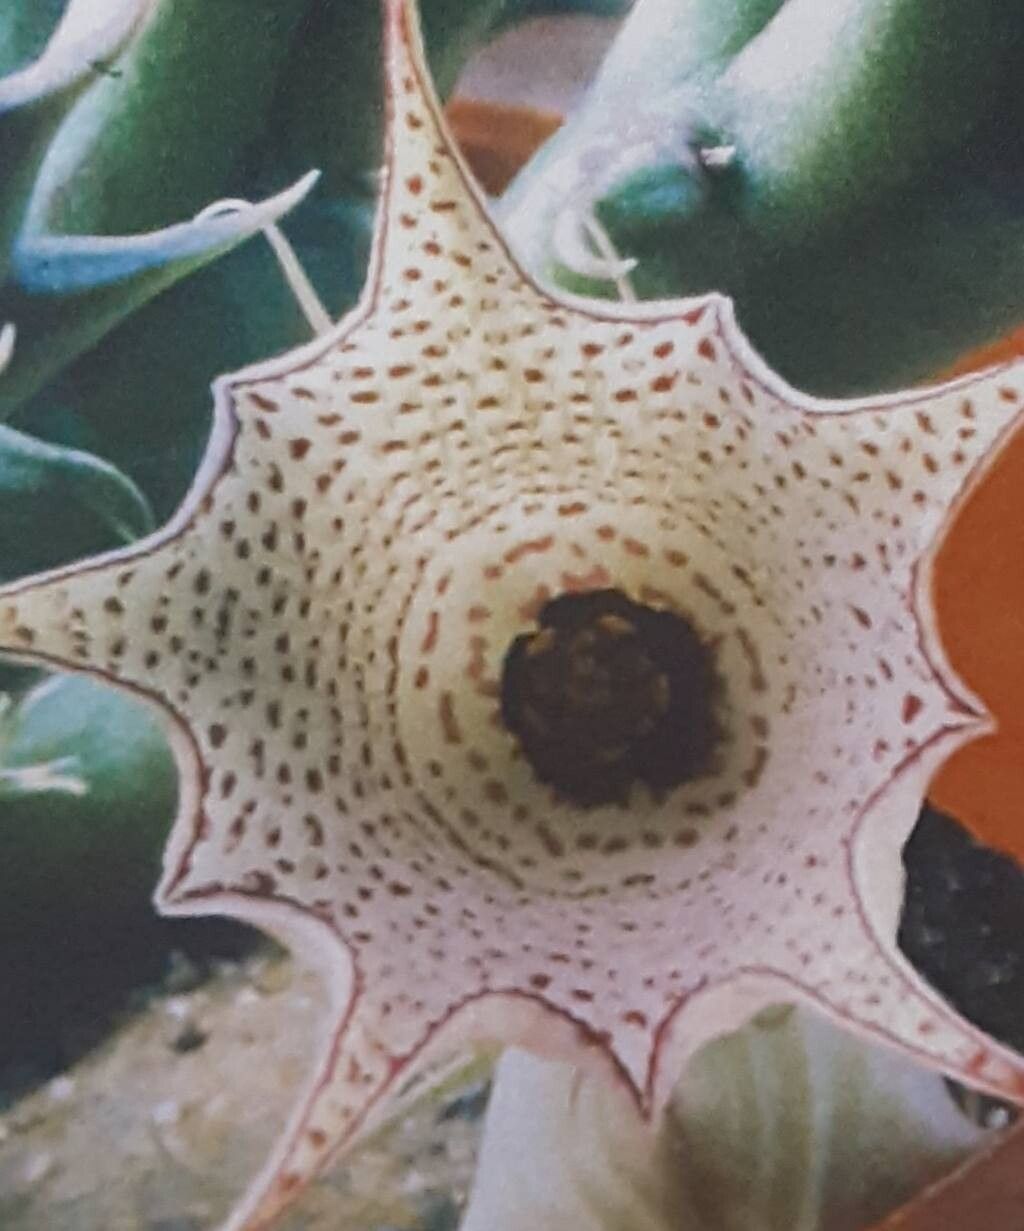
Hello, fellow plant lovers! If you’re anything like me, you’ve probably fallen head over heels for the quirky charm of the Huernia concinna. Those star-shaped flowers, often with a wonderfully fuzzy texture and intriguing patterns, are just delightful. And guess what? You can easily bring more of that joy into your home by propagating them! It’s incredibly satisfying to watch those tiny pieces you started take root and grow into their own beautiful plants. For beginners, I’d say propagating Huernias is moderately easy, offering a nice learning curve that’s very rewarding.
The Best Time to Start
My absolute favorite time to get started with propagating Huernias is in the spring or early summer. This is when the plant is actively growing and bursting with energy. New stems are forming, and everything is just primed for taking cuttings. You’ll find they root with much more enthusiasm when the weather is warm and sunny.
Supplies You’ll Need
Here’s what I always have on hand:
- Sharp, clean pruning shears or a sharp knife: Sterilize them with rubbing alcohol before you start.
- A well-draining potting mix: I often use a blend of succulent/cactus mix with perlite or pumice added for extra aeration.
- Rooting hormone (optional but helpful): A powder or gel can give your cuttings a little boost.
- Small pots or trays: Clean, with drainage holes, of course!
- Spray bottle: For misting.
- Gloves (optional): Some succulents can be a bit sticky.
Propagation Methods
Let’s get these beauties multiplying!
Stem Cuttings
This is my go-to method for Huernias. They respond beautifully to it!
- Find a healthy stem: Look for a stem that’s at least a few inches long and looks plump and firm. Avoid any that are yellowing or look mushy.
- Make your cut: Using your sterilized shears or knife, make a clean cut just above a node (the little bump where a leaf or offset emerges).
- Let it callous: This is a crucial step! Place your cutting in a dry, airy spot away from direct sunlight for 2-7 days. You want the cut end to dry out and form a callus. Think of it like a little protective scab forming. This helps prevent rot.
- Prepare the potting mix: Fill your small pots with your well-draining mix.
- Plant the cutting: Once calloused, you can lightly dip the cut end in rooting hormone if you’re using some. Then, simply insert the cut end about an inch deep into the potting mix.
- Water sparingly: Don’t drench it! Give it a light watering initially. The goal is for the soil to be slightly moist, not waterlogged.
Water Propagation (Use with Caution!)
While I prefer soil for Huernias, some folks have success with water. If you try this, be extra vigilant.
- Follow steps 1 and 2 for stem cuttings.
- Unlike with soil, you DO NOT let the cutting callous completely if you’re using water. A short drying period of just a day or two is usually enough.
- Place the cutting in a container of water, making sure that only the cut end is submerged. Crucially, ensure no leaves or stems are touching the water, as this is a fast track to rot.
- Keep the container in bright, indirect light.
- Change the water every few days to keep it fresh.
- Once you see small roots developing, carefully transfer the cutting to a pot with your well-draining soil mix, treating it very gently.
The “Secret Sauce” (Pro Tips)
Here are a couple of things I’ve learned over the years that really help:
- Don’t overwater, ever! This is the single biggest mistake most people make with succulents and their relatives. A slightly dry plant is much happier than a soggy one. Let the potting mix dry out a bit between waterings.
- Bottom heat is your friend! If you have a heat mat (often used for seed starting), placing your pots on it can significantly speed up root formation. It mimics the warmth of spring soil and encourages those roots to emerge.
- Patience is key with misting: If you are misting your cuttings (which I only do very lightly in dry air), aim to mist the leaves occasionally, but never let water sit in the crown or joints of the plant for long periods.
Aftercare & Troubleshooting
Once you see new growth or feel a gentle tug when you lightly pull on the stem, congratulations! Roots are forming. Continue to care for it as you would a mature Huernia: bright, indirect light and watering only when the soil is mostly dry.
The most common issue you might encounter is rot. If your cutting turns mushy, black, or has a foul smell, it’s likely rotted. Sadly, at that point, it’s usually best to discard it and try again with fresh material. This often happens from overwatering or not allowing the cutting to callous properly. If you see any shriveling, it might mean it’s too dry, but usually, a light misting or watering will perk it up after roots have formed.
Happy Propagating!
Growing new plants from those you already love is such a fulfilling part of gardening. Be patient with your Huernia cuttings, give them a good environment, and I’m confident you’ll be rewarded with a whole new collection of these fascinating blooms. Enjoy the process, and happy growing!
Resource:
https://identify.plantnet.org/k-world-flora/species/Huernia%20concinna%20N.E.Br./data