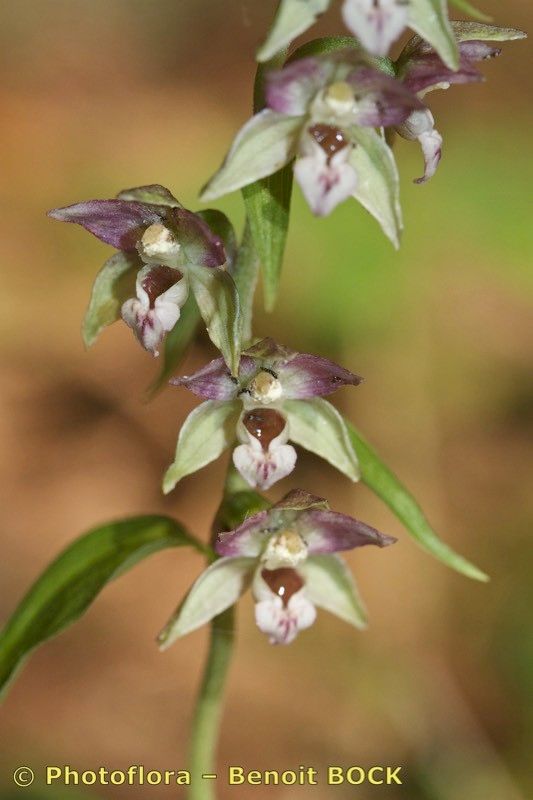
Hello there, fellow plant enthusiasts! Today, we’re diving into the delightful world of Epipactis purpurata, also known as the Broad-leaved Helleborine. This gorgeous orchid, with its striking purple-veined leaves and elegant, often fragrant blooms that unfurl in the summer, is a true gem in the garden. There’s something incredibly satisfying about coaxing a new life from an existing plant, and propagating Epipactis purpurata is no exception. Now, I won’t sugarcoat it – orchids, even terrestrial ones like this, can have their quirks. So, while it’s not the absolute easiest plant for a total beginner, with a little patience and the right approach, you can certainly succeed!
The Best Time to Start
For Epipactis purpurata, the sweet spot for propagation is usually early spring, just as the plant is beginning to show signs of active growth for the season. Think of it like waking up from a long nap – it’s full of energy and ready to get new things going. You want to propagate before it gets too warm and before it puts all its effort into flowering.
Supplies You’ll Need
Gathering your tools beforehand makes the whole process smoother. Here’s what I usually have on hand:
- Sharp, sterile pruning shears or a clean knife: Essential for making clean cuts.
- Small pots or trays: Clean ones are a must to prevent disease.
- A well-draining potting mix: I find a mix of orchid bark, perlite, and a bit of coco coir works wonders for terrestrial orchids. You can also add some horticultural charcoal.
- Misting bottle: For keeping things consistently moist without waterlogging.
- Clear plastic bag or a propagation dome: To create a humid environment.
- (Optional) Rooting hormone powder: While not always strictly necessary for Epipactis, it can give cuttings a helpful boost.
Propagation Methods: Division is Key
While you can sometimes find specialists propagating Epipactis from seed, for us home gardeners, the most straightforward and successful method is division. Epipactis purpurata tends to form clumps over time, and separating these clumps is your best bet.
Here’s how I do it:
- Gently excavate: In early spring, when you first see those new shoots emerging, carefully dig around the base of the parent plant. You don’t need to uproot the whole thing. The goal is to expose the rhizomatous base.
- Identify the divisions: Look for natural breaks or divisions within the rhizome. You’ll often see where one shoot is connected to another, or where a new growth point is forming.
- Make the cut: Using your sterile pruners or knife, carefully separate the divisions. Each division should ideally have at least one healthy-looking shoot or bud and a portion of the rhizome. Don’t be afraid to make a clean cut if needed.
- Pot them up: Plant each division into its own small pot filled with your well-draining potting mix. Make sure the rhizome is just covered, and the shoot is pointing upwards.
- Water lightly: Give them a gentle watering to settle the mix.
The “Secret Sauce” (Pro Tips)
Here are a couple of things I’ve learned over the years that really make a difference:
- Don’t overwater, ever! This is the cardinal rule for terrestrial orchids. They loathe sitting in soggy soil. Aim for consistently moist, not wet. I like to check the soil by gently probing it with my finger. If the top inch feels dry, it’s time for a light watering.
- Mimic their natural environment: These orchids often grow in woodland settings with dappled shade and good air circulation. When propagating, a humidity dome or plastic bag is great to keep moisture in, but once roots are established, ensure good airflow to prevent fungal issues. I often prop open the bag for a few hours a day once I see new growth.
Aftercare & Troubleshooting
Once your divisions are potted, place them in a bright, indirect light spot. Keep them consistently moist but not soggy. You can tent them with a plastic bag or propagation dome to maintain humidity. Within a few weeks, you should start to see signs of new growth – a tiny shoot emerging or leaves perking up.
The most common issue you might encounter is rot, usually caused by overwatering and poor drainage. If you see leaves turning yellow, mushy, or developing black spots, it’s a sign things are too wet. Don’t panic! You can try carefully repotting the division into fresh, drier mix. If the rhizome is completely soft and mushy, sadly, that division may be lost.
Keep Nurturing and Enjoy the Journey!
Propagating Epipactis purpurata is a rewarding endeavor that allows you to multiply the beauty in your garden or share it with fellow enthusiasts. Be patient with your new plants; they work on their own schedule. Observe them, offer them the right conditions, and celebrate every little sign of progress. Happy propagating!
Resource:
https://identify.plantnet.org/k-world-flora/species/Epipactis%20purpurata%20Sm./data