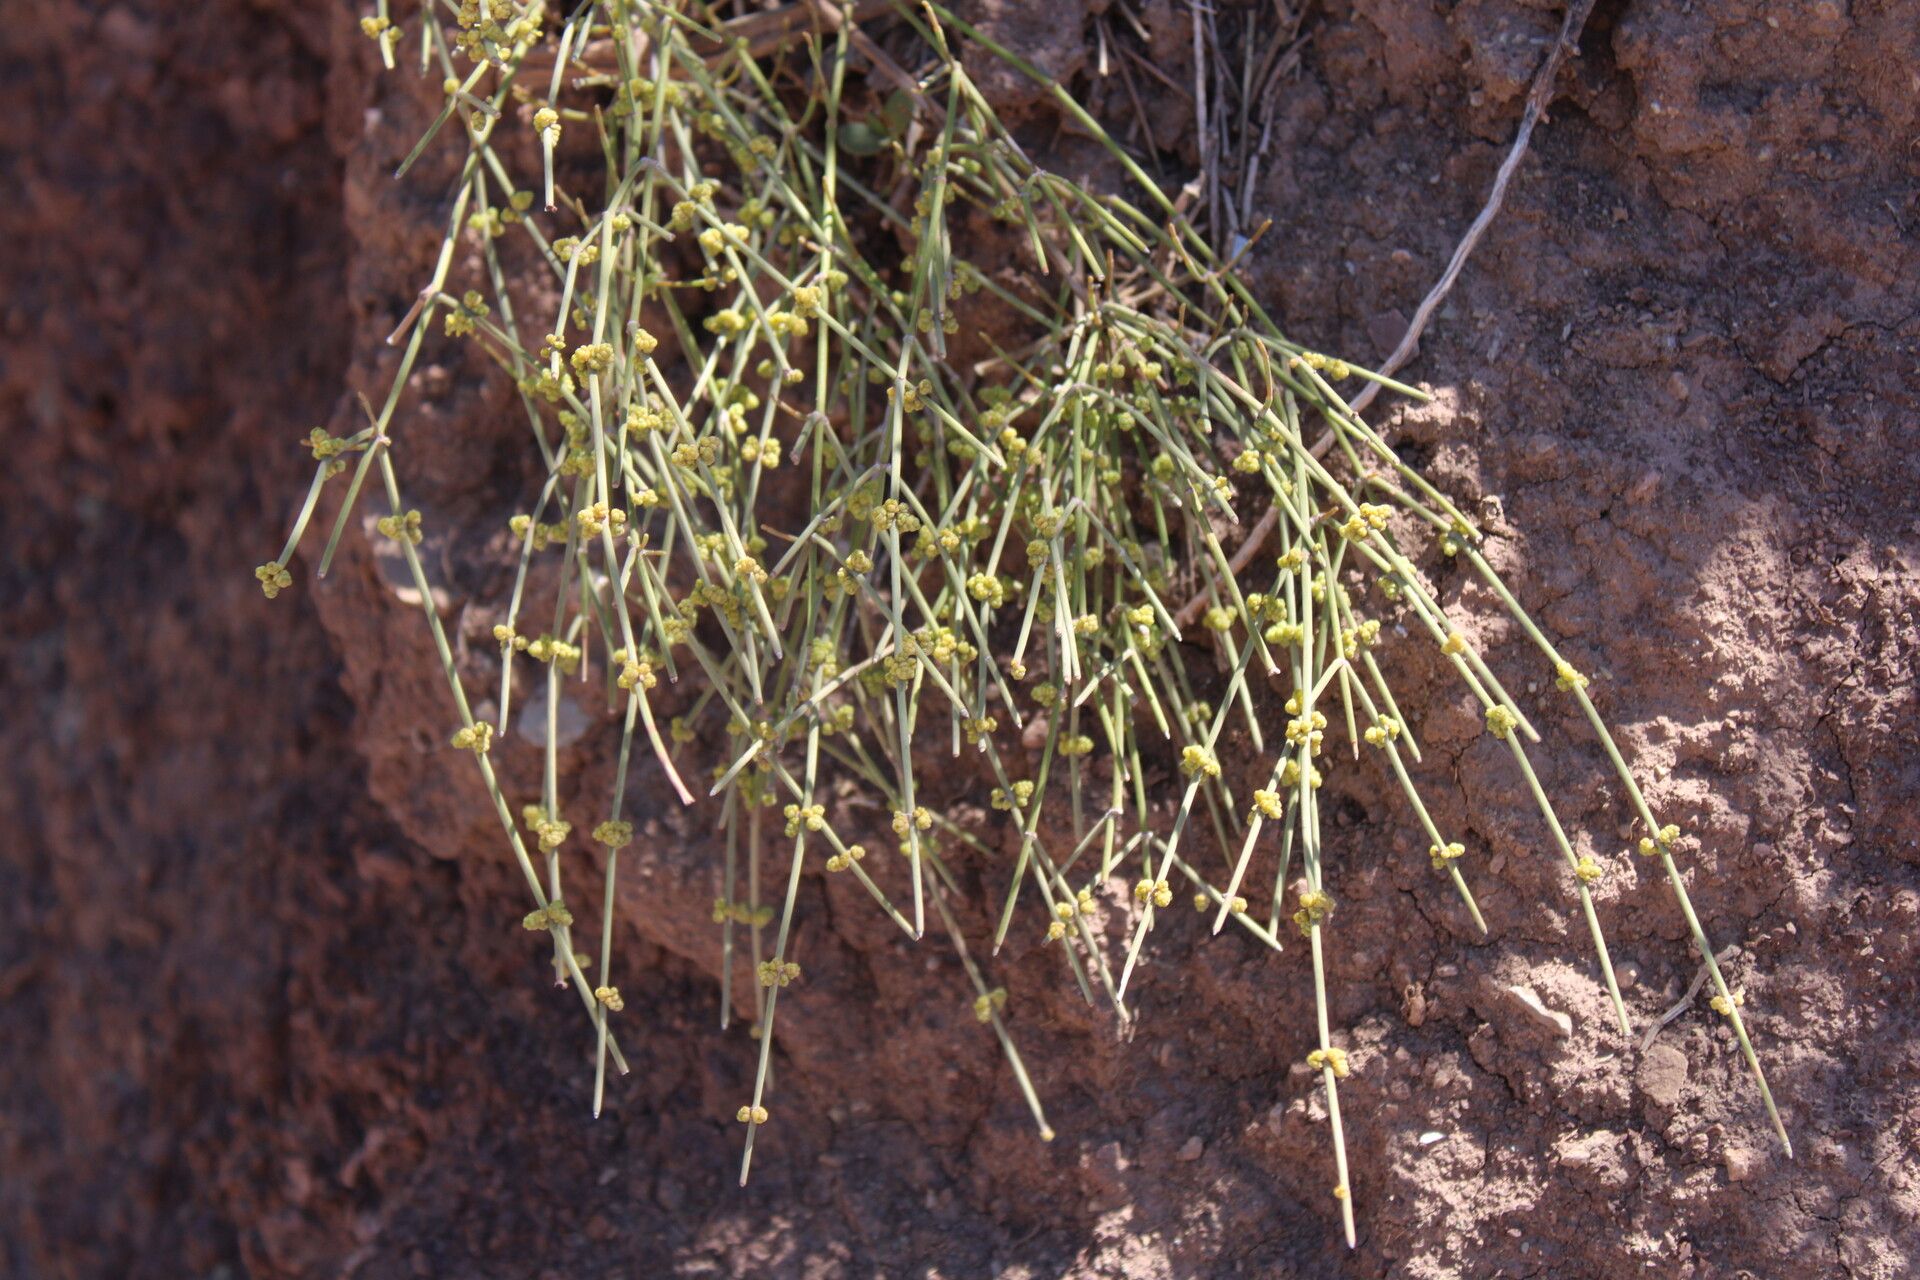
Hello fellow plant enthusiasts! Today, we’re diving into the wonderful world of Ephedra alata, a genuinely fascinating and somewhat wild-looking plant. I’ve spent years coaxing these beauties from tiny cuttings into robust specimens, and trust me, the satisfaction is immense. If you’re looking for a project that’s a little different, a bit quirky, and incredibly rewarding, you’ve come to the right place. Now, I won’t sugarcoat it – Ephedra alata can be a tad more challenging than your average succulent. It’s not a beginner’s instant win, but with a little patience and the right approach, you’ll be celebrating success.
The Best Time to Start
For the highest success rate with Ephedra alata, I find that late spring to early summer is your sweet spot. This is when the plant is actively growing, meaning it has the energy reserves to focus on developing those crucial roots. You want to take cuttings from stems that are currently growing, not from old, woody material. Think of it as harvesting a healthy, vigorous branch that’s eager to start a new life.
Supplies You’ll Need
Gathering your tools beforehand makes the whole process so much smoother. Here’s what I always have on hand:
- Sharp pruning shears or a clean, sharp knife: For making clean cuts.
- Rooting hormone powder or gel: This is a lifesaver for encouraging root development.
- Well-draining potting mix: I like to use a blend of coarse sand, perlite, and a bit of peat or coco coir. About a 1:1:1 ratio works wonders!
- Small pots or seed trays: With good drainage holes, of course.
- Clear plastic bags or a propagation dome: To create a humid environment.
- Watering can with a fine rose or a spray bottle: For gentle watering.
- Labels and a marker: To keep track of your cuttings.
Propagation Methods: Taking Stem Cuttings
This is my go-to method for Ephedra alata. It’s reliable and gives you multiple opportunities to get a new plant started.
- Select Your Cuttings: Choose healthy, semi-hardwood stems that are about 4-6 inches long. Look for stems that have a bit of flexibility but are not entirely floppy. Gently bend a stem; if it snaps cleanly, it’s probably good. Avoid anything that feels too woody or too soft.
- Make the Cut: Using your sterilized pruning shears or knife, make a clean cut just below a leaf node. This is the point on the stem where a leaf attaches, and it’s where roots are most likely to form.
- Prepare the Cutting: Carefully remove the lower leaves from your cutting. You want one or two sets of leaves left at the top for photosynthesis, but a bare stem below that will go into the soil.
- Apply Rooting Hormone: Dip the cut end of the stem into your rooting hormone powder or gel. Tap off any excess.
- Potting Up: Fill your small pots with your well-draining potting mix. Make a small hole in the center with your finger or a pencil.
- Insert the Cutting: Gently insert the treated end of the cutting into the hole in the soil. Press the soil gently around the stem to ensure good contact.
- Water Gently: Water lightly to settle the soil.
- Create Humidity: Place a clear plastic bag over the pot, making sure the leaves don’t touch the plastic if possible. You can also use a propagation dome. This traps moisture and creates the humid environment the cuttings need to root.
The “Secret Sauce” (Pro Tips)
Here are a few little tricks I’ve learned over the years that can make a real difference:
- Don’t Overwater: This is crucial. Ephedra alata hates sitting in soggy soil. I tend to err on the side of slightly too dry rather than too wet. Let the top inch of soil dry out between waterings.
- Bottom Heat is Your Friend: While not strictly essential, placing your pots on a gentle heating mat can significantly speed up root formation. It mimics the warmth of spring soil and gives those little root initials a boost.
- Patience is Key: Ephedra alata can be a slow starter. Don’t get discouraged if you don’t see movement for several weeks. Keep the conditions consistent, and trust the process.
Aftercare & Troubleshooting
Once you start to see new growth, that’s your signal that roots are forming! You can gently tug on the cutting; if there’s resistance, it’s rooted.
- Gradual Acclimation: Once roots have formed, begin to gradually remove the plastic bag or open the vents on your propagation dome over a week or two. This helps the new plant adjust to lower humidity.
- Continued Watering: Continue to water when the top inch of soil feels dry.
- First Feeding: Wait until you see consistent new growth before offering a very diluted liquid fertilizer.
Troubleshooting is part of the fun, right? The most common issue you’ll face is rot. If your cutting turns black and mushy, it’s likely due to too much moisture and not enough air circulation. If you see this, sadly, that cutting is a goner. Discard it and start again, being mindful of your watering and humidity levels. Yellowing leaves on a cutting that hasn’t rooted can sometimes mean it’s not getting enough light, or that the conditions are too cool.
So there you have it – your guide to propagating Ephedra alata. It might take a little trial and error, but the joy of watching a tiny cutting develop into its own independent plant is truly unmatched. Be patient with yourself and the plant, enjoy the journey, and happy gardening!
Resource:
https://identify.plantnet.org/k-world-flora/species/Ephedra%20alata%20Decne./data