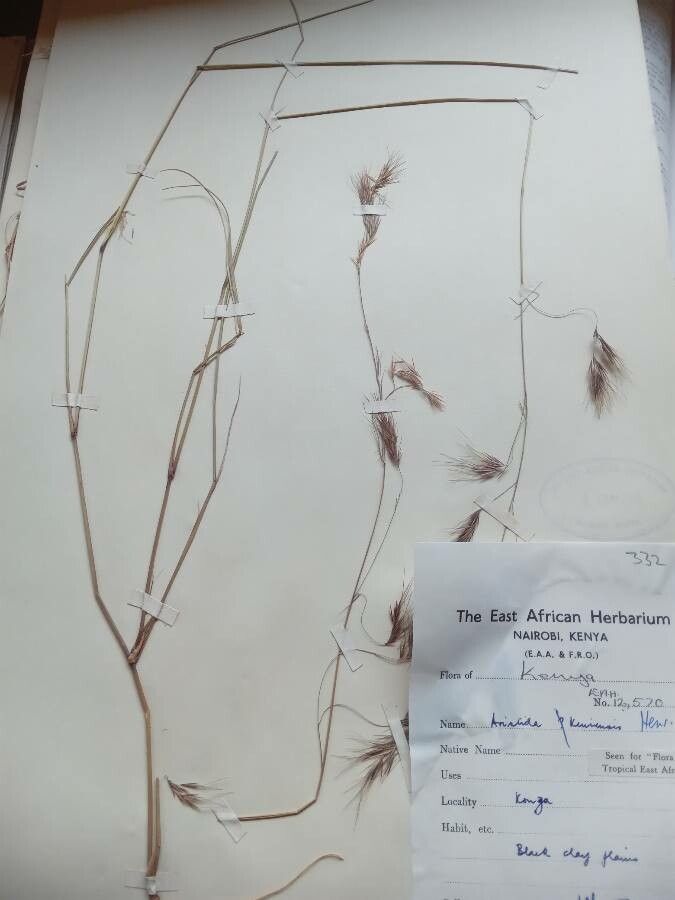
Hello fellow garden enthusiasts! Today, I want to chat about a grass that has truly captured my heart: Aristida kenyensis. This African lovegrass, with its delicate, wispy plumes, brings an airy elegance to any garden design. Growing it from scratch? That’s where the real magic happens, and trust me, the satisfaction is immense. For beginners, it’s a wonderfully rewarding plant to try propagating.
The Best Time to Start
When it comes to Aristida kenyensis, the sweetest spot for propagation is late spring to early summer. This is when the plant is actively growing, bursting with energy, and most receptive to new beginnings. You’ll want to focus on healthy, vigorous stems that are not yet flowering; these have the best chance of success.
Supplies You’ll Need
Gathering your tools beforehand makes the whole process so much smoother. Here’s what I usually have on hand:
- Sharp pruning shears or a clean knife: For making precise cuts.
- Rooting hormone (powder or gel): This can give your cuttings a significant boost.
- Well-draining potting mix: A blend of perlite, peat moss, and a little coarse sand is ideal. I often use a mix specifically formulated for succulents or cacti.
- Small pots or seed trays: With drainage holes, of course!
- Watering can with a fine rose: For gentle watering.
- Plastic bag or propagation dome: To create a humid microclimate.
- Labels and a marker: Because it’s easy to forget what you planted where!
Propagation Methods
Aristida kenyensis is most commonly and successfully propagated through stem cuttings. It’s my go-to method for this beauty.
- Take Your Cuttings: On a bright, but not scorching, morning, select a healthy, non-flowering stem from your mature plant. Using your sharp shears, make a clean cut just below a leaf node (where a leaf attaches to the stem). Aim for cuttings that are about 4-6 inches long.
- Prepare the Cuttings: Gently remove the lower leaves from your cutting. You want to expose at least one or two leaf nodes where roots will form. If the leaves are large, you can even snip them in half to reduce water loss.
- Apply Rooting Hormone: Dip the cut end of each stem into rooting hormone, ensuring the exposed nodes are covered. Tap off any excess.
- Plant Your Cuttings: Fill your small pots with the well-draining potting mix. Make a small hole in the center of the soil with your finger or a pencil. Insert the prepared cutting into the hole, firming the soil gently around the stem.
- Water Gently: Water the soil thoroughly but gently. You don’t want to disturb the cuttings.
The “Secret Sauce” (Pro Tips)
Here are a couple of things I’ve learned over the years that truly make a difference:
- Bottom Heat is Your Friend: Aristida kenyensis absolutely loves a bit of warmth from below. Placing your pots on a seedling heat mat can significantly speed up root development. It mimics the snug, warm soil of its native habitat.
- Don’t Drown Your Hopes: While humidity is crucial, sitting water is the enemy of a new cutting. Ensure your pots have excellent drainage and avoid overwatering. If you see water pooling after watering, tip the pot to drain it.
Aftercare & Troubleshooting
Once your cuttings are potted, it’s time to create a humid environment. Cover the pots with a clear plastic bag or place them under a propagation dome. Keep them in a bright spot with indirect sunlight. Mist the inside of the plastic occasionally if it looks dry, but generally, the trapped moisture will do the work.
You’ll know your cuttings are taking root when you see new growth appearing at the tip of the stem or gentle resistance when you lightly tug on the cutting. This usually happens within 4-6 weeks, sometimes sooner with bottom heat.
The most common sign of trouble is rot. If your cuttings turn mushy and black, it’s usually a sign of too much moisture and not enough air circulation. Unfortunately, these are usually lost causes, but don’t despair! Just start again with fresh cuttings and adjust your watering.
A Little Patience Goes a Long Way
Propagating plants is a dance with nature, and sometimes it takes a few tries. Don’t get discouraged if your first attempt isn’t brimming with success. Each experience is a lesson learned. Be patient, enjoy the process of nurturing these tiny new lives, and soon you’ll have a whole new collection of these graceful grasses to admire and share. Happy gardening!
Resource:
https://identify.plantnet.org/k-world-flora/species/Aristida%20kenyensis%20Henrard/data