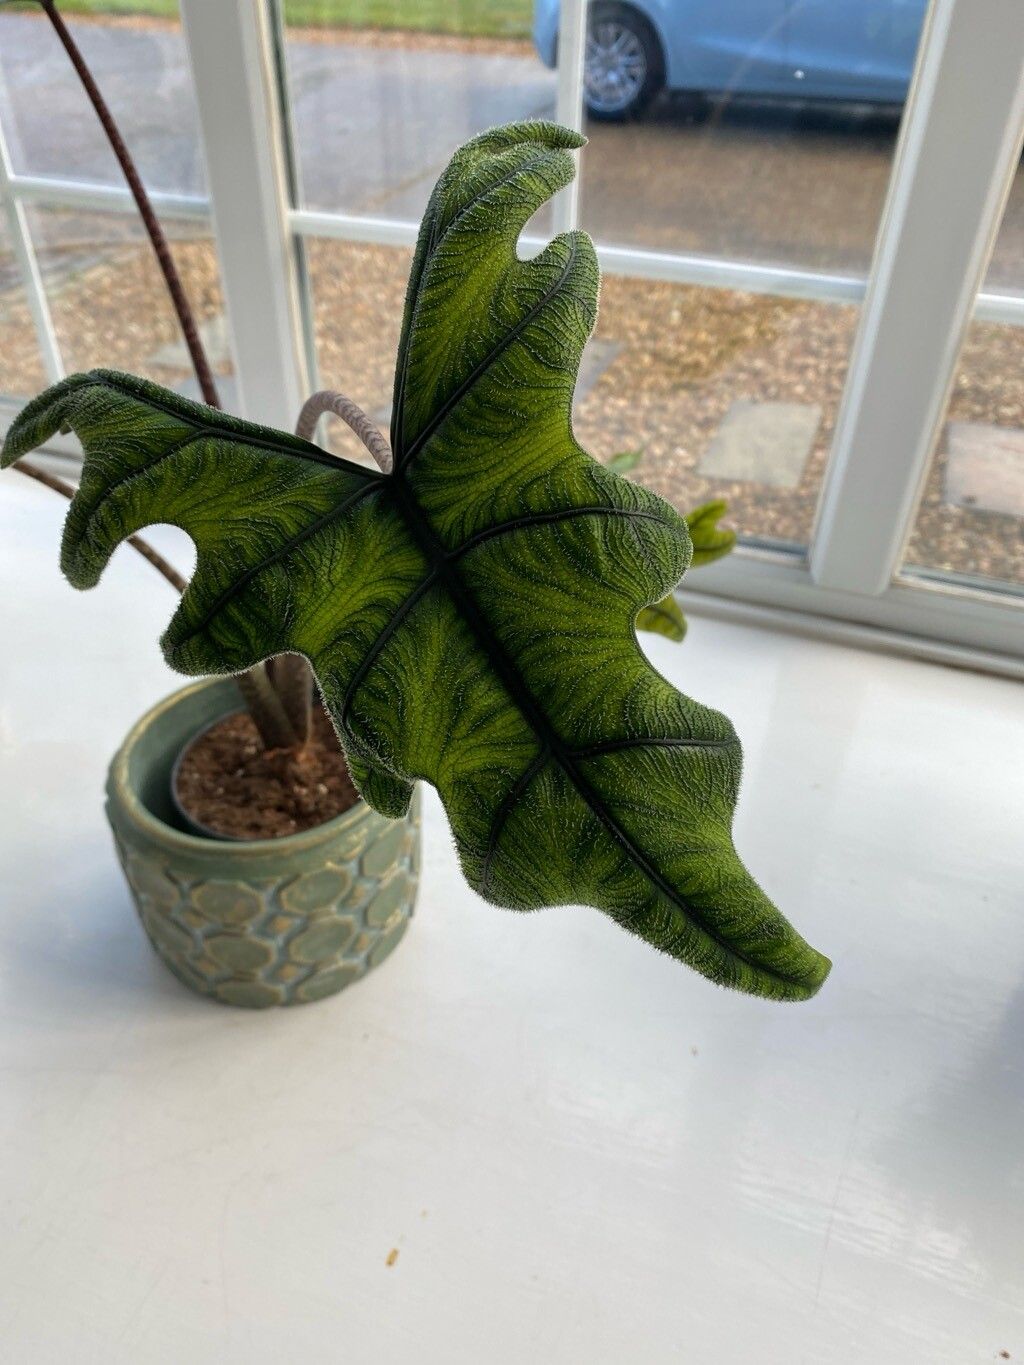
Oh, Alocasia scalprum! If you’re anything like me, the sheer architectural beauty of these plants has you completely captivated. With their deeply ribbed, almost prehistoric-looking leaves, they bring a touch of the dramatic to any indoor jungle. And the best part? You can add more of this magnificent greenery to your collection by propagating them. It’s a wonderfully rewarding experience, a little bit of magic unfolding right before your eyes. Now, I’ll be honest, Alocasia scalprum can be a tad bit fussy compared to some of my easier propagation projects, but with a little care and this guide, you’ll do just fine!
The Best Time to Start
Timing is everything in the garden, and for Alocasia scalprum, spring and early summer are your golden ticket. This is when the plant is actively growing and has the most energy to put into developing new roots. You’re essentially working with a happy, vigorous plant, which significantly ups your chances of success. Watch for new leaves unfurling – that’s a sure sign your plant is ready for a bit of propagation fun.
Supplies You’ll Need
Before we dive in, let’s gather our tools. Having everything ready makes the process so much smoother:
- Sharp, clean pruning shears or a sterile knife: For making those crucial cuts.
- Well-draining potting mix: I like a blend of equal parts peat moss, perlite, and orchid bark. It mimics their natural habitat.
- Small pots or propagation trays: Whatever you have that’s clean and suitable for young plants.
- Rooting hormone (optional but recommended): This helps speed up the rooting process.
- Clear plastic bag or a propagation dome: To create a humid environment.
- Water: Clean, room-temperature water.
- A sturdy pot for the mother plant: If you’re planning on division.
Propagation Methods
Alocasia scalprum can be propagated through a couple of reliable methods. Let’s break them down.
Division (The Easiest Way!)
This is often the simplest and most successful method for Alocasia. Your mother plant likely produces little baby plants, called pups, around its base.
- Gently remove the mother plant from its pot. You might need to tap the sides of the pot to loosen it.
- Carefully tease apart the soil from the roots. Look for where the pups are attached to the main rhizome (the thick, underground stem).
- Using your sharp pruning shears or knife, separate a pup that has at least one or two leaves and some healthy-looking roots attached. Try to get as many roots as possible with the pup.
- If you suspect any rot (soft, mushy spots), you can trim those away and let the cut end air dry for a few hours before potting.
- Pot your new pup into its own small pot filled with your well-draining mix. Water it lightly.
- Place the pot in a warm spot with bright, indirect light and cover it with a clear plastic bag or propagation dome to maintain humidity.
Stem Cuttings (A Bit More Adventurous)
This method involves taking a cutting that includes a piece of the stem and a leaf.
- Identify a healthy stem with a leaf that isn’t too old or too young. Make a clean cut just below a leaf node (where a leaf attaches to the stem). You want to include at least one node on your cutting.
- Remove any lower leaves that would fall below the water or soil line.
- You have two options here:
- Water Propagation: Place the cutting in a jar of clean water. Make sure the leaf itself doesn’t touch the water – this can lead to rot. Change the water every few days to keep it fresh.
- Soil Propagation: Dip the cut end of the stem into rooting hormone. Then, plant the cutting into a pot filled with your well-draining mix, burying the node under the surface.
- Whichever method you choose, always cover the pot or jar with a clear plastic bag or a propagation dome to create that humid microclimate.
The “Secret Sauce” (Pro Tips)
Here are a couple of things I’ve learned over the years that really make a difference:
- Bottom Heat is Your Friend: Alocasias love warmth. Placing your pots or jars on a seedling heat mat set to a gentle warmth (around 70-75°F or 21-24°C) can dramatically speed up root development.
- Don’t Keep Them Drenched: While humidity is key, you don’t want your soil or cuttings sitting in soggy conditions. Let the top inch of soil dry out slightly between waterings for soil-propagated cuttings. For water propagation, as mentioned, keep those leaves out of the water to prevent rot.
Aftercare & Troubleshooting
Once you see roots emerging (you’ll see them peeking out the drainage holes on potted plants, or clearly visible in water propagation), it’s time to adjust their care.
- For water cuttings, carefully transplant them into your well-draining potting mix once the roots are at least an inch long. Continue to keep them humid and in bright, indirect light.
- For soil-started cuttings or divisions, gradually acclimate them to the same conditions as your mature Alocasia. This means slowly opening the plastic bag or dome over a week or so to prevent shock. Maintain bright, indirect light and keep the soil consistently moist but not waterlogged.
The most common issue you’ll face is root rot. This usually happens from overwatering or poor drainage. If you see mushy, brown stems or leaves that yellow and droop rapidly, it’s a sign of trouble. Sadly, severe rot is often hard to recover from, but you can try to save an affected cutting by cutting away all the rotten parts with a sterile tool and trying to re-root the healthy bits in fresh water or sterile mix. Always use clean tools and water, and proper drainage is your best defense.
A Word of Encouragement
Creating new life from an existing plant is a truly wonderful feeling. Be patient with your Alocasia scalprum; they can take their time. Don’t get discouraged if progress seems slow at first. Enjoy the journey of nurturing these beautiful plants, and soon you’ll have a whole clan of these stunning specimens to admire! Happy propagating!
Resource:
https://identify.plantnet.org/k-world-flora/species/Alocasia%20scalprum%20A.Hay/data