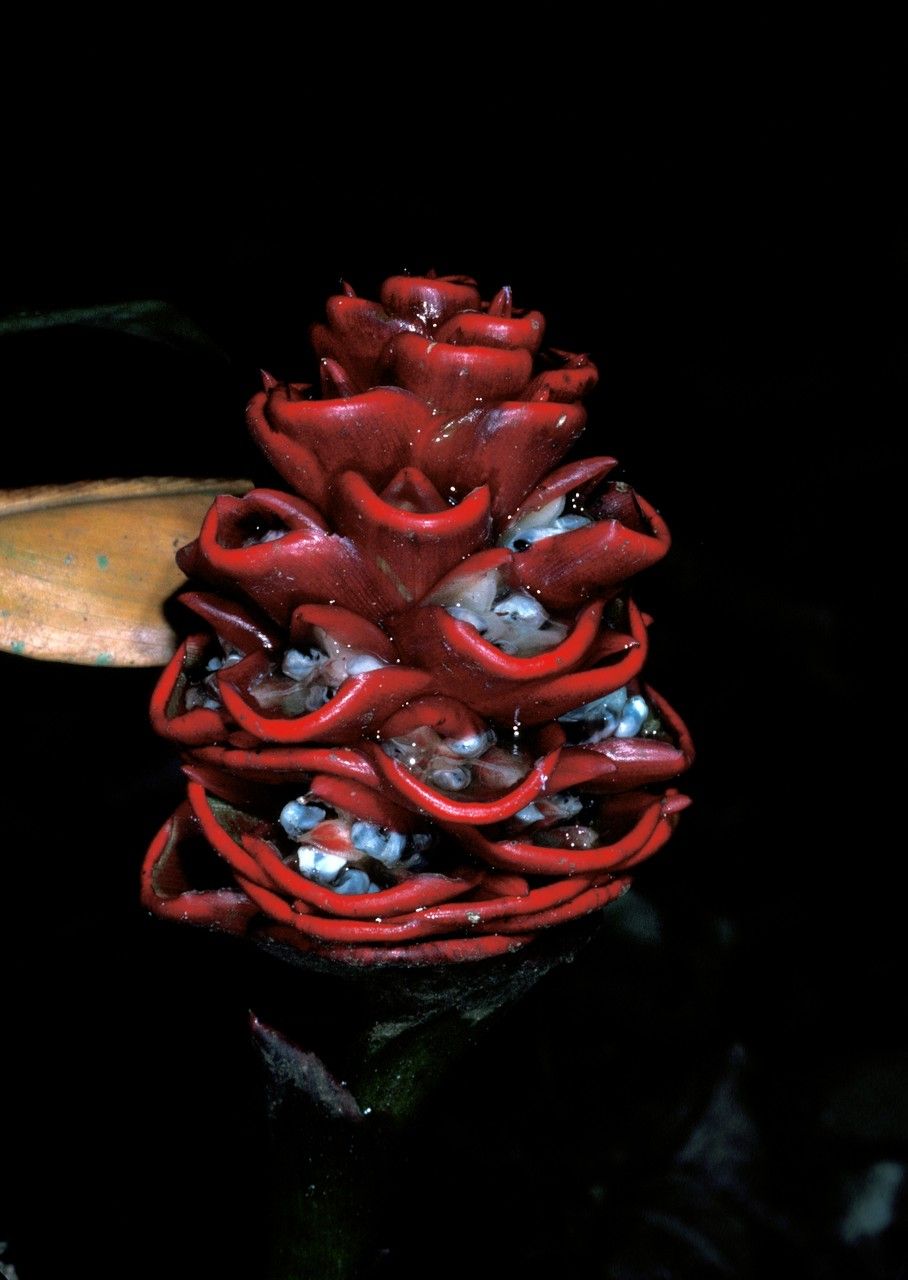
Hello fellow plant lovers! Let’s talk about a ginger that’s truly a showstopper: Zingiber inflexum. Those gorgeous, exotic blooms are enough to make any gardener weak at the knees. And the best part? You can easily add more of these beauties to your collection by propagating them! I’ve been growing and sharing plants for two decades now, and honestly, propagating Zingiber inflexum is a wonderfully rewarding experience. It’s moderately easy, making it a great project for those of you ready to step up from beginner basics.
The Best Time to Start
The absolute sweet spot for propagating Zingiber inflexum is during its active growing season, which typically runs from late spring through summer. You’ll want to focus on healthy, vigorous pieces of the plant. Overwintered rhizomes, or those showing strong new shoots after the last frost, are perfect candidates. Avoid propagating when the plant is dormant or stressed.
Supplies You’ll Need
To get your Zingiber inflexum propagation journey off to a great start, gather these essentials:
- Sharp, clean pruning shears or a knife: For making clean cuts.
- Well-draining potting mix: A blend of peat moss, perlite, and compost works beautifully. You can also find specific ginger or tropical plant mixes.
- Small pots or containers: With drainage holes, of course! Yogurt cups with holes poked in the bottom are even fine if you’re in a pinch.
- Optional: Rooting hormone powder or gel: This can give your cuttings an extra boost, though it’s not always strictly necessary for ginger.
- Watering can or spray bottle: For gentle watering.
- Optional: Plastic bag or humidity dome: To maintain high humidity around your cuttings.
- Optional: Heat mat: To provide gentle bottom warmth.
Propagation Methods
For Zingiber inflexum, the most successful and straightforward method is rhizome division. This is essentially multiplying your plant by dividing its underground stem.
Here’s how it’s done:
- Gently Unpot Your Plant: Carefully remove your Zingiber inflexum from its pot. Be as gentle as possible with the root system. You might need to tap the sides of the pot or run a knife around the edge if it’s tightly bound.
- Inspect the Rhizome: You’ll see fleshy, horizontal stems – these are the rhizomes. Look for sections that have at least one or two healthy “eyes” or buds. These are the points where new growth will emerge.
- Divide the Rhizome: Using your clean pruning shears or knife, carefully cut the rhizome into sections. Ensure each section has at least one eye. If the rhizome is very thick and tough, you might need to use a bit more force, but always aim for a clean cut. Discard any mushy or diseased-looking pieces.
- Let the Cuts Dry (Optional but Recommended): For best results, let the cut ends of the rhizome sections air dry in a shaded, well-ventilated spot for a day or two. This helps to callous over the wounds, reducing the risk of rot.
- Potting Up: Fill your clean pots with your well-draining potting mix. Plant each rhizome section about 2-3 inches deep, with the eye or bud facing upwards. Don’t pack the soil too tightly.
- Water Gently: Give the newly potted rhizomes a light watering. You want the soil to be moist but not soggy.
- Provide Warmth and Humidity: Place the pots in a warm location (around 70-75°F or 21-24°C is ideal). Covering the pots with a clear plastic bag (ensure it doesn’t touch the soil) or a humidity dome will help maintain the high humidity these tropicals love.
The “Secret Sauce”
Here are a couple of little tricks I’ve learned over the years that really make a difference:
- Don’t Over-Water Initially: This is crucial for preventing rot. It’s better to have slightly dry soil than waterlogged soil when you’re trying to get those rhizomes to sprout. Wait until you see a tiny bit of new growth before you start watering more regularly.
- Bottom Heat is Your Friend: Zingiber inflexum absolutely adores warmth. Placing your pots on a gentle heat mat can significantly speed up sprouting and increase your success rate. It mimics the warmth of the tropics beautifully.
Aftercare & Troubleshooting
Once you see a new shoot emerging from the soil – hooray! This means your Zingiber inflexum is on its way.
- Gradual Acclimation: If you’ve covered your pots, gradually remove the plastic or open the dome over a few days. This helps the new plant adjust to lower humidity levels.
- Consistent Moisture: Now you can begin watering more regularly, but still aim for that moist-not-soggy balance. Let the top inch of soil dry slightly before watering again.
- Bright, Indirect Light: Place your new plant in a spot that receives bright, indirect sunlight. Avoid direct, harsh sun, which can scorch young leaves.
Now, what if things don’t go as planned? The most common culprit is rot. If your rhizome sections go mushy or dark and smelly, that’s a sure sign of too much moisture and not enough air circulation. If you see this, sadly, that piece is likely lost. Sometimes, a rhizome simply won’t sprout. Don’t be discouraged! It might just be a less vigorous piece, or conditions weren’t quite right. Try again with another section, and remember those pro tips about warmth and careful watering.
Happy Propagating!
Don’t be afraid to jump in and give this a try. Propagating Zingiber inflexum is a wonderfully satisfying way to expand your collection and share these stunning plants with others. Be patient, observe your little sprouts, and most importantly, enjoy the journey of growing something new! Happy gardening!
Resource:
https://identify.plantnet.org/k-world-flora/species/Zingiber%20inflexum%20Blume/data