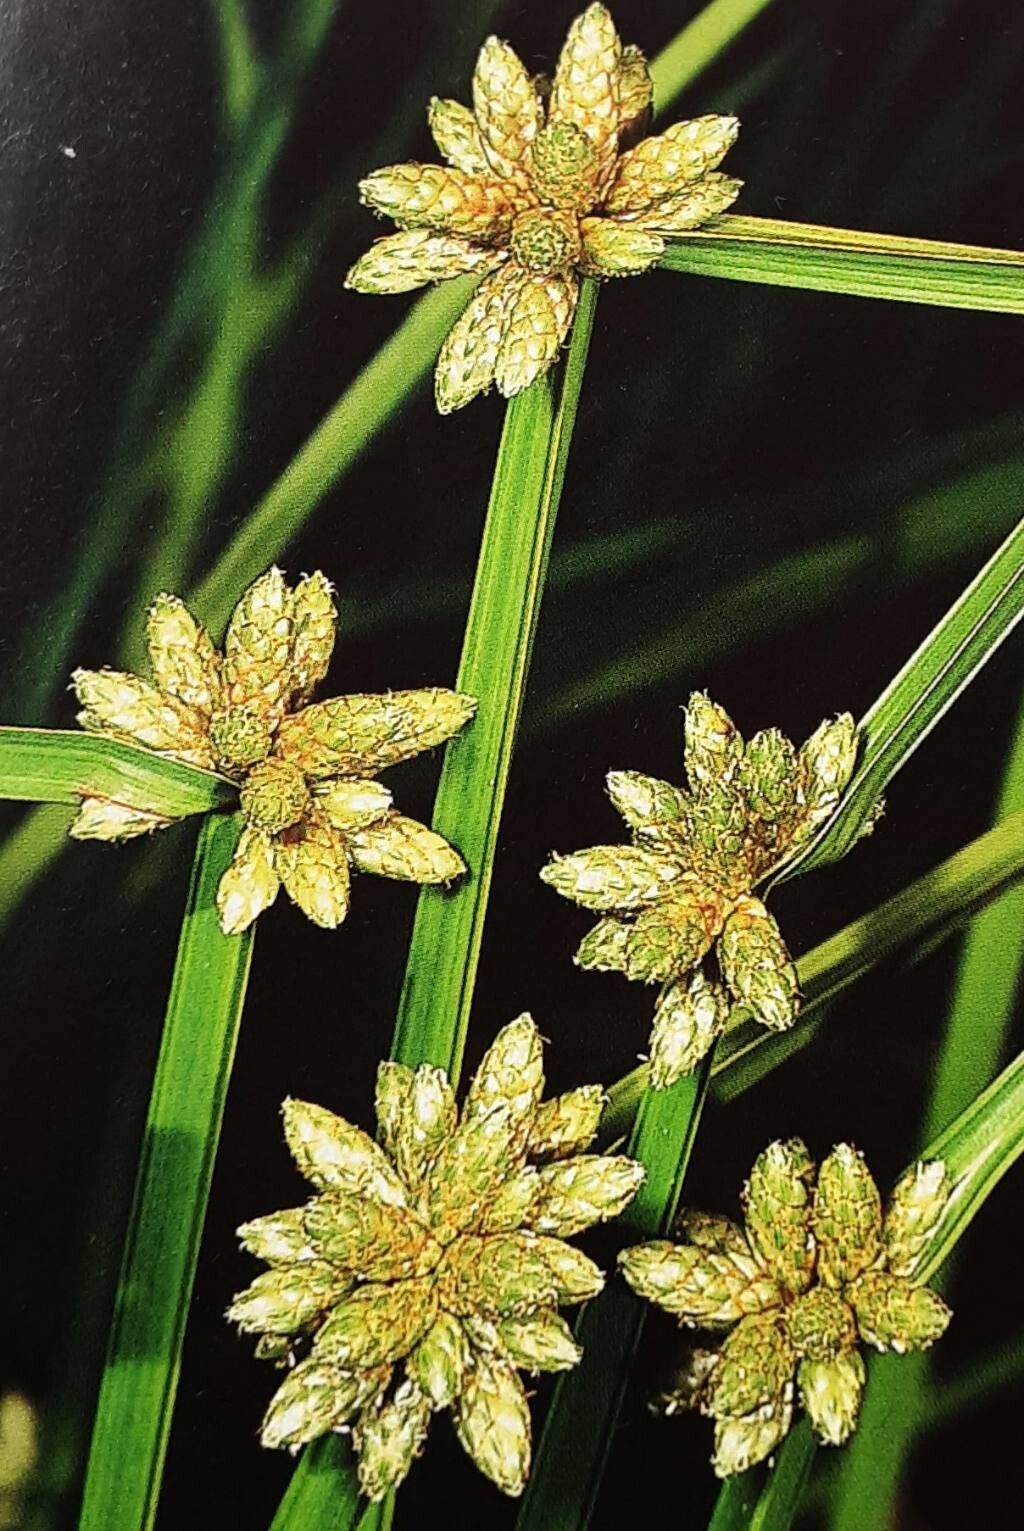
Hello there, fellow plant lovers! I’m so delighted you’re here to dive into the wonderful world of plant propagation with me. Today, we’re going to chat about a plant that really catches my eye with its elegant, architectural form: Schoenoplectiella mucronata, or as it’s often known, the Sharp Bulrush.
This beauty, with its slender stems and delicate blooms, adds a touch of wild grace to any water feature or moist garden spot. And the satisfaction of coaxing new life from an established plant? Pure magic, truly. Now, for the good news: Schoenoplectiella mucronata is quite a good sport when it comes to propagation. For those of you dipping your toes into the world of making more plants, this is a fantastic one to start with!
The Best Time to Start
Hands down, the best time to get your hands dirty with Schoenoplectiella mucronata is late spring or early summer. This is when the plant is actively growing and full of vigor. You’re looking to propagate from healthy, mature specimens that are putting on a good show. Trying to do this when the plant is stressed or dormant just makes things harder for everyone involved.
Supplies You’ll Need
Gathering your tools beforehand makes the process so much smoother. Here’s what I typically have on hand:
- Sharp Pruning Shears or a Clean Knife: For making neat cuts. It’s essential to sterilized these between cuts if you’re taking multiple cuttings from different plants.
- A Well-Draining Potting Mix: For divisions, I like a blend of peat moss, perlite, and a bit of compost. For cuttings, a coarser mix with plenty of perlite and sand works wonders.
- Small Pots or Trays: For your new propagations.
- Watering Can with a Fine Rose: To gently water your new babies.
- Rooting Hormone (Optional but Recommended): Especially helpful for stem cuttings, this can give them an extra boost. Powder or gel forms are fine.
- A Clear Plastic Bag or Dome: To create a humid environment for cuttings.
- Gloves: If you prefer to keep your hands clean.
Propagation Methods
Schoenoplectiella mucronata is a champion at propagation, primarily through division. This is the most straightforward and successful method for this particular plant.
Method: Division
This method is all about splitting up a mature plant into smaller, independent pieces, each with its own root system.
- Gently Excavate: Carefully dig around the base of your established Schoenoplectiella mucronata. I usually use a trowel or a small spade to loosen the soil and lift the entire clump. The goal is to disturb the roots as little as possible.
- Clean the Roots: Once out of the pot or ground, gently shake off excess soil. You want to be able to see the rhizomes (the fleshy underground stems) and the main root structure.
- Locate Natural Divisions: Examine the clump. You’ll often see where the plant has naturally started to branch. Look for sections that have a set of roots attached and at least one healthy shoot or bud.
- Divide the Clump: This is the part that requires a bit of persuasion! You can use your hands to carefully pull apart the sections. For tougher specimens, a clean, sharp knife or even a trowel can be used to slice through the rhizomes, making sure each division has a good portion of roots and at least one or two healthy shoots.
- Prepare the Divisions: If needed, you can trim away any damaged or overly long roots.
- Pot Them Up: Plant each division in its own pot, using your prepared potting mix. Ensure the crown (where the shoots emerge from the roots) is at soil level.
- Water Thoroughly: Water well after planting to settle the soil around the roots.
The “Secret Sauce” (Pro Tips)
Now, for a couple of little tricks that I’ve learned over the years that can really make a difference:
- The Importance of Moisture for Divisions: When you’re dividing, don’t let those freshly separated roots dry out at all. I keep a bucket of water nearby and plunge divisions into it immediately if I’m taking a break or need to rinse them. Work efficiently!
- Mimic the Tropics: While we’re focusing on division here, if you ever decide to try taking stem cuttings of related plants, remember that these often love humidity. A simple, homemade propagator by placing a clear plastic bag over the pot and securing it with a rubber band creates that moist microclimate they crave. For Schoenoplectiella mucronata, while not strictly necessary for division, keeping the soil consistently moist without being waterlogged is key.
Aftercare & Troubleshooting
Once your divisions are potted, the real guardianship begins!
- Consistent Moisture is Key: Keep the soil consistently moist but not soggy. For the first few weeks, check the moisture level daily. The goal is to encourage root establishment.
- Light and Temperature: Place your newly potted divisions in a bright spot out of direct, scorching sun. A bit of filtered light is perfect. Moderate temperatures are ideal – avoid extreme heat or cold.
- Look for New Growth: The first sign of success will be new shoots emerging. This can take anywhere from a couple of weeks to a month or more, so be patient!
- Signs of Trouble: The most common issue you might encounter is rot. This usually happens if the soil is too wet and not draining well, or if the environment is too cold and damp. If you see stems turning mushy or yellowing rapidly, it’s a sign of overwatering or poor drainage. If this happens, gently remove the affected parts and ensure better airflow and drainage. Sometimes, you might see wilting – check the soil moisture; it could be thirsty, or the roots might not have established yet to absorb water efficiently.
A Little Encouragement to Wrap Up
Propagating plants is such a rewarding journey. It’s a tangible way to connect with nature and watch life unfold. Schoenoplectiella mucronata is a wonderfully forgiving plant to start with, and with a little care and patience, you’ll soon have new, graceful additions to your garden. Don’t be discouraged if your first attempt isn’t perfect – every gardener learns as they go. Just enjoy the process and celebrate each tiny new sprout! Happy gardening!
Resource: