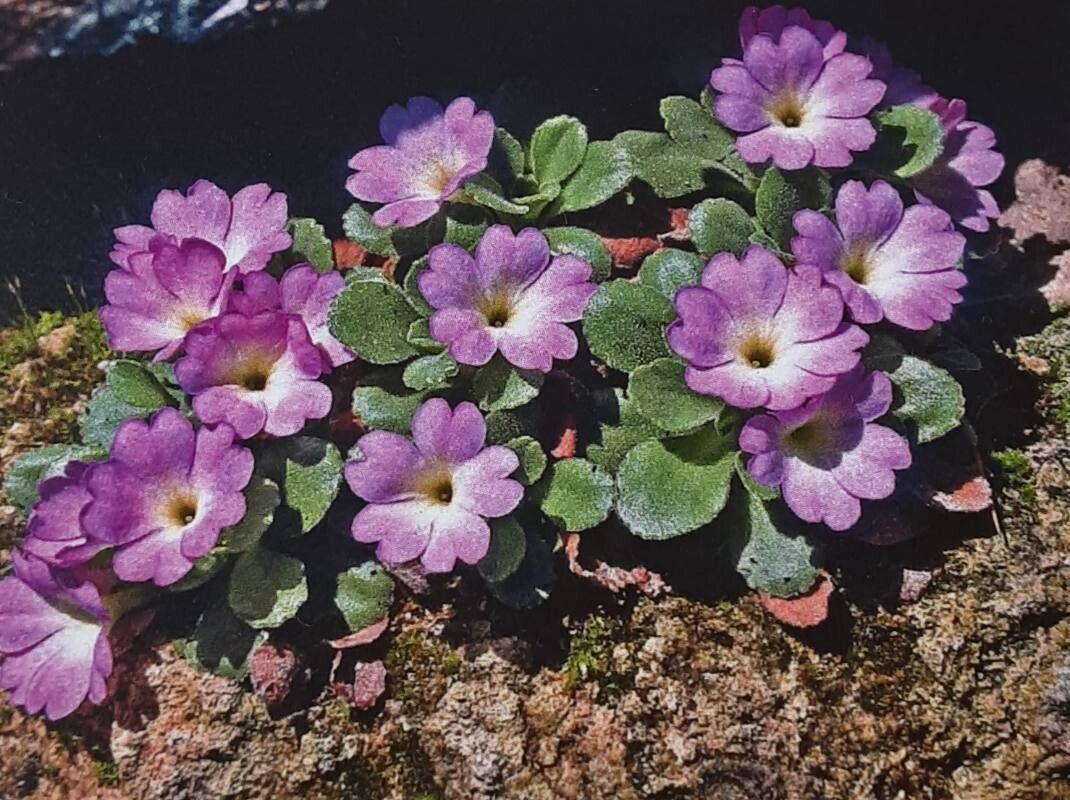
Hello, fellow plant lovers! Today, we’re diving into the delightful world of Primula allionii. If you’re drawn to those charming, often fragrant, clusters of soft pink to lavender flowers that signal the very cusp of spring, you’re not alone. These little alpine darlings bring such a sweet cheer to the garden. Propagating them is a wonderfully rewarding venture, letting you multiply that joy and share it with others. Now, I won’t lie, Primula allionii can be a bit finicky, so it might not be the absolute easiest plant for a complete beginner, but with a little care and attention, it’s definitely achievable.
The Best Time to Start
For the best chance of success, I always recommend doing this in late spring or early summer. This is when the plant has finished its main flowering push and is actively putting on new growth. It’s a period of renewed vigor, and the cuttings will have a good window to establish themselves before the cooler weather truly sets in.
Supplies You’ll Need
Gathering your tools beforehand makes the whole process much smoother. Here’s what I always have on hand:
- Sharp, clean pruning shears or a sharp knife: For making clean cuts.
- Potting mix: A well-draining mix is absolutely crucial. I often use a blend of equal parts perlite, peat moss, and coarse sand. You can also find specific alpine or succulent mixes that work well.
- Small pots or seed trays: Clean ones are a must to prevent disease.
- Rooting hormone (optional but recommended): This can give your cuttings a helpful boost.
- Labels and a permanent marker: To keep track of what you’ve planted!
- A watering can with a fine rose: For gentle watering.
- A clear plastic bag or propagator lid: To create a humid environment.
Propagation Methods
While Primula allionii can be grown from seed, taking cuttings or dividing established clumps are generally more reliable and quicker ways to get new plants.
Stem Cuttings
This is my go-to method. It’s quite effective and allows you to work with those vigorous new shoots.
- Select your cuttings: Look for healthy, non-flowering stems that are about 2-3 inches long. They should be firm but not woody. Gently twist or cut them from the parent plant.
- Prepare the cuttings: Remove the lower leaves, leaving just a few at the top. If your cutting is particularly long, you can shorten it slightly.
- Apply rooting hormone (if using): Dip the cut end into the rooting hormone powder, tapping off any excess.
- Pot them up: Fill your small pots or trays with your well-draining mix. Make a small hole with a pencil or your finger. Insert the cutting, ensuring the cut end is in contact with the soil. Gently firm the soil around the base.
- Water gently: Water thoroughly but carefully. You don’t want to disturb the cuttings too much.
Division
If you have an older, established clump of Primula allionii, division is a fantastic way to rejuvenate it and get multiple new plants.
- Carefully lift the plant: Ideally, you’ll do this in late spring or early summer, after flowering. Gently dig around the root ball, trying to keep as much soil intact as possible.
- Separate the divisions: Gently tease the root ball apart with your fingers or a small trowel. Aim for sections that have healthy roots and a few leafy shoots. If the roots are tangled, a clean knife can help.
- Replant immediately: Pot up each division into its own container with fresh, well-draining soil, just as you would with the cuttings. Water them in well.
The “Secret Sauce” (Pro Tips)
Here are a few things I’ve learned over the years that can really make a difference:
- Don’t let the leaves touch the water when misting! This is super important for cuttings sitting in water, but even for cuttings in pots, excessive leaf moisture can encourage rot. Aim to water the soil directly.
- Bottom heat works wonders: While not strictly necessary, placing your pots on a heated propagator mat can significantly speed up root development. It mimics that lovely consistent warmth the roots crave.
- A light misting is better than a deluge: Once your cuttings are potted, I like to give them a very light misting of water and then cover them with a clear plastic bag or a propagator lid. This creates a humid environment without waterlogging the soil. Make sure to vent it daily for a few minutes to prevent fungal issues.
Aftercare & Troubleshooting
Once your cuttings have taken root – you’ll see new growth emerging from the top, and if you gently tug on a cutting, you’ll feel resistance – it’s time for a little more hands-on care.
Gradually acclimate them to less humid conditions by opening the propagator lid or bag for longer periods each day. Continue to water them when the top inch of soil feels dry, always being mindful not to overwater. Keep them in a bright spot, but out of direct, scorching sun.
The most common issue you might encounter is rot. If you see your cuttings turning black and mushy, it’s usually a sign of too much moisture and poor air circulation. Unfortunately, if this happens, it’s best to discard the affected cuttings and start again, perhaps with less water or better drainage next time.
A Encouraging Closing
Don’t get discouraged if your first few attempts aren’t perfect. Gardening is a continuous learning process, and every plant is a new opportunity to understand and connect with nature. Be patient, observe your little primulas, and enjoy the quiet satisfaction of watching them grow. Happy propagating!
Resource:
https://identify.plantnet.org/k-world-flora/species/Primula%20allionii%20Loisel./data