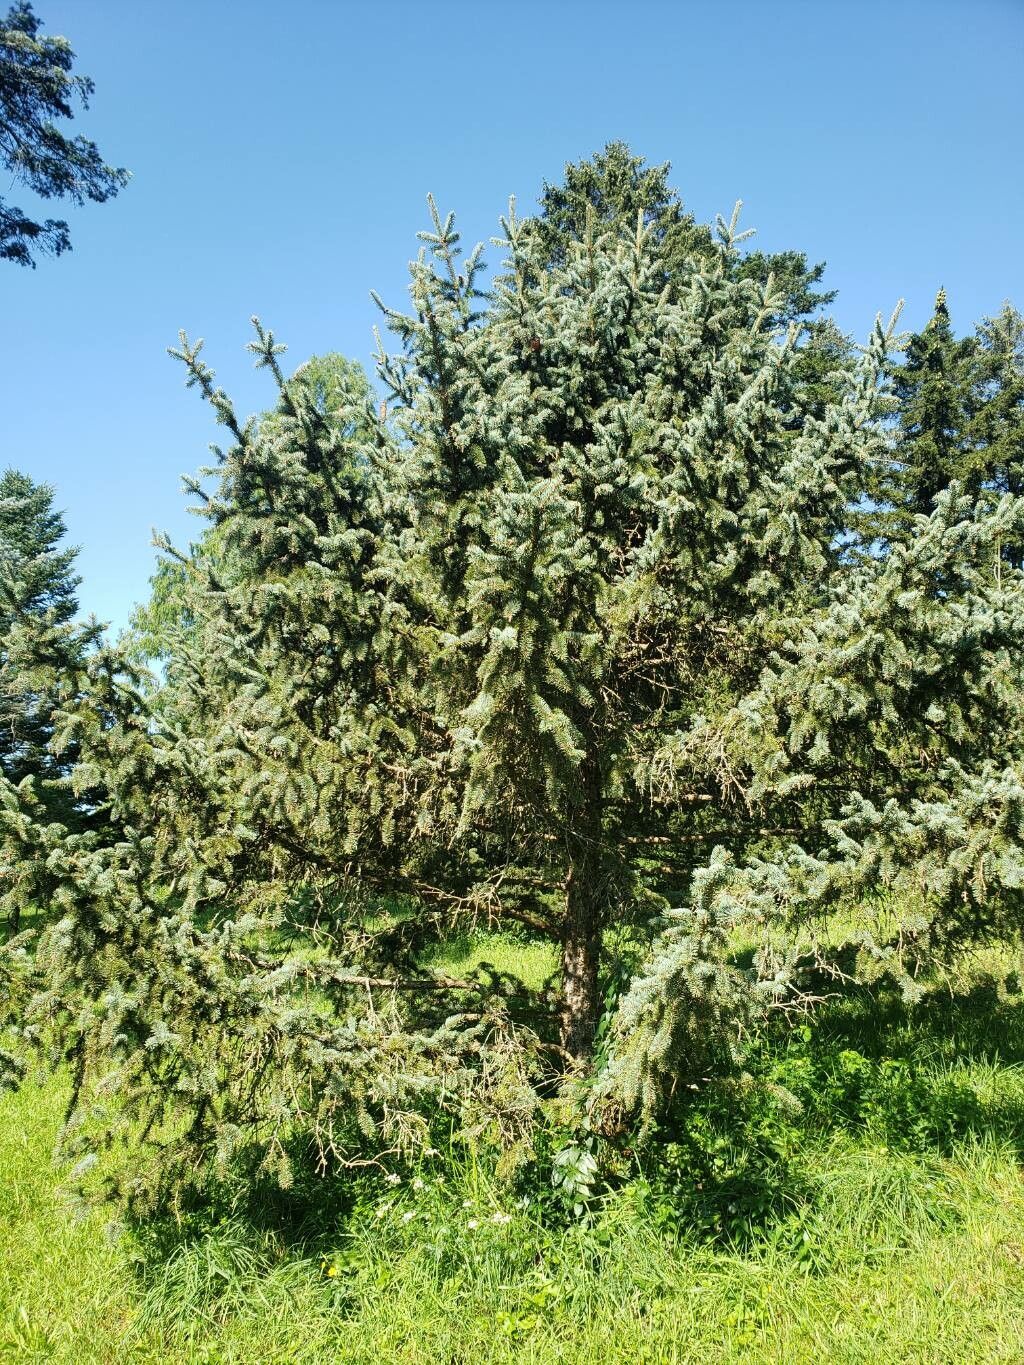
Hello fellow plant lovers! Today, we’re diving into the wonderful world of Picea asperata, or the Dragon Spruce. If you’ve ever admired these stately evergreens, with their elegant, ascending branches and beautiful, rough bark, you’re in for a treat. Propagating them is a fantastic way to fill your garden with more of their quiet majesty, or even to share these beauties with friends. Now, I’ll be honest, Dragon Spruce can be a bit of a slow starter when it comes to propagation, so it’s not the quickest win for absolute beginners, but with a little patience and the right approach, it’s absolutely achievable. The reward of nurturing a tiny cutting into a future tree is truly special.
The Best Time to Start
For the best chance of success with Picea asperata, I always recommend working with semi-hardwood cuttings taken in late spring or early summer. This is when the current season’s growth has begun to mature slightly, offering a good balance of flexibility and firmness. Trying too early in spring might mean the growth is too soft and prone to rot, while going too late in the summer risks the cuttings not having enough time to root before winter.
Supplies You’ll Need
Before we get our hands dirty, let’s gather our tools. Think of this as preparing your kitchen for a delicious meal!
- Sharp pruning shears or a sharp knife: For clean cuts that heal well.
- Rooting hormone powder or gel: This is vital for evergreens to encourage root development.
- A well-draining potting mix: I like a blend of equal parts perlite, coarse sand, and peat moss or coco coir. You want to avoid anything that holds too much moisture.
- Small pots or trays: Clean ones are essential to prevent disease!
- A clear plastic bag or propagation dome: To create a humid environment.
- Water: For misting.
- Labels: To keep track of your efforts (and success!).
- Optional: Bottom heat mat: This can significantly speed up rooting.
Propagation Methods: Stem Cuttings
This is my go-to method for Picea asperata. It’s reliable if you’re careful with the details.
- Take Your Cuttings: In late spring or early summer, select healthy, vigorous shoots that are about 4-6 inches long. They should be firm but still have a little give. Using your clean shears, make a cut just below a leaf node (where leaves attach to the stem).
- Prepare the Cuttings: Gently remove the lower needles from the bottom 1-2 inches of the cutting. This exposes the stem tissue, which is where roots will form.
- Apply Rooting Hormone: Dip the cut end into your rooting hormone powder or gel. Tap off any excess; you just need a light, even coating.
- Plant Your Cuttings: Fill your clean pots with your prepared potting mix. Make a hole with a pencil or your finger, large enough to insert the cutting without rubbing off the hormone. Place the cutting into the hole and gently firm the soil around it.
- Water and Cover: Water the soil thoroughly until it drains from the bottom. Then, cover the pot with a clear plastic bag or a propagation dome. This will keep the humidity high, which is crucial for preventing the cuttings from drying out before they root. If using a bag, you might need to prop it up with a few skewers so it doesn’t touch the foliage.
The “Secret Sauce” (Pro Tips)
Here are a few things I’ve learned over the years that really make a difference:
- Sterilize Everything: Seriously, this is non-negotiable. I clean my shears with rubbing alcohol between each cut, and my pots are always scrubbed clean. Even a tiny bit of lingering fungus can spell doom for your precious cuttings.
- Bottom Heat is Your Friend: If you can, pop your pots onto a bottom heat mat. A consistent, gentle warmth from below, around 70-75°F (21-24°C), really jumpstarts root development. It mimics the warmth of spring soil and gives your cuttings a significant advantage.
- Don’t Be Afraid to Mist: Once a day, or even twice a day if it’s very dry, lightly mist the foliage of your cuttings. This supplements the humidity under the cover and keeps the needles looking perky. Avoid soaking the soil, though – damp, not waterlogged, is the goal.
Aftercare & Troubleshooting
Once your cuttings are planted, the real waiting game begins. You’ll need to be patient. Check them periodically. You’re looking for signs of new growth, which usually means roots are forming. A gentle tug on a cutting will reveal resistance if roots have taken hold.
Common signs of failure:
- Wilting and Yellowing: If a cutting wilts significantly and its needles turn yellow, it’s often a sign that it’s not rooting and is drying out faster than it can absorb water. You might have too much airflow, or perhaps the soil is too dry.
- Rot or Mold: This is usually a sign of too much moisture and poor air circulation. If you see fuzzy mold or the stem becoming soft and mushy at the soil line, unfortunately, that cutting is likely lost. Remove it immediately and improve ventilation for the others.
When you see definite signs of rooting (new needle growth is a great indicator!), you can gradually acclimate them to lower humidity. Start by opening the plastic bag or dome for a few hours each day. Once they seem robust, you can remove the cover entirely. Keep them in a bright, but not direct sun, location and continue to water when the top inch of soil feels dry. It’s wise to leave them in their nursery pots for at least a full growing season before considering transplanting them into the garden.
Don’t get discouraged if not every cutting makes it. Gardening is a journey of learning and experimentation. Celebrate your successes, learn from your misses, and most importantly, enjoy the process of coaxing new life from a piece of a beloved tree. Happy growing!
Resource:
https://identify.plantnet.org/k-world-flora/species/Picea%20asperata%20Mast./data