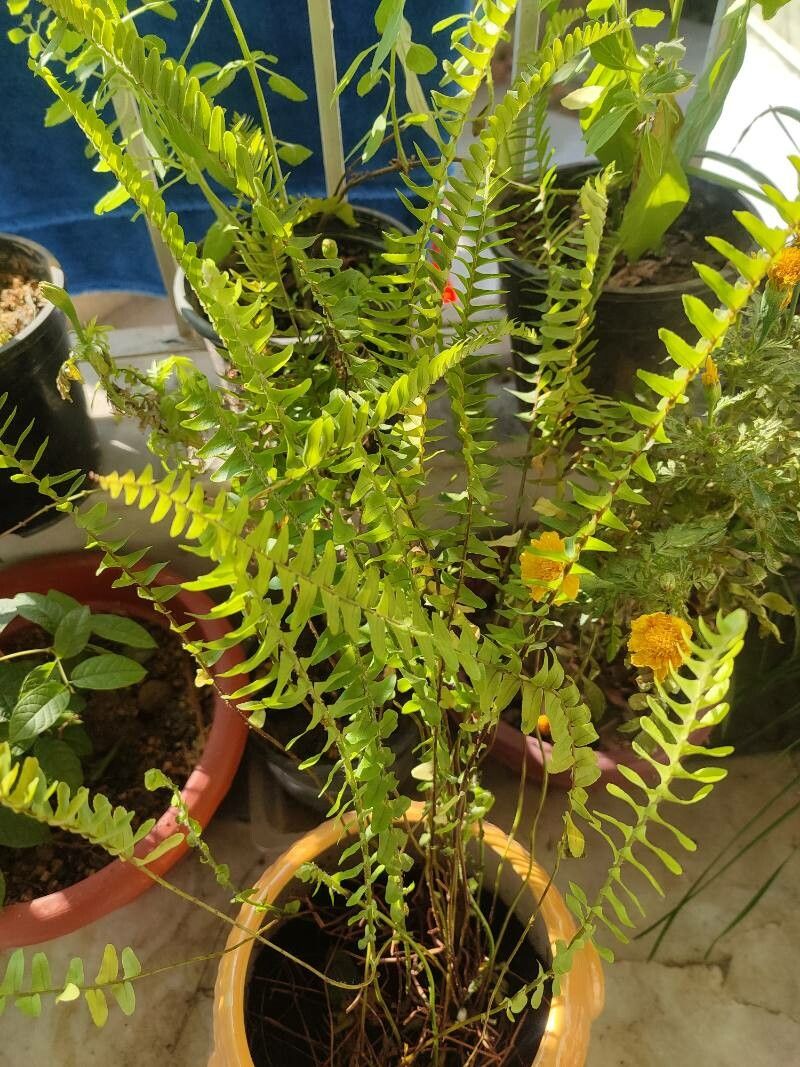
Hello fellow plant pals! It’s wonderful to have you here. If you’ve ever admired the lush, arching fronds of a Nephrolepis abrupta – that’s the upright sword fern – and wished you had more of these beauties, you’re in the right place. Trust me, propagating these ferns is a deeply satisfying experience, like watching tiny miracles unfold right before your eyes. And the best part? For those of you just dipping your toes into the world of plant propagation, Nephrolepis abrupta is a wonderfully beginner-friendly choice. So, let’s get our hands a little dirty!
The Best Time to Start
When it comes to getting a head start with Nephrolepis abrupta, spring is absolutely your golden ticket. This is when the plant is bursting with new growth and actively channeling its energy into development. You’ll see fresh fronds unfurling, and that’s exactly what we want to work with. Trying to propagate much later in the year, especially as things cool down, can feel like fighting an uphill battle. So, mark your calendars for that fresh spring awakening!
Supplies You’ll Need
Before we dive in, let’s gather our trusty tools. Having everything ready makes the process so much smoother, like prepping ingredients before you cook.
- Sharp Pruning Shears or Scissors: Clean cuts are essential to prevent disease.
- Well-Draining Potting Mix: A mix designed for ferns or a blend of regular potting soil with perlite or orchid bark is perfect. You want good aeration.
- Small Pots or Trays: For starting your new babies.
- Clear Plastic Bags or a Propagation Dome: To create a humid microclimate.
- Watering Can with a Fine Rose: Gentle watering is key.
- Optional: Rooting Hormone: While not always necessary for Nephrolepis abrupta, it can give an extra boost.
- Optional: Heating Mat: This can significantly speed up root development.
Propagation Methods
There are a few ways to go about this, but my favorite for Nephrolepis abrupta is division, with stem cuttings as a close second.
Method 1: Division (My Go-To!)
This is probably the easiest and most rewarding way to multiply your sword ferns. It’s like giving your plant a haircut and getting a whole new friend out of the deal!
- Gently Remove from Pot: Carefully take your mature sword fern out of its pot. You might need to loosen the edges with a trowel.
- Inspect the Root Ball: Look for natural sections or clumps within the root system. You’ll often see where new growth is emerging from the parent plant.
- Divide Carefully: Using your hands or clean pruning shears, gently pull apart or cut the root ball into smaller sections. Aim for sections that have at least a few fronds and some healthy root structure. Don’t be afraid if a few roots break; it’s part of the process.
- Repot the Divisions: Plant each division into its own small pot filled with your prepared potting mix. Make sure the crown (where the fronds emerge from the roots) is at soil level.
- Water Thoroughly: Give each new pot a good, gentle watering to settle the soil around the roots.
Method 2: Stem Cuttings (A Bit More Patience)
This method works well, but it requires a bit more vigilance with humidity.
- Select a Healthy Frond: Look for a strong, mature frond to take as your cutting.
- Make the Cut: Using your sharp shears, cut the frond from the main plant, leaving an inch or two of the stem attached.
- Prepare the Cutting: If you’re using rooting hormone, dip the cut end into it.
- Plant the Cutting: Insert the cut end of the frond into a pot filled with your moist, well-draining potting mix. You can plant a few cuttings in the same pot, spaced a few inches apart.
- Create a Humid Environment: This is crucial! Cover the pot with a clear plastic bag or place it under a propagation dome. Ensure the leaves do not touch the plastic directly; you can use small stakes to keep it elevated.
- Maintain Moisture: Keep the soil consistently moist but not waterlogged.
The “Secret Sauce” (Pro Tips)
Okay, lean in, because here are a few things I’ve learned over the years that really make a difference.
- Don’t Drown Your Cuttings: When water propagating (if you choose that route, though I find potting mix better for these ferns), make sure the cut stem is submerged, but crucially, don’t let the fronds or any foliage dip into the water. This is a fast track to rot.
- Embrace Bottom Heat: For both division and cuttings, placing the pots on a heating mat can work wonders. It mimics the ideal warmth of spring and encourages roots to form much faster. It’s like a cozy little spa for your new plants!
- Be Patient with Divisions: Sometimes, divided plants look a little sad for a few days. They’re just adjusting to their new space. Don’t panic if they droop slightly; give them consistent moisture and good light, and they’ll perk up.
Aftercare & Troubleshooting
Once your divisions or cuttings start showing signs of new growth – tiny fronds unfurling or roots peeking out of the drainage holes – you’re on the right track!
Caring for Your New Plants:
- Gradual Acclimation: Slowly acclimate them to your home’s regular humidity by gradually opening the plastic bag or dome over a week or two.
- Light: Place them in bright, indirect light. Avoid direct sun, which can scorch delicate new foliage.
- Watering: Continue to keep the soil consistently moist, but never soggy. Allow the top inch of soil to dry slightly between waterings.
Common Issues:
- Yellowing Fronds: This can happen if the plant is getting too much direct light or if the soil is too wet. Check your conditions.
- Wilting: Often a sign of too little water, but also possible if the roots haven’t established yet. Ensure consistent moisture.
- Rot: This is the enemy! It’s usually caused by overwatering and poor drainage. If you see mushy stems or roots, you might need to discard the affected part or, sadly, the whole cutting. Good airflow and well-draining soil are your best defense.
Encouraging Closing
Raising new plants from cuttings or divisions is one of the most rewarding aspects of gardening. Think of it as creating a legacy, sharing these beautiful ferns with friends, or simply enjoying the abundance of our green spaces. Be patient with yourself and your new plant babies. There will be a learning curve, but the joy of watching them thrive is absolutely worth it. Happy propagating!
Resource:
https://identify.plantnet.org/k-world-flora/species/Nephrolepis%20abrupta%20(Bory)%20Mett./data