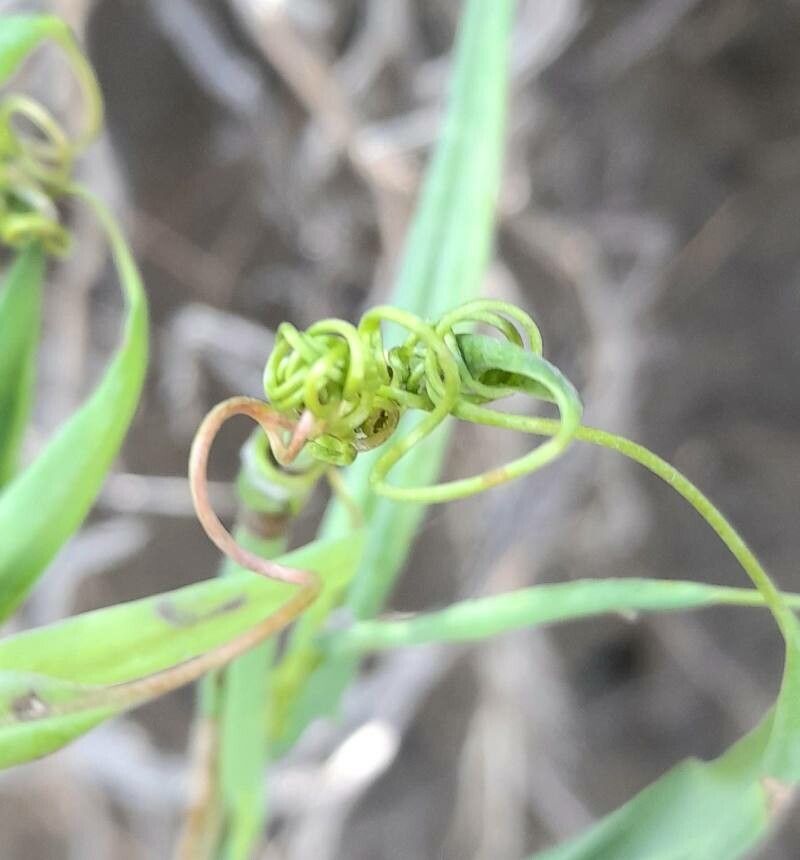
Hello fellow garden enthusiasts! Today, I want to talk about a plant that has brought so much joy to my garden over the years: the magnificent Mutisia decurrens. If you haven’t met this beauty yet, imagine a climbing vine adorned with the most exquisite, vibrant orange daisy-like flowers. They truly are sunshine made manifest, and they have a way of making any garden feel a little more special.
The wonderful thing about Mutisia decurrens, also known as Chilean Jasmine, is that it’s quite vigorous. Propagating it allows you to share this sunshine with friends, or simply to expand its presence throughout your own patch. Now, for beginners, it’s not the absolute easiest plant to get started with, but with a little patience and these tips, I’m confident you’ll be successful!
The Best Time to Start
My favorite time to get cuttings from Mutisia decurrens is in late spring or early summer. The plant is usually putting on a good growth spurt then, and the new, semi-hardwood growth tends to root most reliably. I like to wait until the stems are firm enough to snap cleanly, but not so woody that they feel brittle.
Supplies You’ll Need
Here’s what I always have on hand when I’m ready to propagate:
- Sharp Pruning Shears or a Knife: Clean cuts are crucial for preventing disease.
- Rooting Hormone: I find a powder or gel works wonders.
- A Well-Draining Potting Mix: A blend of peat moss, perlite, and a little regular potting soil is my go-to. You can also use a specific seedling or propagation mix.
- Small Pots or Trays: Clean containers with drainage holes are perfect.
- Plastic Bags or a Propagator: To create a humid environment.
- Watering Can or Spray Bottle: For gentle watering.
- Labels and a Pen: Keep track of what you’ve potted!
Propagation Methods
The most successful way I’ve found to get new Mutisia decurrens plants is through stem cuttings. Here’s how I do it:
- Select Your Cuttings: Look for healthy, non-flowering stems. You want pieces that are about 4-6 inches long. Remove any lower leaves, leaving just a couple at the very top.
- Make the Cut: At the base of your cutting, just below a leaf node (where a leaf emerges from the stem), make a clean, angled cut with your sharp shears.
- Dip in Rooting Hormone: Lightly moisten the cut end of the stem, then dip it into your rooting hormone, tapping off any excess. This step really helps encourage root development.
- Plant Your Cuttings: Fill your small pots with your prepared potting mix. Make a small hole in the center with your finger or a pencil. Gently insert the cut end of the stem into the hole, and firm the soil gently around it.
- Water Gently: Water the soil thoroughly but gently. You don’t want to dislodge the cutting.
- Create Humidity: The key here is to keep the cuttings moist and humid. I like to place the potted cuttings inside a plastic bag, forming a mini-greenhouse. You can also use a propagator lid. Just make sure the leaves don’t touch the sides of the bag, as this can lead to rot.
The “Secret Sauce” (Pro Tips)
Here are a couple of things I’ve learned over the years that make a big difference:
- Bottom Heat is Your Friend: If you can, placing your pots on a heated propagation mat can significantly speed up the rooting process. Mutisias seem to love a little warmth from below.
- Don’t Be Afraid to “Wipe” Your Cuttings: Sometimes, before dipping in rooting hormone, I’ll gently wipe the lower inch of the stem with a damp cloth. This helps remove any sticky sap that might be present and allows the hormone to adhere better. It might sound odd, but it works!
Aftercare & Troubleshooting
Once your cuttings are potted, place them in a bright spot but out of direct, harsh sunlight. Keep the soil consistently moist but never waterlogged. You’ll know your cuttings are rooting when you see new growth appearing or feel a slight resistance when you gently tug on the stem. This usually takes anywhere from 4-8 weeks.
The most common issue you’ll encounter is rot. If a cutting starts to turn black and mushy, it’s usually a sign of too much moisture and not enough air circulation, combined with perhaps a bit too much cold. Remove any rotten cuttings immediately to prevent it from spreading. If you see the leaves wilting and drying out, it might be too dry, so increase the humidity or mist more frequently.
A Encouraging Closing
Propagating plants is a journey, and each success feels like a little victory. So be patient with your Mutisia decurrens cuttings, give them the care they need, and enjoy the magical process of watching new life emerge. Happy gardening!
Resource:
https://identify.plantnet.org/k-world-flora/species/Mutisia%20decurrens%20Cav./data